I’m not sure why I haven’t blogged about these brownies before. They are the brownies I grew up with, and they are lovely. Very homey and simple, and just using ingredients I am sure to have on hand.
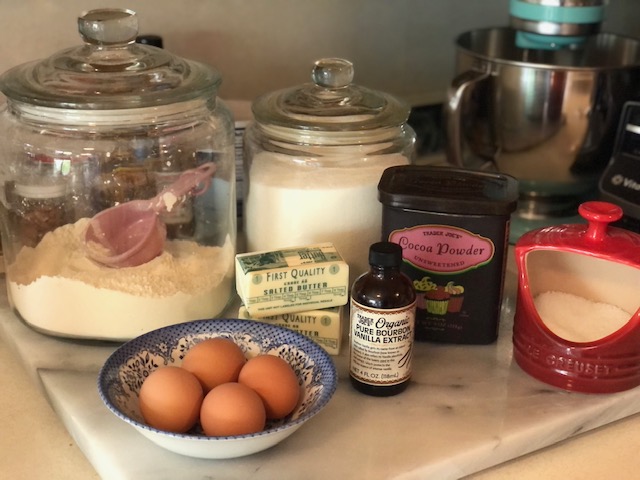
Just a few ingredients! (I forgot the powdered sugar, just one cup.)
Well, I actually do know why I haven’t written about these brownies. The recipe leaves lots of room for error. I remember a conversation from long ago, where my sister Jane and one of her groovy friends were discussing these brownies, and it went something like this:
“Bake them properly, and everyone will bow down to you; over-bake them, and you will be shunned!”
I never forgot it, and have had both experiences over the years.
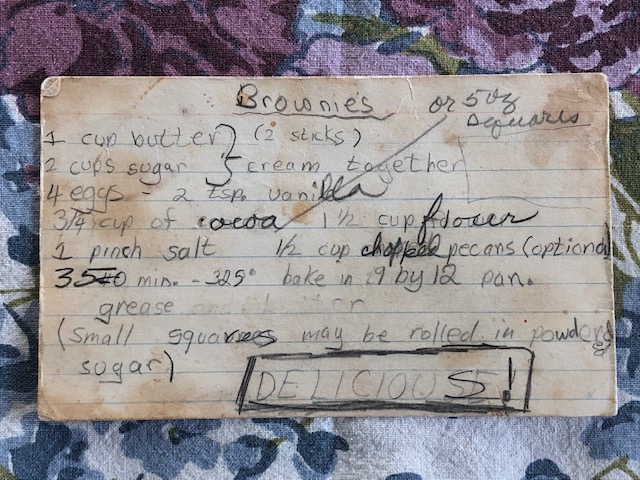
Original recipe written out by my sister Jane, with corrections by my Mom. Priceless.
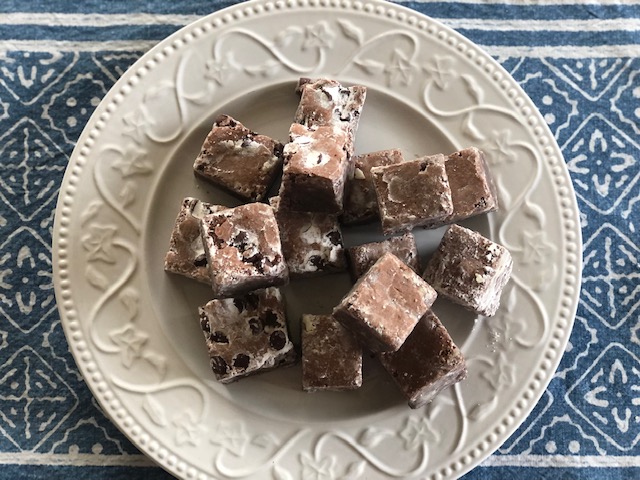
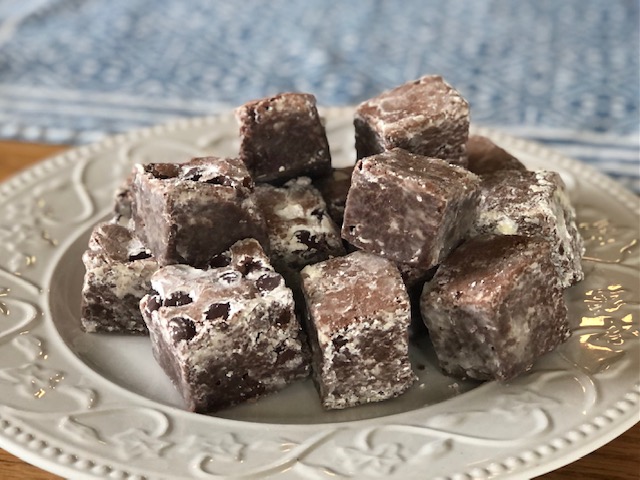
These brownies were at just about every family celebration, and certainly at potlucks and other gatherings. I remember them piled high on a serving platter, and also remember sneaking one or two whenever possible. We nicknamed them our “trick” brownies, because if you took a bite and breathed in at the same time, the powdered sugar would make you cough. We kids got a big kick out of watching unsuspecting guests do this very thing.
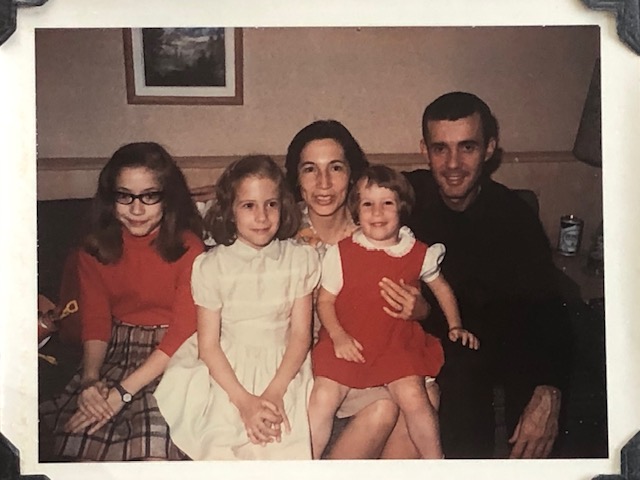
From left to right, my sisters Linda and Jane, my Mom, me, and my Dad.
So now, decades later, I’ve decided to find a surefire way to not over-bake these brownies, so that they are delicious every time. I borrowed a baking technique from Alton Brown, and found that his cocoa brownies were quite similar to ours, although they have more than twice the amount of cocoa! Using his technique, the brownies come out moist and cakey/fudgey; they melt in your mouth. The only drawback is that if you are a fan of the chewy brownie edges, you won’t get those here. Pretty much the entire batch bakes up evenly. You have been warned.
Old Fashioned Cocoa Brownies
- 1 cup (228 grams or 2 sticks) salted butter*
- 2 cups (400 grams) granulated sugar
- 4 large eggs
- 2 teaspoons vanilla
- 1 1/2 cups (190 grams) all-purpose flour
- 3/4 cup (82 grams) cocoa**
- pinch salt
- 1/2 cup (or more) Ghirardelli’s semi-sweet chocolate chips (optional)***
- 1 cup powdered sugar for rolling
- Preheat oven to 300°F
- Grease an 8″ x 8″ or 9″ x 9″ square baking pan****. Line with parchment paper with overhang on two ends. Grease the parchment paper. (I use unsalted butter for greasing.)
- In a small sauce pan, heat butter until mostly melted. Remove from heat and stir until all the butter is completely melted. (You can also melt the butter in a glass bowl in microwave oven. Only heat until the butter is partially melted. It will melt completely with a bit of stirring.) Pour into large bowl and add sugar. Beat with electric mixer or stand mixer for about three minutes, until creamy.
- Add eggs one at a time, beating after each addition until well combined. Beat in the vanilla.
- Sift together the flour, cocoa, and salt. Add this to the wet ingredients and mix on low just until there are no dry bits. Then use a spatula to finish mixing, making sure to scrape the bottom of the bowl so everything is well combined.
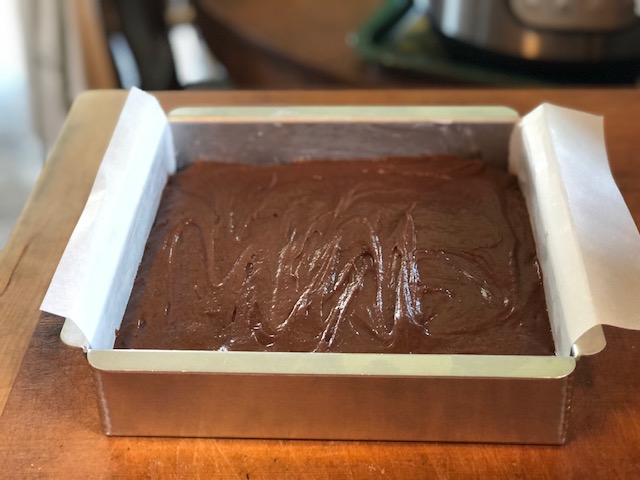
- Pour into prepared pan and smooth the top with spatula. At this point, you can sprinkle the top of the batter with the chocolate chips. This is optional!
- Bake on center rack in preheated 300° oven for 15 minutes. Remove from oven and let rest for 15 minutes (this allows the heat to spread more evenly, for even baking). Put back in the oven and let bake for an additional 30 (9″ pan) to 45 minutes (8″ pan). There are two different ways to test for doneness. If using the toothpick test, toothpick should come out with a crumb or two, but should not be wet. If using an instant-read thermometer inserted into the center of the brownie (don’t let it touch the bottom of the pan), the temperature should read 195°F. Do not over-bake!!!
- Let brownies cool completely in pan, then cover well and refrigerate for a couple of hours, or overnight. When ready to cut the brownies, take a sharp knife and run along the sides of the pan that are not lined with parchment. Now, holding onto the parchment paper, lift out brownie. Cut the edges off (about 1/2″) and cut into 1 1/2″ squares and roll in powdered sugar, tapping or rubbing off any excess. Store in airtight container at room temperature, separating layers with parchment paper. If you leave a bit of space between the brownies, they will acquire their own sort of “crust”, which is very yummy! These brownies are better after a day or two, but are still delicious on day #1. Makes approximately 25 brownies if using an 8″ x 8″ pan, and approximately 36 brownies if using a 9″ x 9″ pan. These are small, almost like cubes, making it easy to eat more than one. Enjoy!
Notes:
*If you use unsalted butter, add 1/2 teaspoon table salt to your dry ingredients. I chose to use salted butter for these because I’m guessing that is what we used when I was a kid. Also, I opted for melting the butter, which diverges from the original recipe.
**I have been using Guittard Natural High Fat Cocoa Powder because it is so delicious and really adds to the flavor, but you can use any unsweetened natural cocoa powder you have handy. I do not recommend Dutch processed cocoa, as it will impart a more bitter-sweet flavor.
***I decided to try making some of the brownies topped with Ghirardelli’s semi-sweet chocolate chips. This is not at all traditional for our childhood brownies, but I was trying to reproduce a brownie that was very popular during my college years, and I do believe it works. The Ghirardelli’s are perfect for this, as their flavor is not too strong, and the chips are just the right size. If in doubt (like I was), just try half of the batch with chips, then you can decide which kind you like better. When I asked Matthew which he liked better, he said something very sweet and adorable, which I can’t remember now, but basically that both are perfection.
****I initially baked my brownies in an 8″ x 8″ square pan, which makes for a very tall brownie. It took all of the 45 minutes for the final bake, but I always start testing much sooner. If you don’t want your brownies too tall, use a 9″ x 9″ square pan, and maybe start testing a bit sooner. For me, the 9″ x 9″ pan takes about 35 minutes for the final bake, and I find that those brownies are plenty tall! Our family recipe card says to use a 9″ x 12″ pan… I don’t think they make those anymore!
The parchment paper makes for easy removing of the brownie.
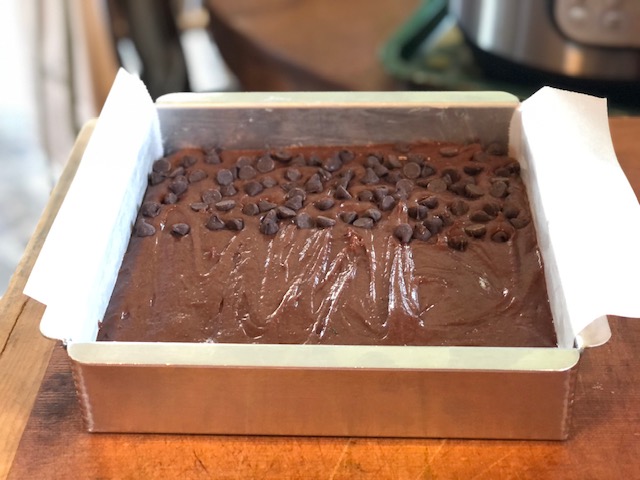
I experimented here: half with chocolate chips and half without.
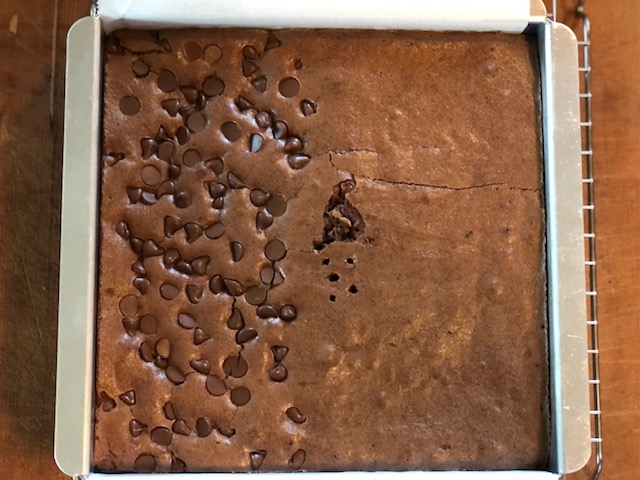
I gouged the center with all of the testing, but it will get covered with powdered sugar 🙂
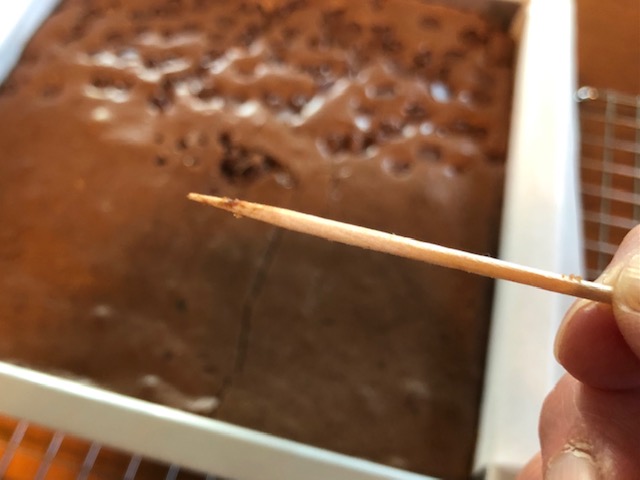
This toothpick says brownies are done: a fudge-y center – not wet, but not completely dry either.
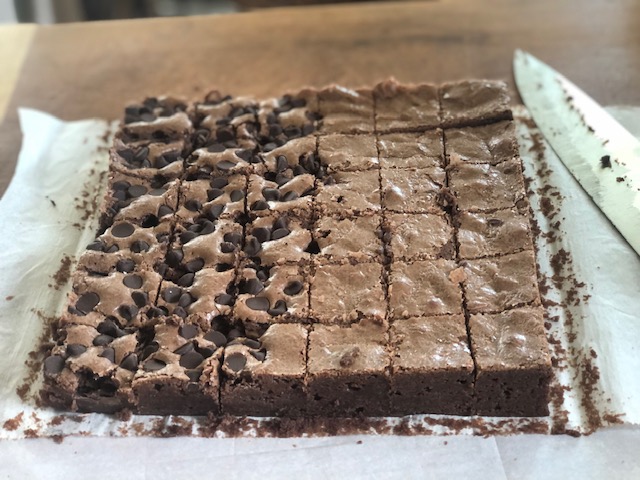
I cut off about a half inch of the edge (chef’s treat) and then cut into 36 squares (this one is a 9″ pan).
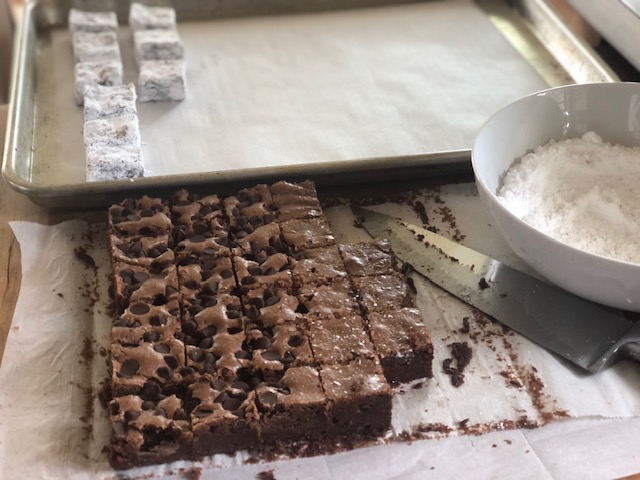
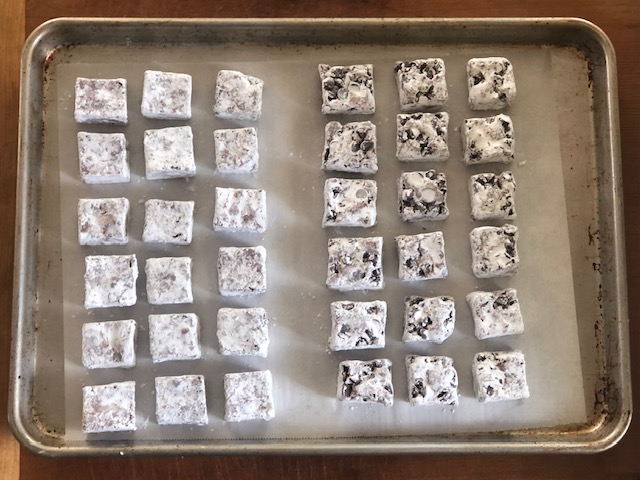
Roll all sides of brownie in powdered sugar; this is therapeutic, kind of like meditation…
From the 9″ pan, it makes 36 squares, plus the edges, of course.

Store in layers of parchment paper. The recipe makes a lot more, but, well… taste-testing!
These are very tall! Maybe some as tall as 1 1/2″? (from the 8″ pan)

Love that recipe card! The brownies look delicious. I always sprinkle chips on the top of mine, so I definitely approve of your deviation from the original.
Thanks Dorothy, I’m glad you approve! I bet you make fabulous brownies. I was actually surprised at how much I liked the addition of the chips, and at how much it reminded me of the brownies that I liked back in college.
A great memory jog!
Those brownies sound delicious! I love that highlight on the written recipe. That is such a precious thing to have and what a beautiful family photo. Wonderful memories like that give us hope and happiness. Thank you for sharing Angela.
Warmly,
Denisha
Thank you Denisha! These brownies are near and dear to my heart, with all the memories they evoke. Growing up, we never considered trying a different brownie recipe or experimenting the way I do now. This was always the one, and I think that now it will be the one at our house, too. I am so happy that my family loves them the way I do!
Some things just don’t need to change. ☺️
Agreed! ❤