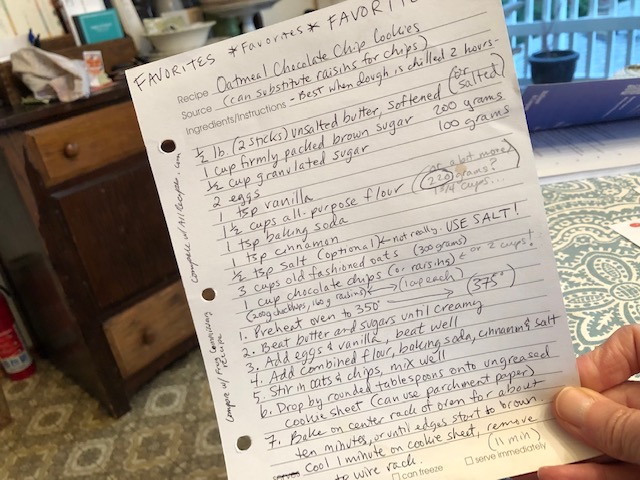
These cookies are oldies but goodies! Really, my favorite oatmeal cookie. I recently dug this recipe out to make oatmeal cookies for a friend. I hadn’t made them in quite a while, and the recipe has a lot of notes written all over it, mostly from my latest experience with it. And just a warning: you must chill the dough before baking.
I got the recipe from my friend Bethany, way back when our oldest kids were just little.
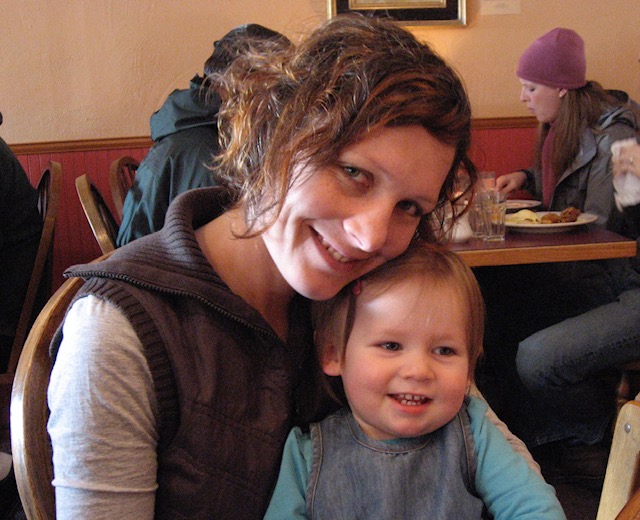
Bethany with her daughter Gwyneth, from a long time ago!
Bethany and I spent a lot of time in our kitchens together making lunches and treats for our kids (and of course for ourselves). I learned a lot of things from Bethany; she has an ease and confidence in her kitchen, and everything she makes is delicious! These cookies are no exception.
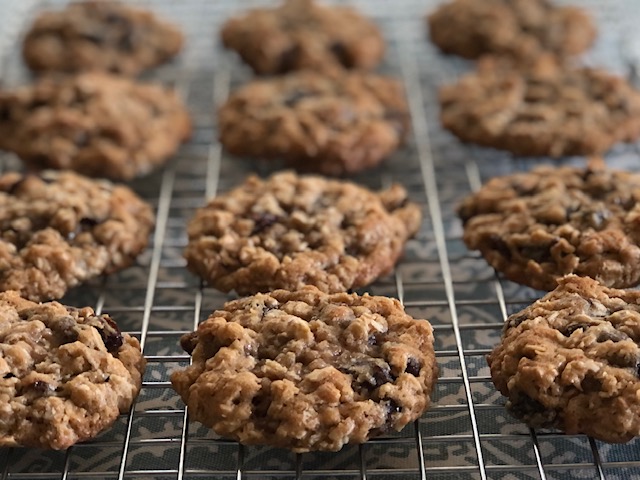
Nubbly!
They are slightly gooey in the middle, and crispy on the outer edges, and they are not flat, thanks to a little refrigeration before baking, and plenty of add-ins. I have decided that the combination of chocolate and raisins for these cookies is absolutely dreamy, but you can do one or the other. Honestly, I wouldn’t have thought of myself as a huge oatmeal cookie fan, but when I have these around, I can’t resist them. I hope you feel the same way.
Oatmeal Chocolate Chip Raisin Cookies
- 1 1/2 cups (220 grams) all-purpose flour*
- 1 teaspoon baking soda
- 1 teaspoon cinnamon
- 1/2 teaspoon salt**
- 1 cup (2 sticks or 227 grams) unsalted butter**, at room temperature
- 1 cup (200 grams) firmly packed light brown sugar
- 1/2 cup (100 grams) granulated sugar
- 2 large eggs
- 1 teaspoon vanilla
- 3 cups (300 grams) old fashioned toasted oats*** (not instant!)
- 1 cup (200 grams) semi-sweet chocolate chips
- 1 cup (160 grams) raisins
- In a medium bowl, whisk together the flour, baking soda, cinnamon, and salt. Set aside.
- In a large bowl using an electric mixer or stand mixer, beat butter and sugars together until creamy, about 2 minutes at medium speed.
- Add eggs one at a time, beating well and scraping down the bowl. Then beat in the vanilla.
- Add the flour mixture and beat on low speed until all flour has been absorbed.
- Stir in the oats, chocolate chips and raisins by hand, using a wooden spoon. You can add them all at once. Make sure everything is well combined.
- Scoop out the cookie dough into 1 1/2 tablespoon balls (a cookie scoop makes this easy!) and chill them in the fridge for at least two hours****. I often will let them chill on a baking sheet, and then put them in an airtight container and leave them in the fridge for emergency cookie needs, haha. Nice to have homemade cookies at a moment’s notice!
- When ready to bake, preheat oven to 375° and line two cookie sheets with parchment paper. Place cookie dough balls on cookie sheet two inches apart. Gently press the dough balls down just a little to make pudgy discs; they should still be almost an inch tall. (photo below)
- Bake in your preheated 375° oven on the center rack, one cookie sheet at a time, for 10 to 11 minutes, until edges start to brown. It’s okay if center looks slightly under-baked.
- Let cookies cool on cookie sheet for just a couple of minutes, then transfer to a cooling rack to cool completely. Enjoy!
Notes:
*The weight of flour here is for a heavy cup of flour. I have tested with both scooping the measuring cup with dense flour (not fluffed), and also with weighing the flour; 220 grams is the perfect amount. If you don’t have a scale, scoop your measuring cup into your flour container for compact flour. Why? Because this is an old recipe. I find that old recipes often have a cup of flour equal almost 150 grams. Newer recipes have a cup of flour equal 120 to 130 grams. It really does make things a little confusing, but you can trust me when I tell you that this recipe requires 220 grams of flour, or densely measured cups.
**If you only have salted butter, that’s fine to use. Just reduce the salt to 1/8 teaspoon.
***I use Trader Joe’s “Oven Toasted Old Fashioned Organic Oats”. I recently realized that the toasted part makes a big difference in the final results. If you aren’t close to a Trader Joe’s, you can toast your own oats.
***Don’t skip the chilling of the dough! This step is essential for the thick, chewy texture of these cookies.
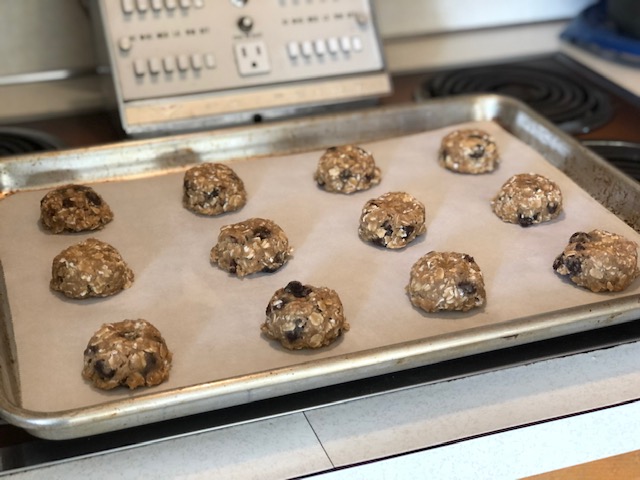
Chubby discs!
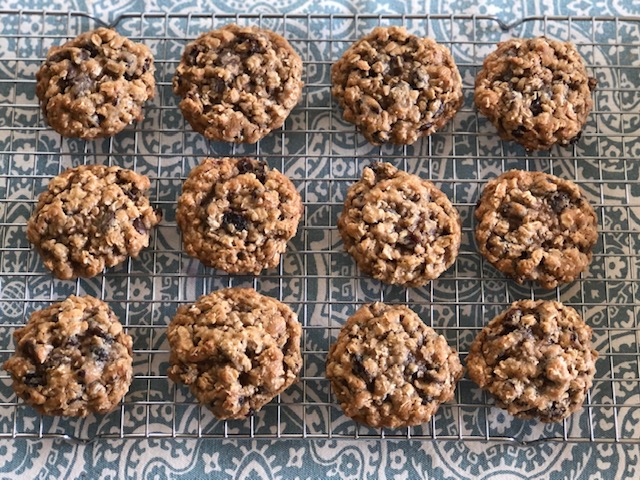
Chewy and delicious!
