I know there are many techniques to making fried eggs – – over medium to be more specific, and until I found this one, I had many mishaps: broken yokes, eggs drift away from each other on the pan making them difficult to flip, difficult to flip anyway, yokes overdone, white underdone…
But with a good non-stick pan with a lid (preferably glass), you need never worry about these things again! No flipping necessary!
[This part right here might be extra important!! You don’t want the timing of making your toast to get in the way of your perfectly fried eggs, so here’s what you do: make and butter your toast, and put it directly on your middle oven rack, with the oven on “warm”. Do this before you start making your eggs. That way, when your perfectly fried eggs are ready, you will have hot and crispy toast ready to go! No more soggy toast!]
So here is my magic way of making fried eggs, pretty much perfect every time! First, you break the eggs into a shallow bowl that will pour easily.

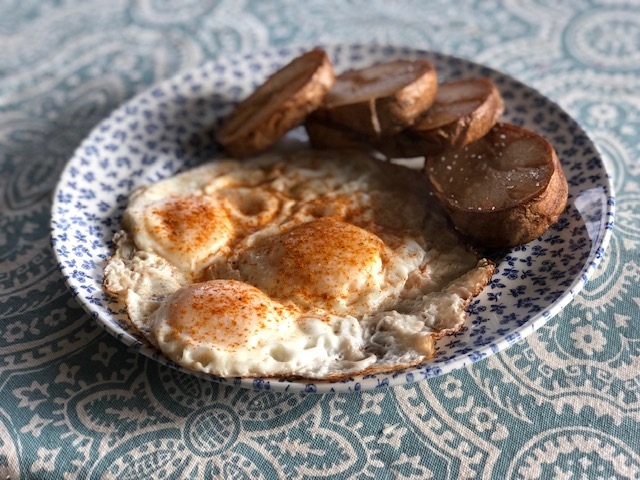
Yes, sometimes I have three. Don’t judge me.
Set your pan on a burner and heat it to medium-high. Set a digital timer (use your microwave timer or your smart phone timer if you don’t have a digital kitchen timer) for 50 seconds. Make sure to set the timer, but don’t hit “start” yet.
Toss a few drops of water in your pan. If they sizzle, you are ready to go. Don’t overheat the pan dry.
The next part needs to happen rather quickly and precisely, like clockwork. Once water drops will sizzle, put some butter in the pan and don’t be stingy about it. The butter will melt fast, and may even start to turn golden -that’s okay. Just don’t let it burn. Gently pour the eggs into your pan and put the lid on it immediately! Now hit the “start” button on your timer.

When the timer goes off, immediately take the pan off the heat and to a burner that is not turned on, and restart the timer for another 50 seconds. Since the lid is glass (hopefully), you can kind of see whats going on in there. It’s the steam that is cooking those egg whites, so as soon as you notice that the egg whites are thoroughly cooked, go ahead and take the pan off the burner and slide the eggs onto your plate. Depending on the size of your pan (I use a 10″ pan), and also depending on whether you are making two or three eggs, this could take a bit longer than 50 seconds, or a bit less. That’s why monitoring is a good idea. The entire thing takes just a few minutes, so don’t wander off and check your email.
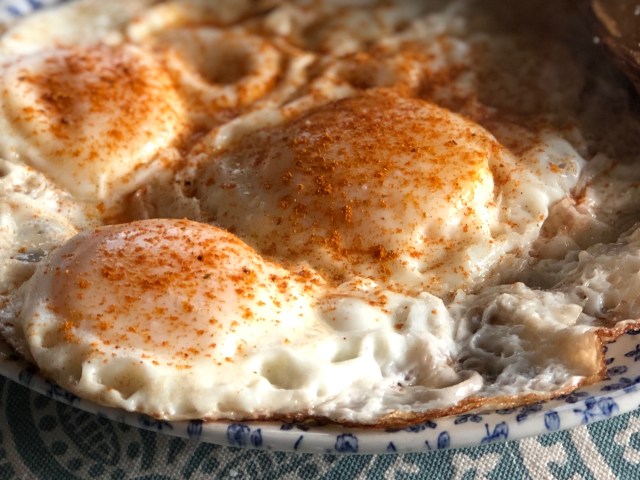
Here’s what I love: a runny yolk, perfectly cooked egg whites that are tender and not rubbery, and a crisp edge. Oh yes, the crisp edge. By the way, that is curry powder that is sprinkled on the eggs. It is something that I remember my mom doing, and now it’s the way my entire family enjoys their eggs, even dear husband Matthew, who has his own technique for making eggs, which includes a lot of huffing and puffing, and maybe some swear words.
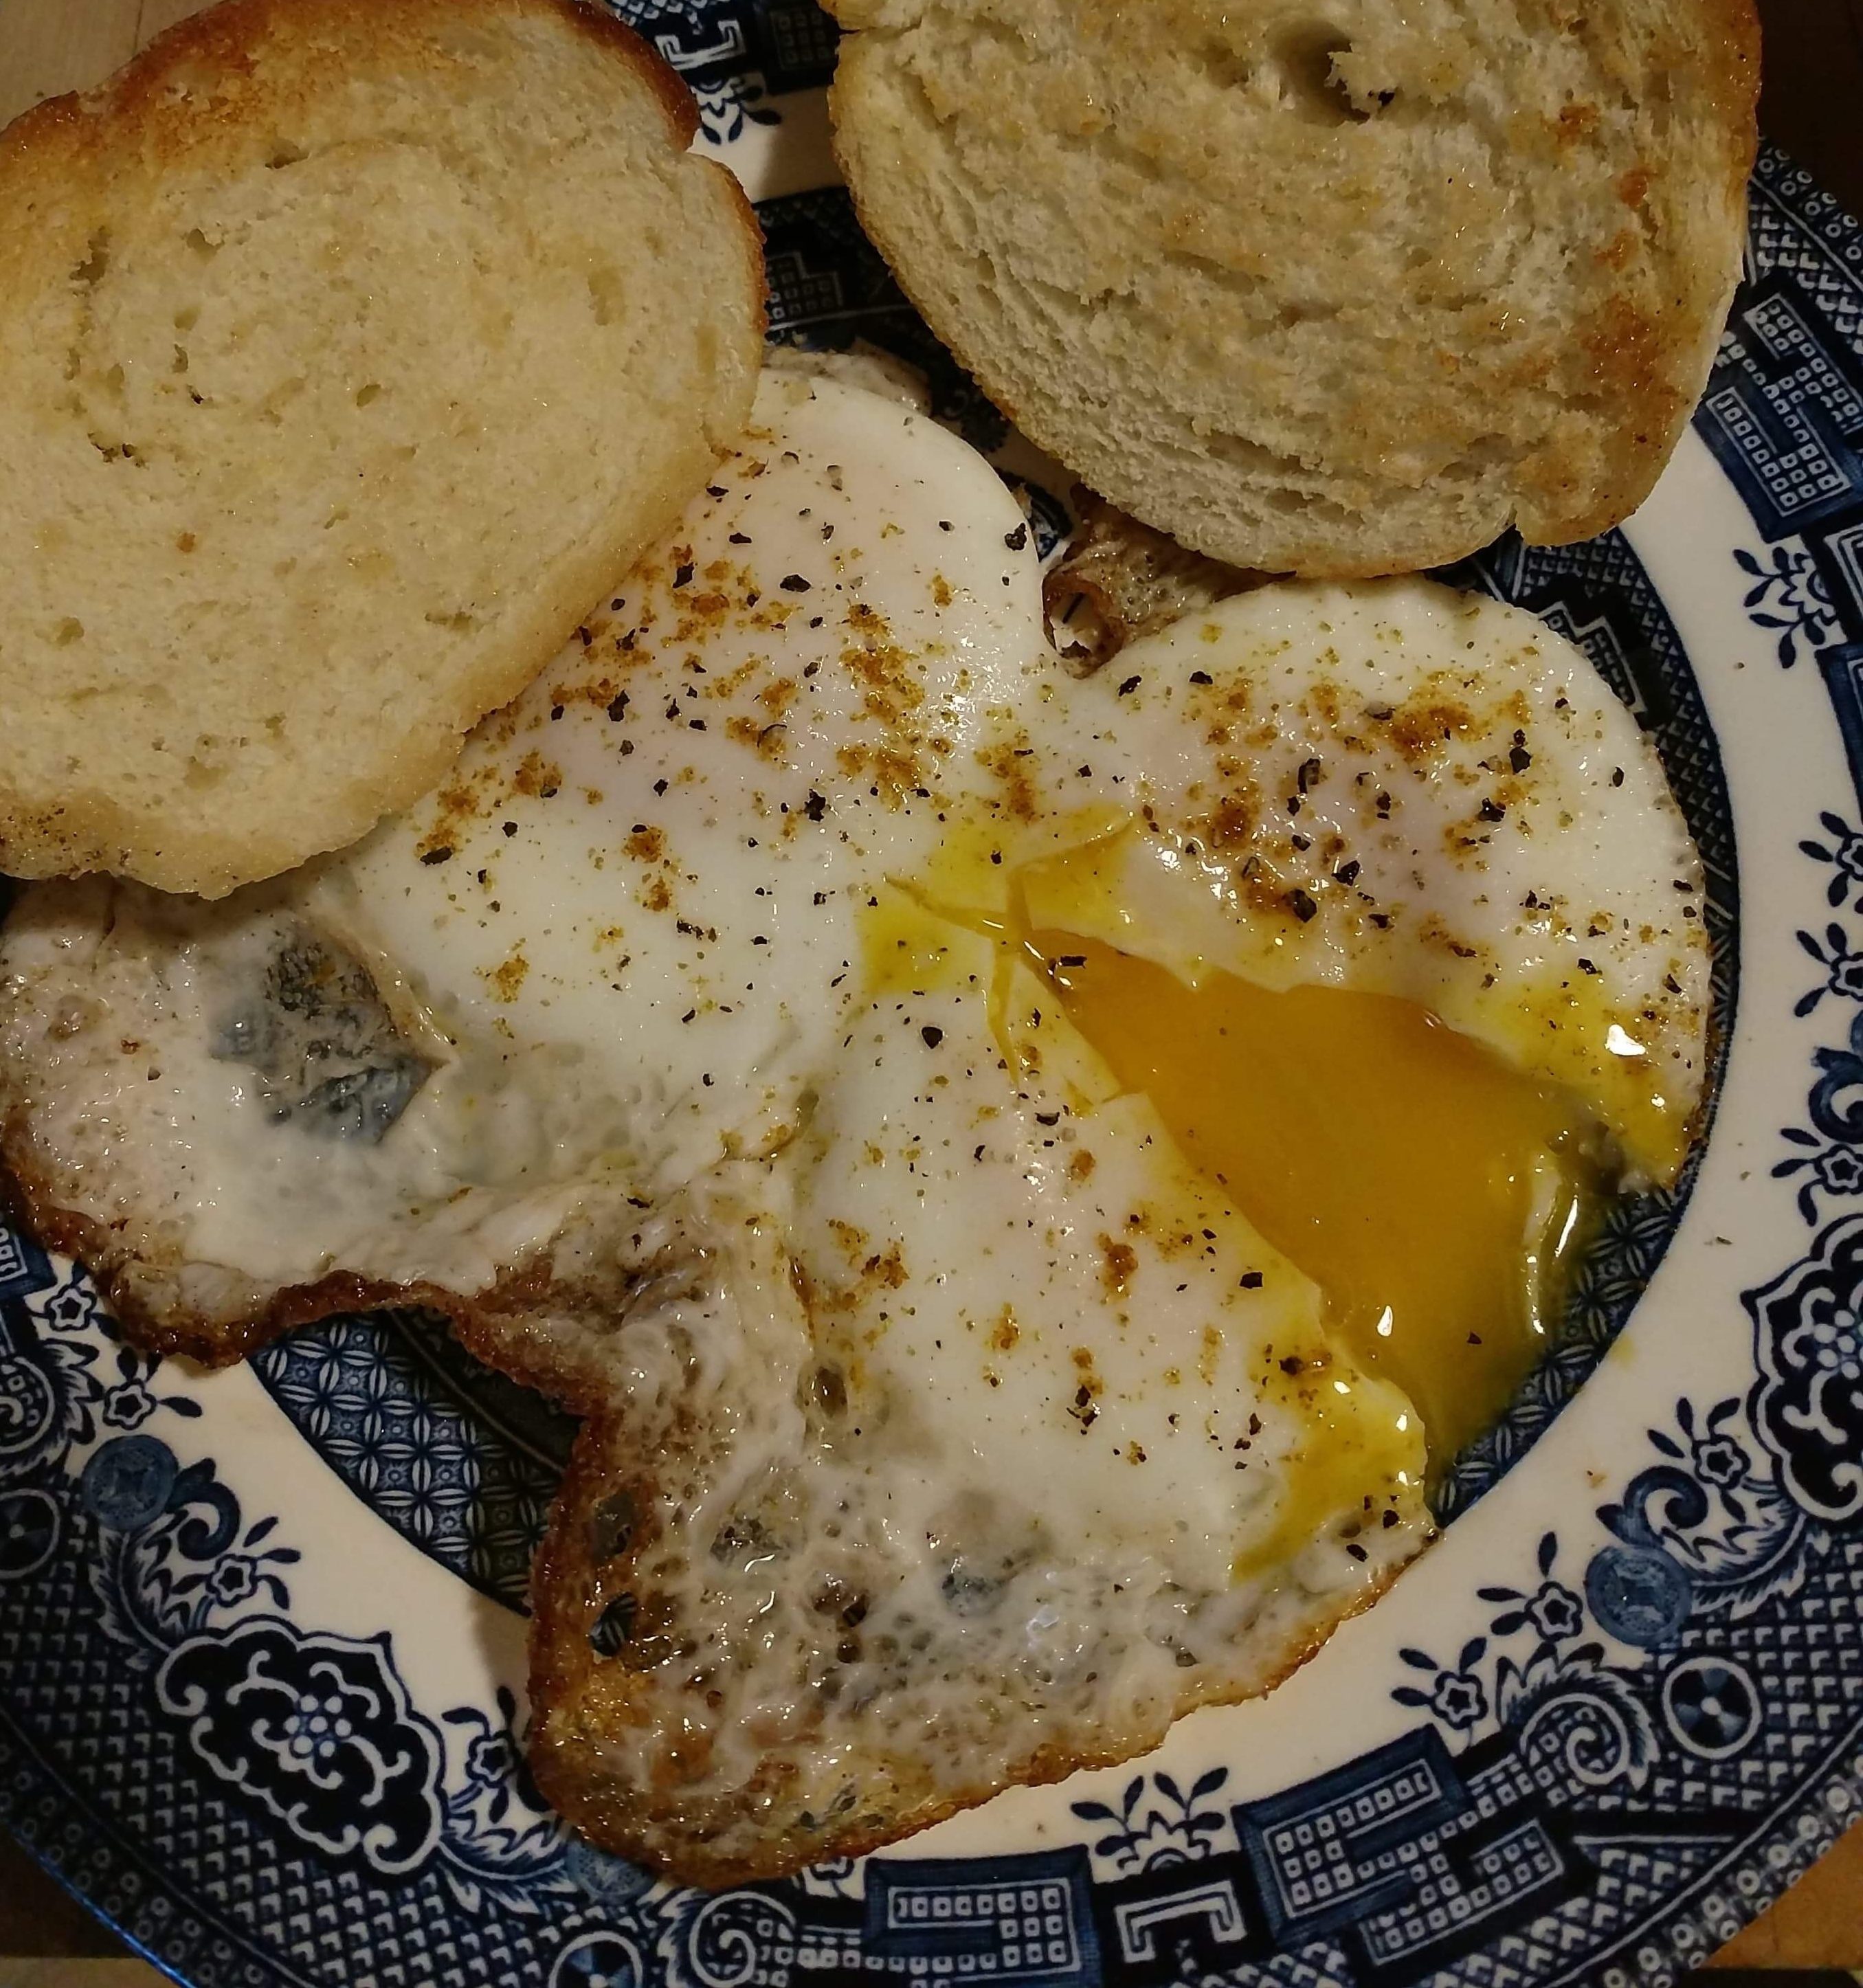
My friend Christy sent me a picture of her perfectly fried eggs. Look at the crispy edges and the runny yolk! And the beautiful blue and white plate. Eggs always taste better on a blue and white plate.

Too risky to flip eggs! This is a great method 👍🏼
Thanks Alicia! I love it too!
I tried it, twice! The first time I didn’t let my pan heat up enough so I had to go about twice as long, and while they still looked good, didn’t have any crispy edges. I gave those away to my oldest son! Second try, immediately after, cooked for 50 sec on heat, and 1 minute off because I was distracted putting toast in the toaster, lol. But the eggs were perfect, runny yolks, and brown crispy goodness along the edges. I am hooked!
That is great, Christy! And it’s nice to hand off your rejects to your grateful children, LOL! Oh, and I have a thing for the toast! Forgot to mention it in the post, as I didn’t have toast with my eggs this morning – I know, crazy. But here it is – you turn your oven on to low, about 200°. Make your toast, butter it, and put it directly on the rack in your oven. Do this *before* you make your eggs, because you don’t want to be messing with toast while trying to fry an egg! When your eggs are done, you pull the toast out of the oven, and it is hot and perfectly crispy; no toast sweat softening it up! I am going to edit my post and mention this, because it’s definitely part of my ritual, and I don’t like soggy toast or cold eggs!
Great post, Angela! This is brilliant in it’s simplicity, a must for every egg lover and an entertaining read. Love the ‘don’t judge me’.
Thanks Marv! And thanks for reading :).
Chef!
I greatly enjoyed your illustrated play by play fried egg blog. I had recently been thinking of writing you for advice on this very subject, having experienced every prob mentioned in paragraph #1 🙂
A big question that I have is, how does one not let the butter burn? I use olive oil to cook eggs, but one time, going for the coveted crispy edge, I used butter. The butter turned golden, and then started smoking! And the fire alarm went off. (Same thing with pancakes: the crispy edge, and smoky butter.) It’s a disaster every time lol !
Also, what is your recommendation a “good non stick pan”? Any particular brand? We have a flat glass top electric stove, and the nice flat pans eventually become warped and wobbly. We’re looking for one that will stay flat. Is there such a thing?
Thanks for sharing your experiences and kitchen tricks, sister mine. Never thought about cooking eggs with a glass lid, or finishing the cooking off the burner! That final photo with the crispy edge and curry powder is inspiring! xxx
Hello dear sister!! Wow. I have no experience with glass stove tops. I did a bit of research, and found that the warped pan thing is a chronic issue with glass stove tops. So here is what I recommend, with my limited knowledge. Use a pan that is a bit heavier. I use Tramontina brand for non-stick, which is nothing to get excited about, but the non-stick part of *any* pan will start to deteriorate over time, so I replace my non-stick pans about once a year. They feel nice and heavy-duty, but are inexpensive. One time I bought Calphalon non-stick, and was chagrined to find that the non-stick surface started to deteriorate just as quickly as the cheaper brands. Won’t do that again.
Make sure that the flat part of your pan is not wider than the burner surface, or if it is, no more than a half inch. Ideally, the flat part of your pan will be about the same size as the burner. This might help with the whole warping thing. Heat your pan up slowly to medium heat. Sounds like your burners run hot, and you may be over heating your pan, thus the burning butter (and warping). OR you could just rip the smoke detector off the wall until you are done… remember Nicholas McG____’s chocolate cheesecake; why let a little bit of smoke get in the way of a work of art?…. but I digress. The moment you see the butter turn a tad golden, pour in the eggs. This will temporarily reduce the temperature of the pan, and hopefully stop any over heating or burning butter. I’m wondering if you will be able to achieve the crispy edges using medium heat instead of med-high. When I use cast iron or enamel over cast iron, I *never* heat higher than medium, because those pans get a lot hotter than others. In any case, I will experiment with using only medium heat and see if I can get the results that I like. Another thing – let your pan cool down naturally to room temp before washing. Any sudden temperature change can warp the pan. Let me know how it goes!
Ok, so, you definitely want the butter to turn golden and have a hot pan! I had no crispy edges today! Done experimenting….
Hey. Flag on the field! You threw me under the bus, Spouse! I use a fair sprinkling of sotto voce swears, sure, but that’s to release built up tension as I flip the eggs so that my muscles remain relaxed, loose and nimble. If I didn’t utter the occasional oath while making easy-mediums, the lactic acid buildup in my wrists and forearms would prevent the fluidity of motion required to flip successfully.
I meant “over mediums”.
I see that your technique far exceeds my estimation of it. I will pay better attention next time!