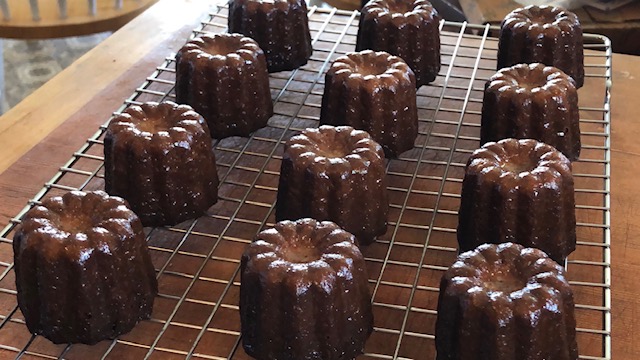
Well, I kind of can’t believe I am even making these. You may ask, what on earth are those??? A couple of months ago, a friend of mine dropped some of these little gems off for me as a gift. They are called Cannelés de Bordeaux. I had never had them before, or even seen them. They are little vanilla rum custards with a crispy caramelized exterior.
I was unsure, but I kept trying them, and they grew on me. I had to make them. I even bought a special pan for them. Here is a link for the pan, in case you get tempted to make these yourself.
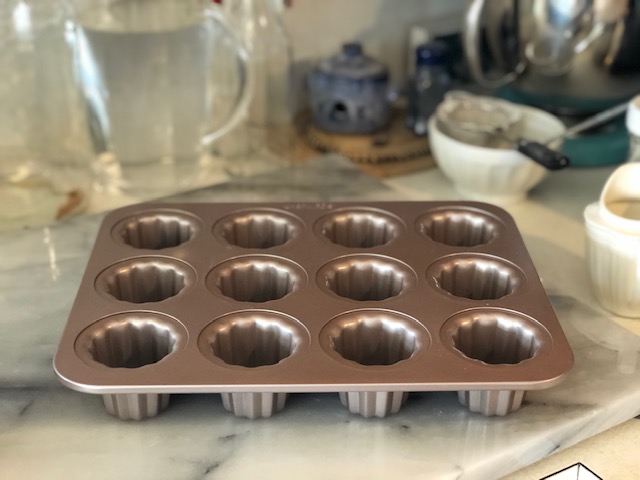
This pan works so nicely!
I played around with a couple of recipes. The recipe I found that I liked the best was this one, from Entertaining with Beth. I thought they were good, but I was curious, because after doing a lot of research, I discovered that most cannelés recipes had twice the amount of sugar, so I decided to up the sugar, and the result was much better, in my opinion. More sugar = better caramelization. I also wanted a more traditional exterior, so instead of using baking spray, I used unsalted butter with a small amount of beeswax from a local beekeeper… yep, that’s right. This gives the exterior a certain je ne sais quoi.
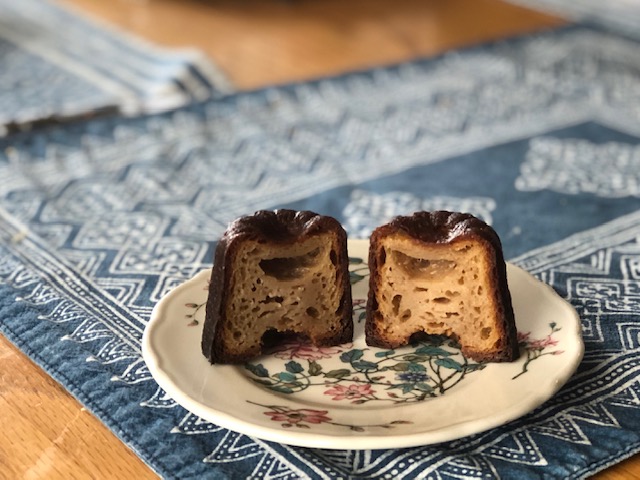
But I have to say, I am not a huge fan of the flavor of rum, and neither are my kids. I was also talking to my friend Stephanie (my daughters refer to her and her family as the Californians), and she agreed that rum was not her favorite. So I decided to play around with some ideas. My kids and I love pumpkin pie spices, and since my secret ingredient for pumpkin pie is bourbon, I decided to try to make these cannelés with bourbon and pumpkin pie spices: success!!! I know it’s not traditional at all, but we really like them this way, and they still have the delicious crispy caramelized exterior, and a yummy custard center. And in case you were wondering, the alcohol cooks out completely, so these are not boozy at all. Just yummy. And so very pretty.
Warning: this batter needs to rest in the fridge for a couple of days before using, so plan ahead!
Bourbon and Spice Cannelés
(Adapted from this recipe)
- 2 cups (475 ml) whole milk
- 3 Tbsp (45 grams) salted butter
- 1 scant cup (~190 grams) sugar
- 3 egg yolks
- 3/4 tsp sea salt
- 3 Tbsp good quality bourbon
- 1 tsp vanilla or vanilla paste
- 1 cup (120 grams) all-purpose flour (I prefer King Arthur flour)
- 1/2 tsp cinnamon
- 1/2 tsp nutmeg
- 1/4 tsp ginger
- 1/4 tsp ground cloves
- 1/8 tsp allspice
- 2 Tbsp unsalted butter for the pan
- 1 scant tsp food-grade beeswax for the pan (optional)
- In medium saucepan, combine the milk, salted butter, and sugar. Heat until butter has melted, stirring all the while. Remove from heat.
- In large mixing bowl, whisk together the egg yolks, salt, bourbon and vanilla. Slowly temper the eggs by ladling a small amount of the warm milk into them, whisking continuously. Continue to add the milk little by little until all has been incorporated.
- In a medium bowl, whisk together the flour and spices. Sprinkle the flour mixture little by little into the wet ingredients, whisking vigorously. Continue until all the flour has been incorporated.
- Strain the mixture through a fine mesh sieve into a 4-cup mason jar. Cover and refrigerate for at least one day, but two days is better, and if you forget and let it sit for four days, it’s still good! Ask me how I know…
- When you are ready to bake, preheat oven to 450°. Make sure your oven preheats for a solid 15 to 20 minutes. While it is preheating, melt the unsalted butter and smidge of beeswax (if using) in a small skillet. Brush the inside of twelve cannelé tins with the butter/beeswax mixture using a pastry brush.
- Stir batter gently, as it will have settled and separated in the fridge. Don’t panic! Use a whisk if you need to, to break up the top layer. Mix gently so you don’t add too much air to the batter, but you don’t want any lumps either.
- I weighed my batter, and I ended up having about 70 grams of batter per cannelé. I like to weigh the batter so that the cannelés bake evenly. If you don’t feel like doing that, just make sure that you leave about a half inch of space at the top of each tin. The cannelés rise as they bake and they need room, otherwise they will mushroom out of the tins and be misshapen.
- Bake at 450° for ten minutes, then reduce the heat to 375° and bake for about 45 to 55 minutes more. The cannelés should be a dark golden brown color.
- Place a cooling rack on top of the cannelé pan and flip over to get the cannelés out of the pan. If the rounded little tops look pale, place the pan back on top of the cannelés and flip the entire thing back over to get the cannelés back into the pan. Put back in the oven and bake for another ten minutes and check again. They are done when they have nice even color. Let cool for several hours before enjoying. They can be stored at room temperature for two to three days, if they last that long.

Add the warm milk slowly to the egg mixture.
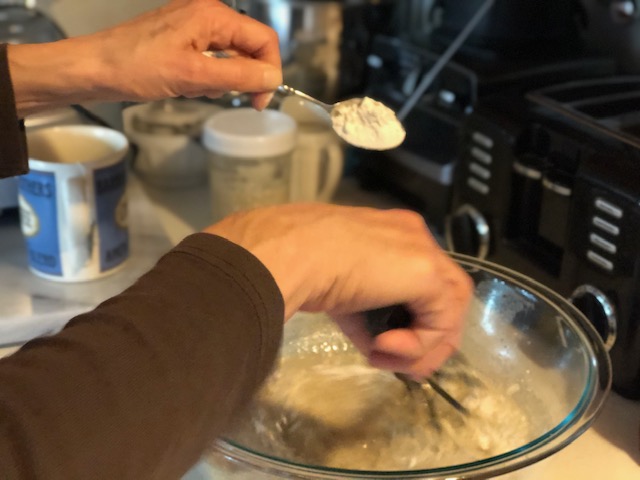
Add the flour mixture little by little.
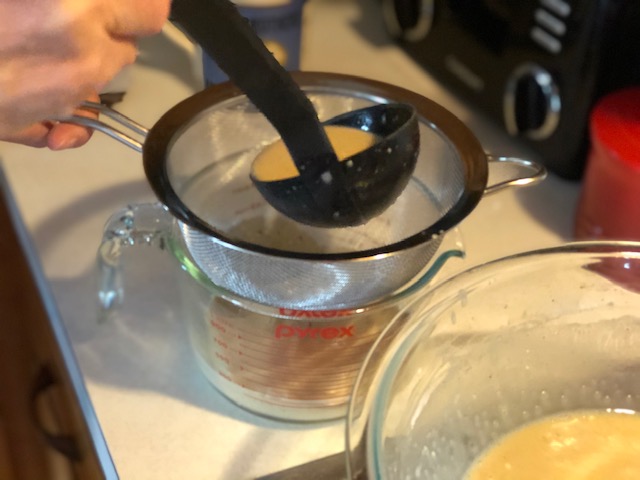
Strain through a fine mesh sieve.
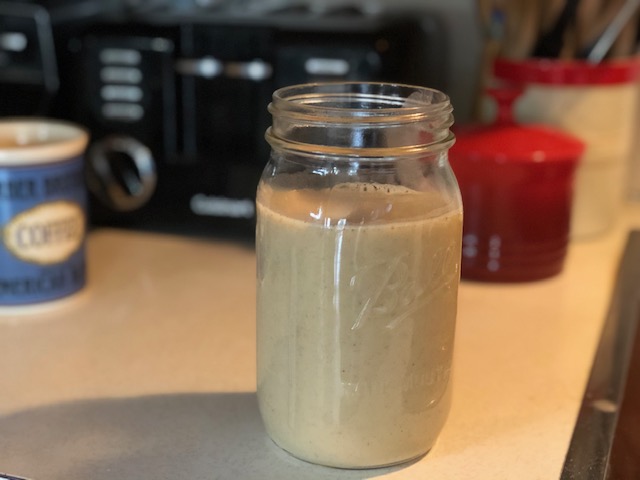
Pour into a mason jar, cover, and store in fridge.
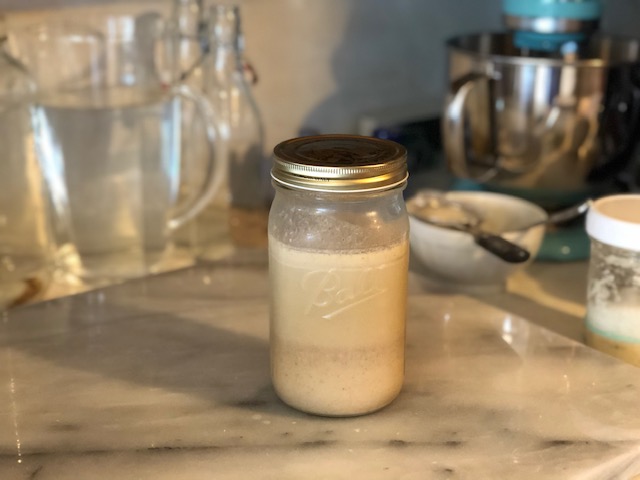
Batter has separated; no big deal.

Mix with whisk.
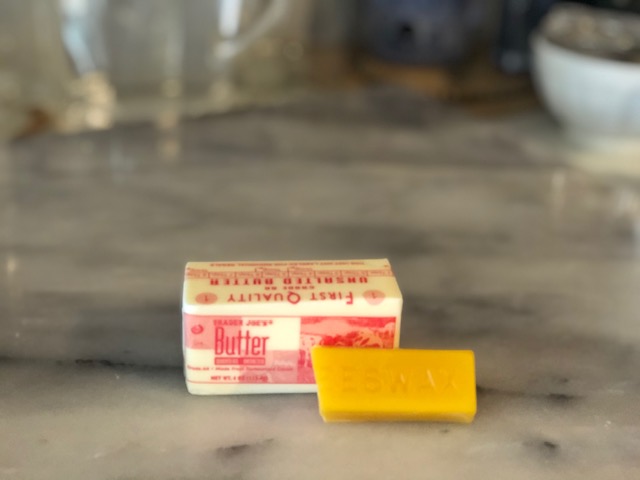
For the pan, just a little of each.
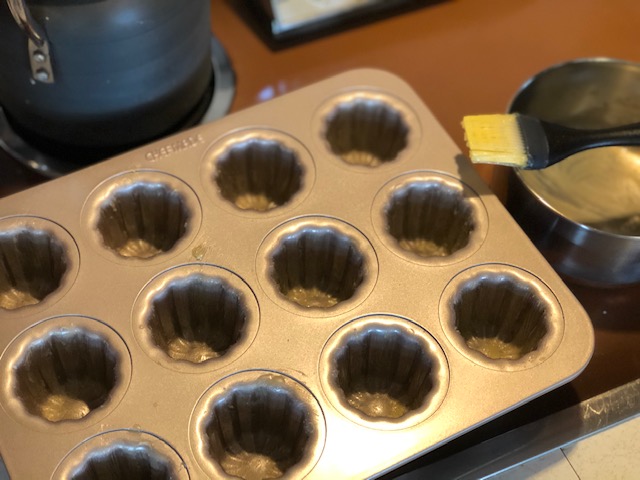
Coat the tins.
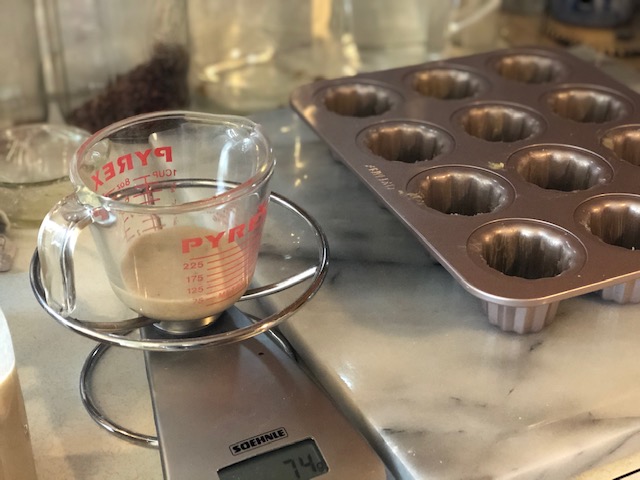
Weigh out the batter. About 70 grams is good.
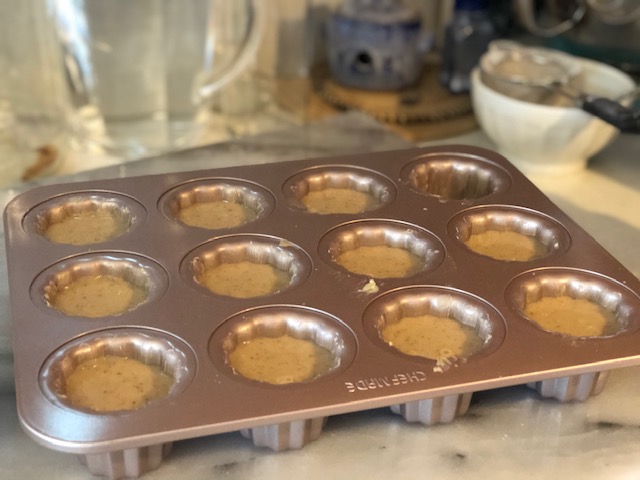
Make sure to leave half an inch space at the top. Don’t overfill!
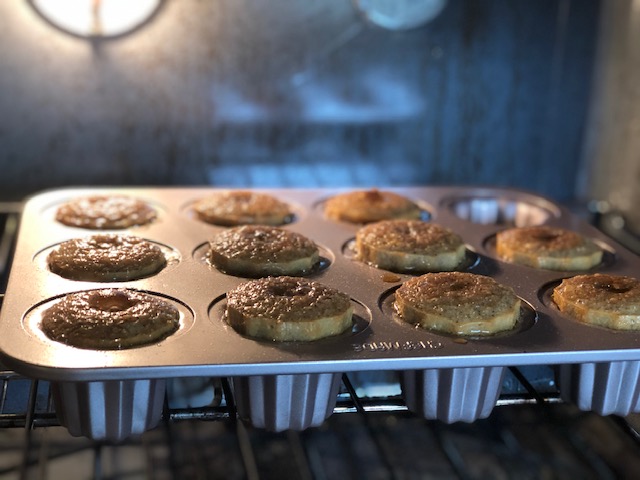
The are rising in the oven.
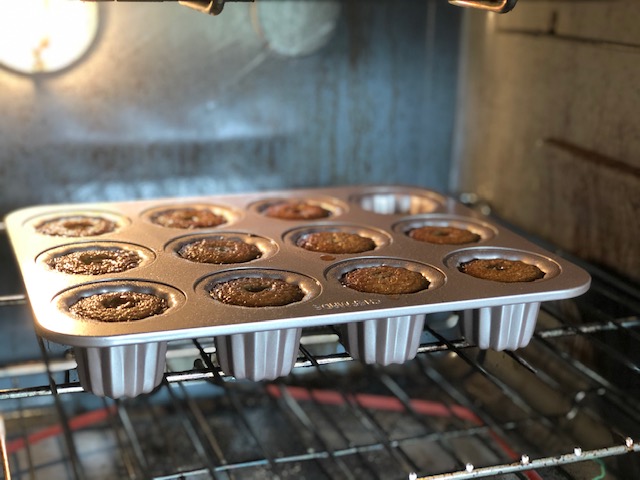
But they sink back down.

Not ready!!! These need to go back into the oven.
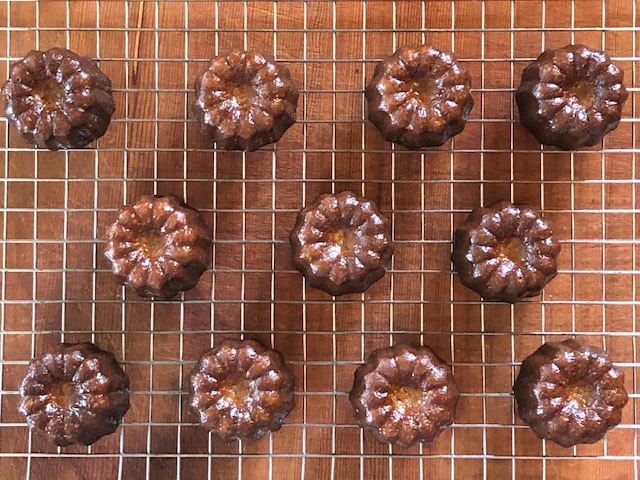
Let cool for at least a couple of hours.
So cute!

I had the pleasure of tucking into one of these beauties. They are every bit as delicious as they look. Thanks, Angela, for giving us easy-to-follow instructions for how to make them and pictures too! Very helpful.
Thanks Jill!! I will save you one from my next batch… and thanks for reading :).
OMG. I’m still feeling lucky from the last “drive by” delivery. I had never had one of these before. Turns out, Canneles are every bit worth they hype. Correction: YOUR canneles are worth the hype!
Fabulous recipe! The flavor is marvelous and you make such a complicated looking treat seem easy to make. Note: I made mine dairy free by subbing lite coconut milk and earth balance buttery sticks. I decided to use lite coconut milk vs almond milk or the coconut milk in a carton – b/c it has a bit more fat (5g). Due to the substitutions or maybe my oven, bake time after turning my oven down to 375 was more like an hour and ten minutes. The end result is pure perfection.
Thank you Calina! I am so happy that they came out nicely for you, and I am thrilled that the substitutions worked – hooray! I have a very dear family member that is dairy-free, and now I can make these for her, using your substitutions. Fantastic! What brand of coconut milk did you use?
Thai Kitchen Lite coconut milk. Sometimes you can buy it by the pint in a resealable carton, which is what I used, but its basically the same as what’s in the can. I think any milk alternative with a little fat in it would work. On a related note: the earth balance buttery sticks, vs the spread, is best for baking. The spread has a bit more moisture in it. I also think that coconut oil could work for this recipe.
Perfect! I am grateful for your non-dairy expertise!