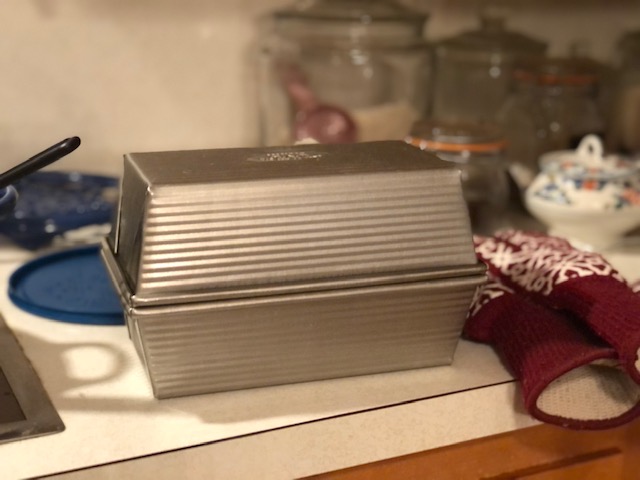
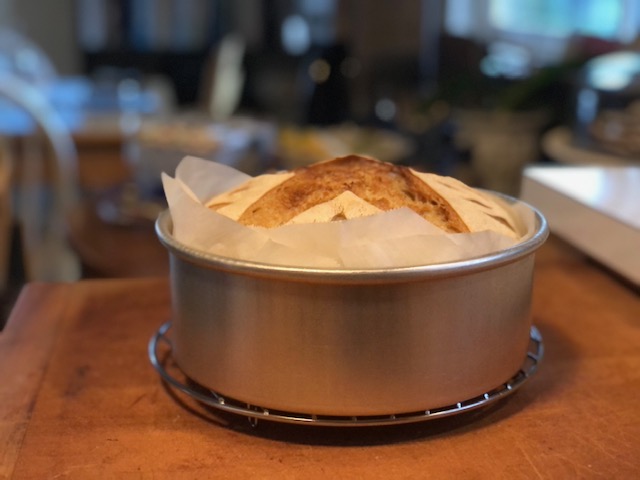
Lately, this is how I’ve been making my sourdough bread. It’s really tall!!! And I never get tired of pulling that top pan off and seeing the amazing rise that has happened.

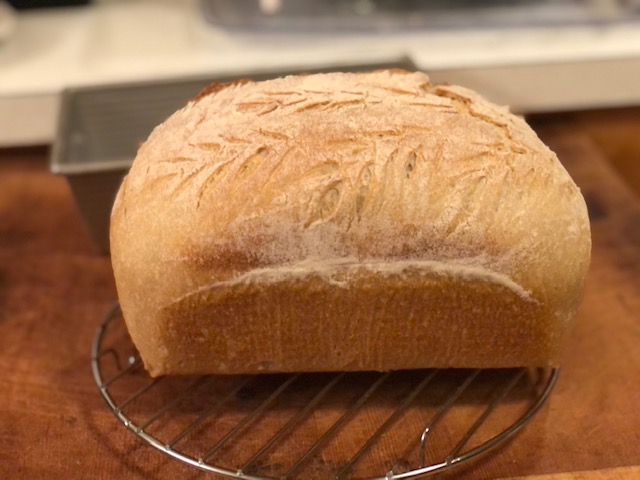
This time I wanted a sourdough sandwich loaf that was not dense or too soft. So I decided to make a standard sourdough loaf, and treat it the same as an “artisanal” loaf, but just bake it in a loaf tin with another loaf tin on top to create that steamy environment, which encourages a better rise and a lovely, thin and crispy crust.
The result is a tall and gorgeous sandwich loaf!
And here is the crazy part. If you want a tall round loaf, you can use two round cake pans and you will get a super impressive, festive creation. I can hardly get over it!
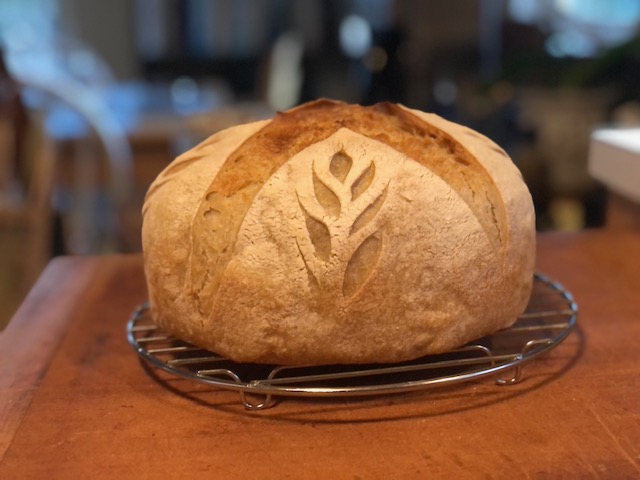
Yes, that’s correct. I made the above loaf by baking it in a cake pan with an inverted cake pan on top! I brought it to a holiday party and everyone loved it – so beautiful and unusual!****

So you can take your regular sourdough bread recipe and use your loaf pan or cake pan as both a proofing and baking vessel. I love the simplicity of it, and I love how tall and gorgeous the loaves are. I’m sure I’m repeating myself by now. And if you’d like to know what my recipe is, here you go.
Two Pan Sourdough Bread
- 340 grams filtered water, room temp
- 50 grams active bubbly starter
- 30 grams (2 tablespoons) olive oil (for softness)
- 500 grams bread flour*
- 9 grams (1.5 teaspoons) kosher salt
Day #1
- (Before making this bread, you will want to feed your sourdough starter a couple of times to make sure it is good and active… maybe once every twelve hours, including the night before you want to make your bread.) In the morning, in a medium bowl, mix 50 grams of your active starter with 340 grams water and 2 tablespoons olive oil. Whisk together until it looks milky and the starter is well incorporated.
- Add the flour and salt, and mix with a wooden spoon or dough whisk until there are no dry floury bits. The dough will look shaggy.
- Cover the dough and let rest for about an hour.
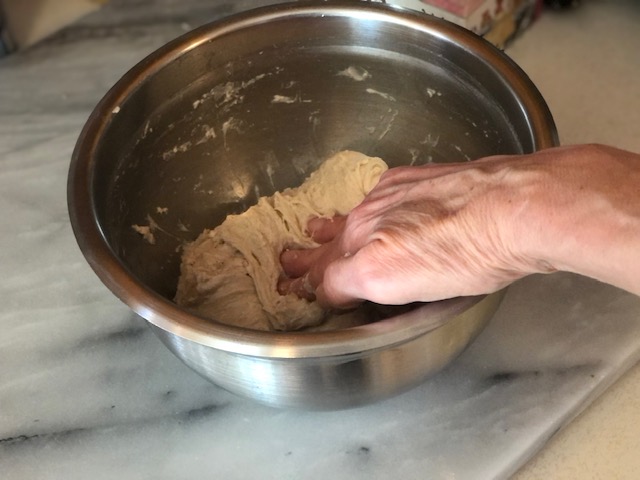
- After the dough has rested, mix the dough until it is smooth and springy: using a slightly wet hand (I keep a bowl of water handy), grab the dough from the side of the bowl and press it into the center. Rotate the bowl and continue to grab and press until you’ve gone around a couple of times. I really go to town on this, so maybe I stretch and fold over the dough about 16 to 20 times! This should take maybe about a minute. The dough will become more elastic and springy and smooth rather quickly. Flip the dough over in the bowl (smooth side up), cover the bowl with plastic wrap or similar covering, and leave on your counter.
- After about half an hour, using a bowl scraper or spatula, scrape all along the side and bottom of the bowl to make sure the dough isn’t sticking. With wet hands, scoop up the dough from the middle, letting the dough hang and stretch. Gently release the dough into a pile and rotate the bowl one quarter turn. Repeat, scooping up the dough and letting it hang and stretch. I sometimes jiggle it to encourage it to stretch a bit more. Tuck the sides of the dough under to make a nice round ball, then cover the bowl and leave on the counter. These are called coil folds, and they will help develop the gluten in the dough, giving the finished bread a nice structure. You can come back and do another set of folds in about a half hour if you like. That’s about as many as I ever do. Then leave the dough covered for anywhere from four to six hours, or until it has almost doubled in size, and has a bubble or two on the top (this varies depending on kitchen temperature, strength of starter, flour used, etc). Keep an eye on your dough because you don’t want it to rise too much! You’re just looking for the dough to be a little airy and jiggly, but you don’t want it huge and sloppy.
- Once the dough has almost doubled in size, gently scrape the dough out onto a lightly floured work surface using a spatula or bowl scraper. It is time to preshape your dough. Take your fingers and slide them under the sides of the dough and gently stretch the dough out a bit to make a large circle. Fold the sides of the dough into the center, starting at one side and continuing until you have gone all the way around, brushing off any excess flour as you go. Flip the whole thing over with the assistance of a bench scraper or bowl scraper. The dough will be “smooth side up”. Now cup the dough with your hands and draw it towards you, pressing slightly under as you go. Rotate the dough a quarter turn and repeat. Do this several times, but gently! You don’t want the dough to tear. You want the dough to be evenly round, and to feel taut and a bit springy. Once it is shaped nicely, cover it with the bowl it was just in, and let it rest for a half hour.
- While the dough is resting, get your 9″ x 5″ loaf pan** (size is important here, as a smaller loaf pan won’t do). Cut a piece of parchment paper to fit into your loaf pan and up the sides with a bit of overhang. You can bypass the parchment by greasing your loaf tin… I prefer parchment, which I reuse many times. After your dough has rested for about a half hour, lightly flour the top of the dough and flip it back over using your bench scraper. Slip your fingers under the dough and stretch it out to a rectangular shape. Lightly flour your finger tips and, acting like you are playing the piano, gently dimple the dough. This helps to minimize large holes in your bread. Take one short side and fold it partway over. Then take the other short side and fold that over, like you are folding a letter. Does anyone do that anymore? Now with the short end facing you, roll the dough up like a cinnamon roll, ending up with the seam side down. Pull the spirally ends over to clean things up and tuck under. Carefully pick up your dough with the assistance of a bench scraper or bowl scraper and place into your parchment lined loaf pan, seam side down. Cover with a shower cap style cover or plastic wrap and place in fridge to let rest and rise overnight***.
Day #2
- You can get started any time you feel like it. When you are ready, preheat your oven to 450° for about twenty minutes.
- Once the oven is preheated, take your bread dough out of the fridge. Remove the covering. Your dough should have risen to mostly fill the pan and rise about an inch above at the highest spot. Sprinkle your dough with a bit of flour and smooth it out with your hand. Using a sharp knife or razor blade, make a big slash about 1/4 inch deep along the long side of the loaf (this is called scoring). If you wish, you can cut some decorative designs making the cuts shallow, about 1/8 inch deep.
- Now take another 9″ x 5″ loaf pan identical to the other one, and turn it upside down to cover the dough. It should act like a lid. I like to tuck the parchment paper in toward the loaf before doing this, so it is all tucked inside. If you choose to grease the pan instead of using parchment, you will also need to grease the sides of your second pan. Put the whole thing into your preheated 450° oven on the middle rack. Bake for 20 minutes, then turn your oven down to 425° and bake for 30 more minutes, keeping the top pan on.
- Now take the whole thing out of the oven and take the top pan off. The loaf should have risen a lot! But the color will be pale. Pop it back into the oven without the top pan and let it bake for up to ten more minutes, until it is the color you like.
- Remove from oven, and tip the bread out of the pan. (Bread should be fully baked, but if in doubt, tap on the bottom of the loaf and it should sound hollow. Also, internal temperature should be somewhere between 205° and 210°.) Place bread on cooling rack and let cool completely – at least two hours – before slicing. Enjoy!
Notes:
*I have been using Cairnspring Mills bread flour, which is local here in the Seattle area. When not available, I use King Arthur brand bread flour. Probably any good bread flour will do. I recommend finding a local flour for freshness and flavor.
**You will need two 9″ x 5″ loaf pans – same brand. I recommend the USA Pan, but really, as long as you line your pan with parchment paper, any 9″ x 5″ pan will do. Just make sure you have two identical pans so that the top pan with fit well on top of the bottom pan.
***Once the dough is shaped and in the pan, you can skip the overnight rise and choose to just let the dough rise on your counter and you can bake the bread once the dough has risen about 1 inch above the rim of the pan, (which for me and my kitchen takes a couple of hours). It’s up to you. This is a nice option for a same-day bake. I do this often, but I do find that the dough is easier to score when it is cold from the fridge, and the longer overnight fermentation adds a nice depth of flavor. Either way the bread is delicious.
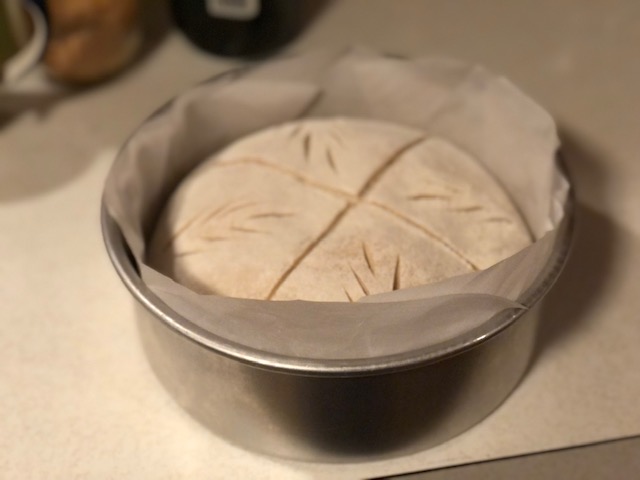
****If you decide you want to try this using round cake pans, what I do is I use an 8″ cake pan that is 3 inches tall for the bottom, and then you can use either a 2″ or 3″ tall cake pan for the top. When shaping your bread, just do a repeat of the first shaping for the final shape and place in parchment lined cake pan seam side down. Everything else is exactly the same!
Here are some photos of the process. Since many of the photos were taken early in the morning, the lighting wasn’t great. Sorry about that! But I still wanted you to have a visual.

Mix water, oil, and starter.

Add flour and salt. Don’t forget the salt!
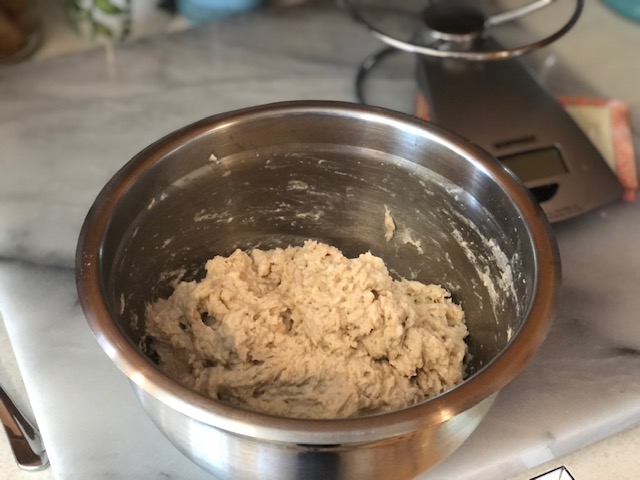
Mix into a shaggy dough.
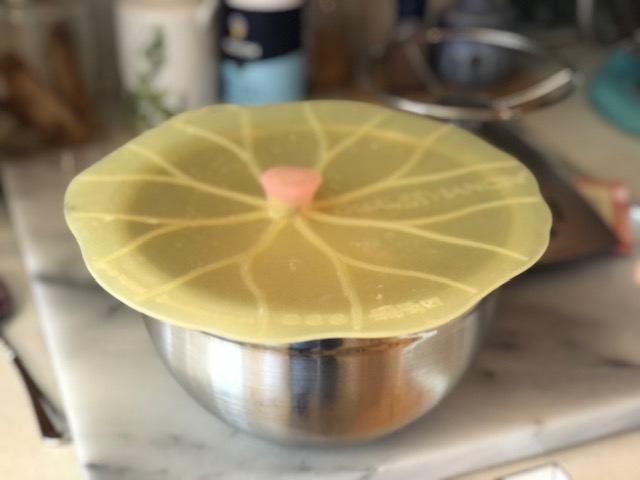
Cover and leave on counter for an hour.

After an hour, stretch and fold! Pull dough from the side, stretching it.

Fold it into the middle and press down.

Rotate bowl and do this again.
Fold over.

Keep going until the dough is springy and smooth, maybe 16 to 20 times.
Flip over so the smooth side is facing up.
Cover and let rest for a half hour.
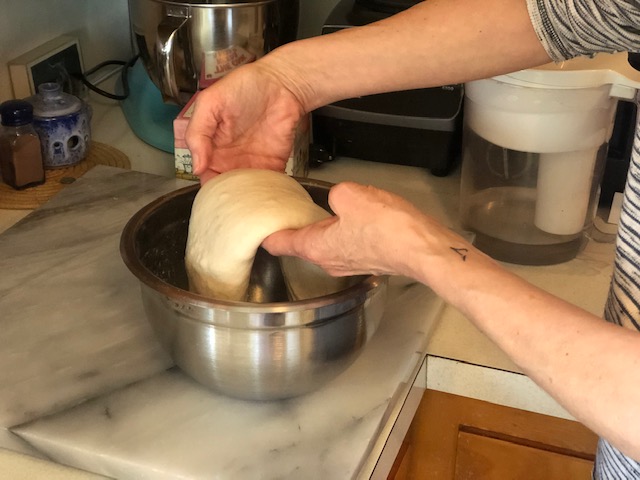
With wet hands, grab dough from middle and lift. This is a coil fold.

Let the dough stretch and then place the dough back in the bowl letting it fold onto itself.
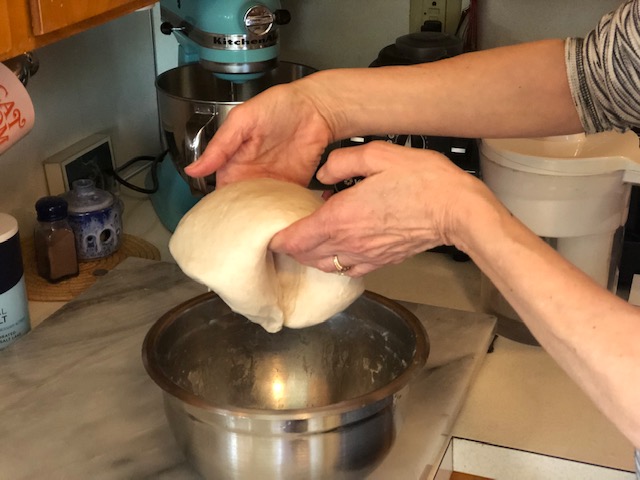
Rotate the bowl and quarter turn and do it again. The dough will not stretch very much this time.

Tuck the dough edges underneath to make a nice round ball.
Cover and let rest for a half hour and repeat the coil folds. Let dough rise covered for four to six hours.

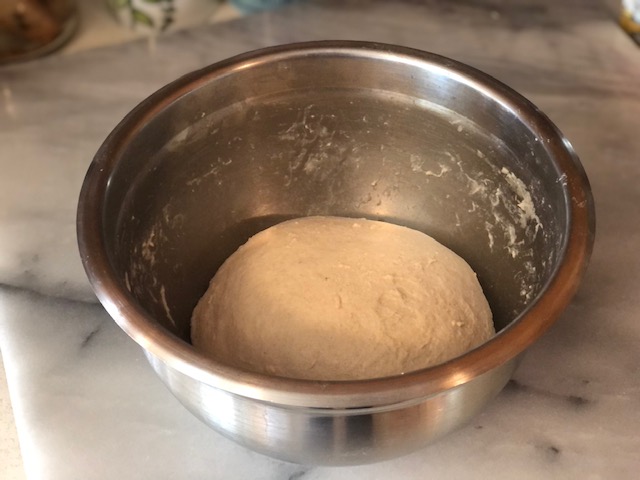
After about four hours, dough has risen, is slightly jiggly and there are some small bubbles at the top.

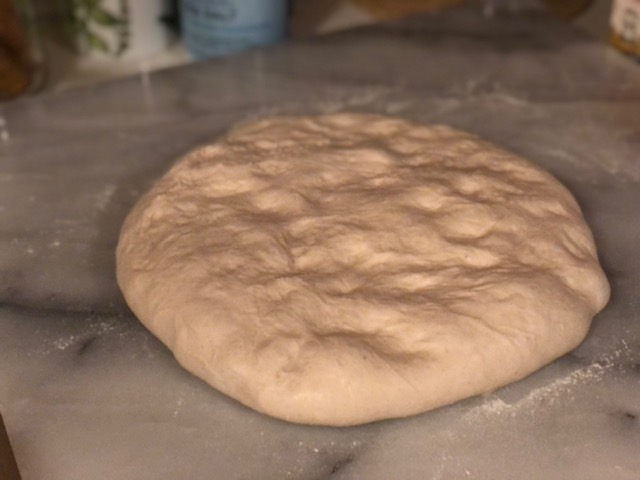
Scrape dough out onto lightly floured surface.

Stretch and fold all the sides into the center, brushing off excess flour as you go.

Flip dough over and draw it towards you to add tension to dough. Rotate dough and repeat until you have a nice ball.
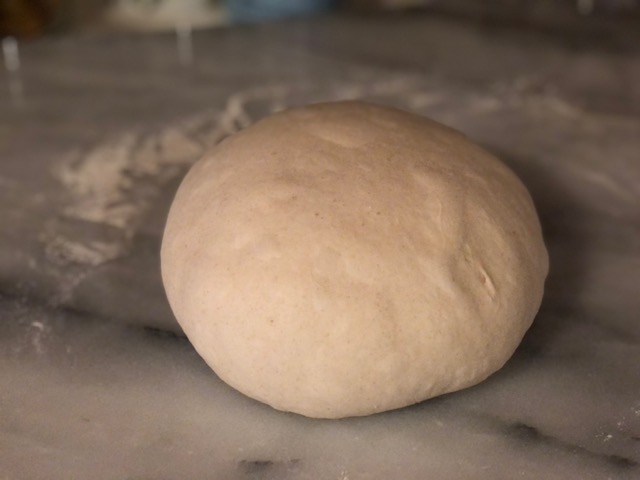
Should look something like this.

Cover with the bowl you were using and let rest for half an hour.
Time to line your loaf pan. Cut a 13″ x 15″ square of parchment.

Cut corners of parchment off.

Fold the four flaps making creases, and insert into pan.
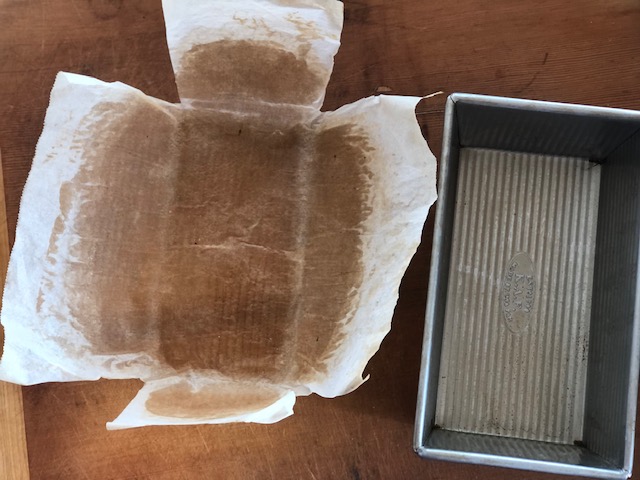
I reuse the parchment many times, as you will see in my upcoming photos.
After dough has rested, lightly flour the top and flip it over onto lightly floured surface and dimple the dough with your fingertips.
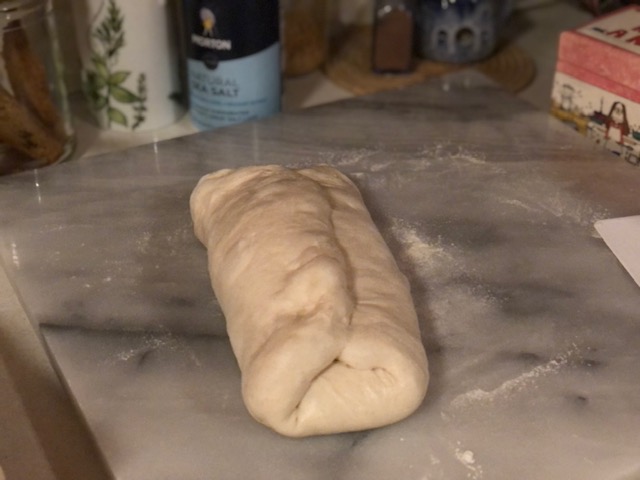
Pull corners to make rectangle shape, then fold each side over like folding a letter.
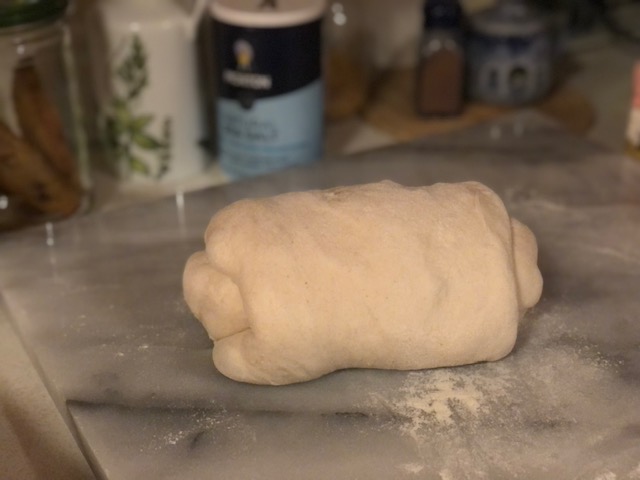
Starting with short end, roll the dough like a cinnamon roll. Yes, it looks weird.

Pull ends over and pinch and tuck to seal.

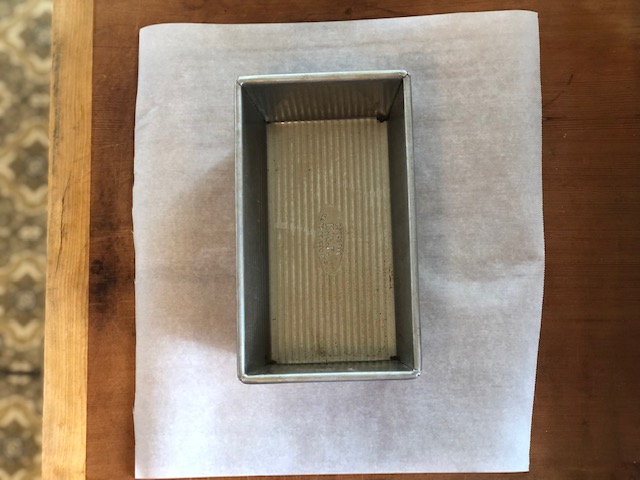
With the help of a bench or bowl scraper, place dough seam side down into your prepared loaf pan.
Cover and place in fridge overnight (or you can just let it rise on the counter for an hour or two).

Next day preheat oven to 450°. Here is the loaf the next morning filling the loaf pan nicely.

Here you can see that the dough has risen an inch or so past the top of the pan. It’s good to go!

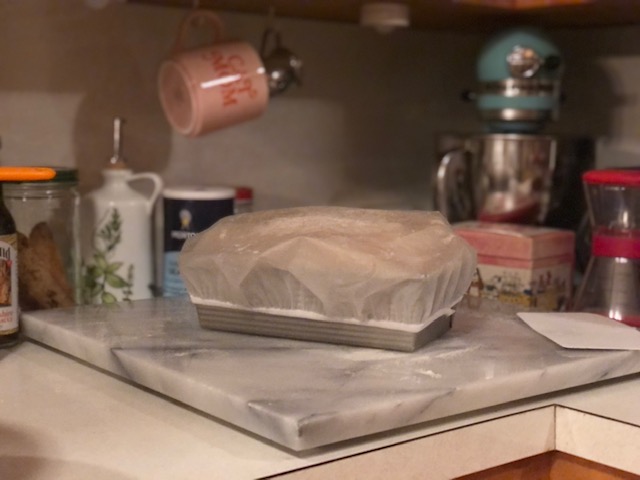
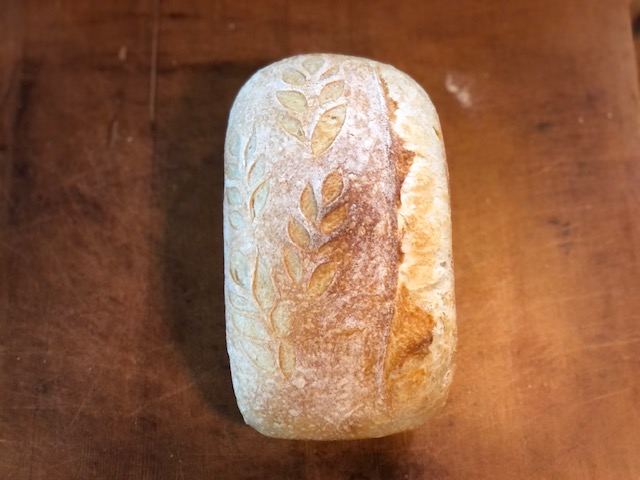
Sprinkle the loaf with flour and smooth it with your hand. Make desired decorative cuts, and a long deeper cut along the side.

My favorite implement for scoring is the lame (french for blade) on the left. Anything really sharp will do.

Tuck the paper along the sides of the loaf and top with your second loaf pan.
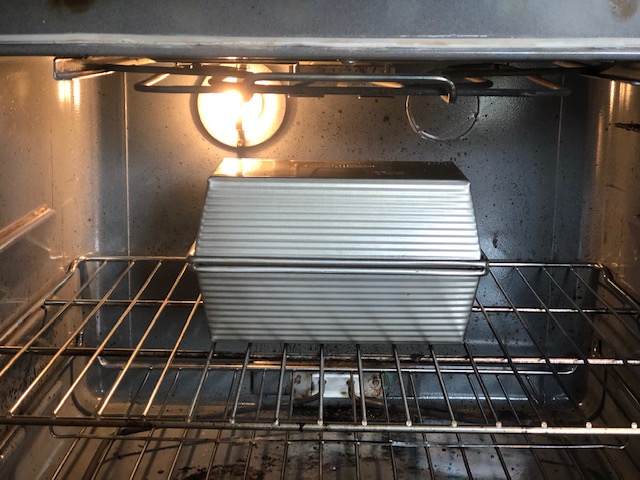
Bake at 450° for 20 minutes, then reduce temp to 400° and bake for 30 minutes more, keeping covered the entire time.

Now take the lid off and feel the joy. Bake for up to ten more minutes without lid to get the color you like.
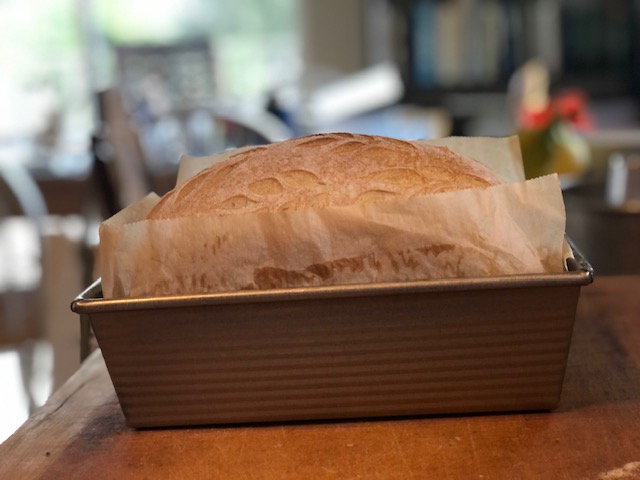
This is about right for me.
Take the loaf out and let it cool on a cooling rack for two hours before cutting into it.
Yummy, beautiful, and great for slicing and toasting!

What beautiful loaves! I’ve baked mine in a Dutch oven, but never thought of inverting cake pans. Clever.
Thanks Dorothy! I can’t remember now where I even heard of doing this, but I love the results!