This cookie is light and flaky, dash-of-salty, buttery divine. It is a specialty of Brittany, in the northwest of France. As you might know by now, I have spent quite a bit of time in France, and Brittany was one of my favorite places to visit, with its rugged coastline, its charming chaumières, la faïencerie, les crêpes, le cidre, and of course, les sablés. You can find these cookies in every local bakery, and they also can be found at most tourist attractions in cute little tins depicting local scenery and artwork.
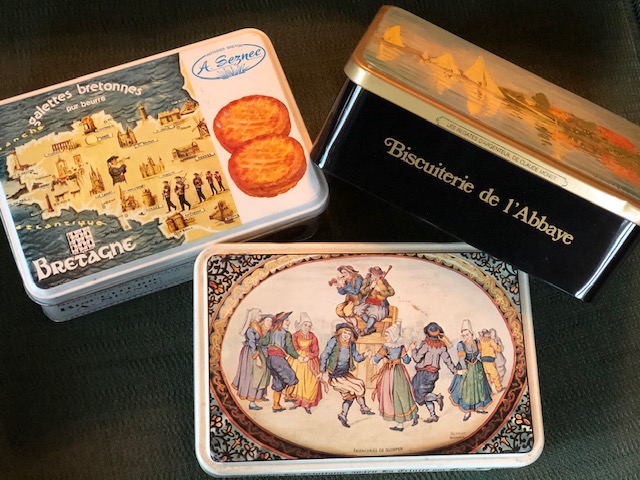
I collect these.
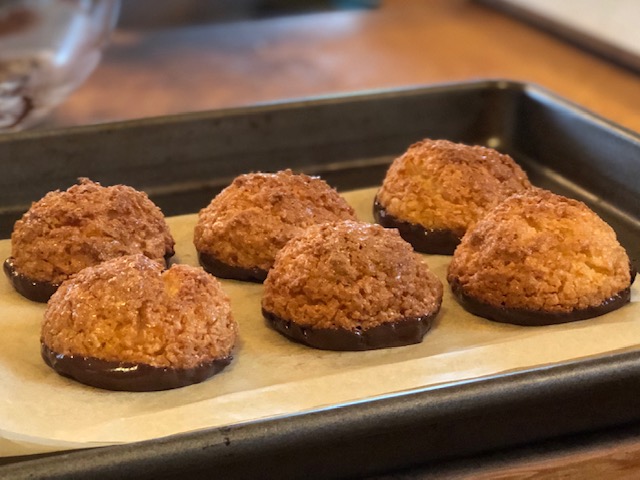
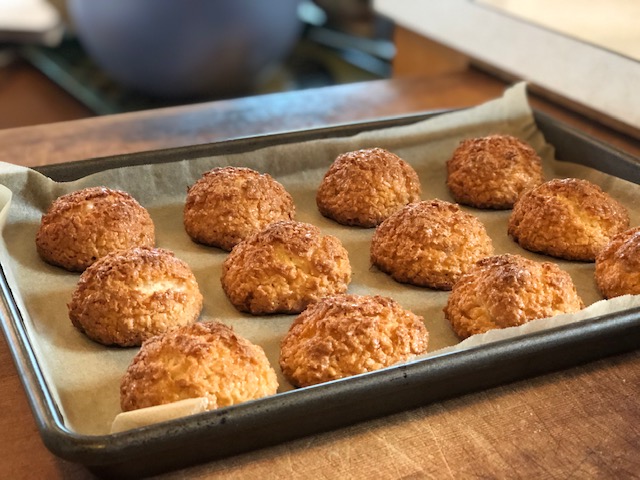
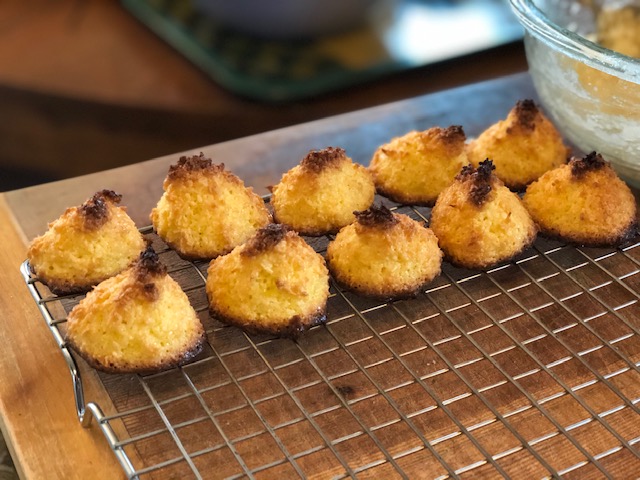
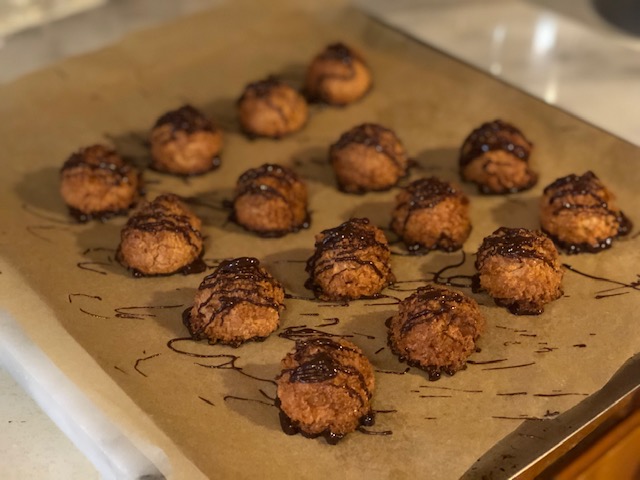
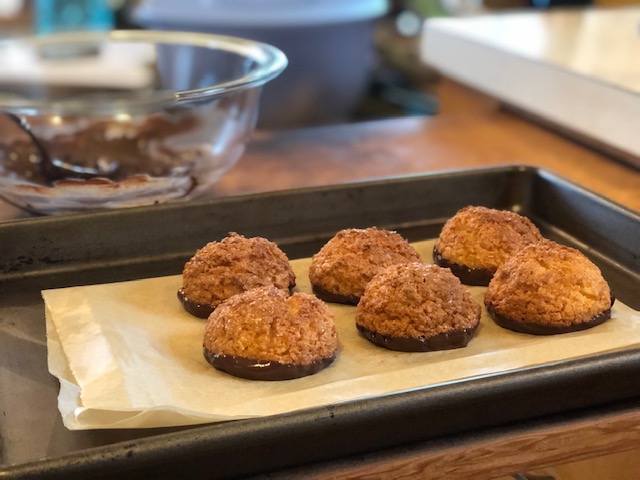
Making these cookies kind of surprised me. I mean, I didn’t think I would be able to reproduce them, and I didn’t imagine that I would want to even attempt it. But after ending up with extra egg yolks from my macaroon extravaganza, I closed my eyes and tried to imagine all the recipes that would require extra egg yolks, and these popped into my mind. I had no idea how to make these cookies, but when I did a little research, I did discover that they required egg yolks in the cookie dough, as well as an egg yolk wash at the end. So I just had to follow my inspiration and go with it.
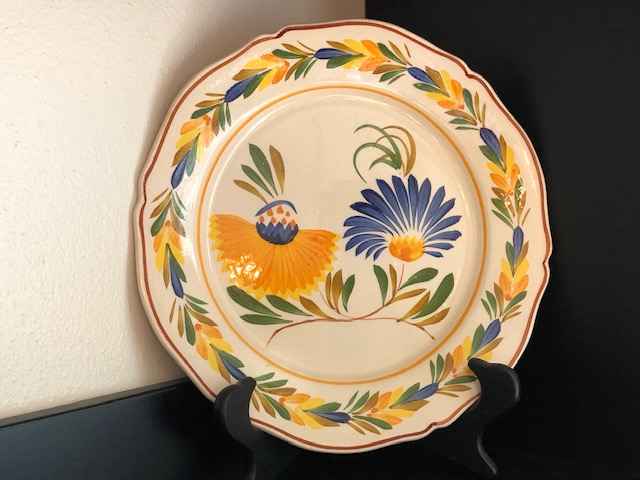
My Henriot Quimper plate is an example of faïencerie.
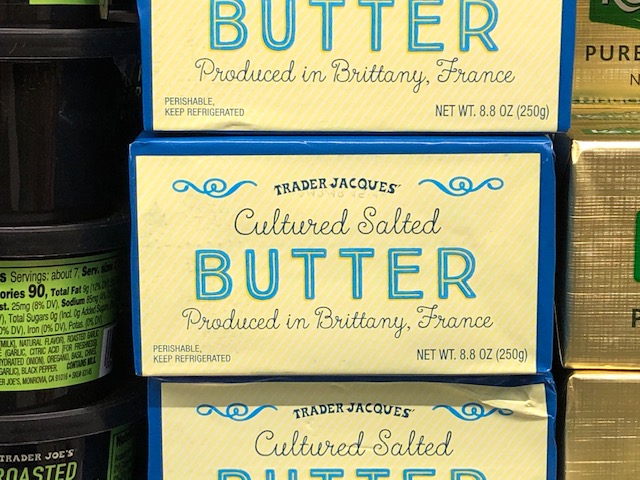
I pretty much found a perfect recipe right off the bat, that only required a few tweaks to make it extra perfect. Since this is a butter cookie, it really should be made with fantastic butter: cultured salted butter. And guess what? Trader Joe’s is now carrying cultured salted butter straight from Brittany!!
Yay, Trader Joe’s!!!
Now, this butter takes these simple cookies over the top. But wait, there’s more. I wanted to give them that extra bit of something, and decided it needed to be more salt. Not just any salt, but Fleur de Sel sea salt. I figured I would splurge on this salt, that my kitchen should house this salt at least once in its lifetime. And I have no regrets.

It’s so pretty!
Don’t worry. You can make these cookies with local salted butter and kosher salt, and you will have something delicious. But I just wanted so badly to get as close as I could to the real thing. C’est une manie.
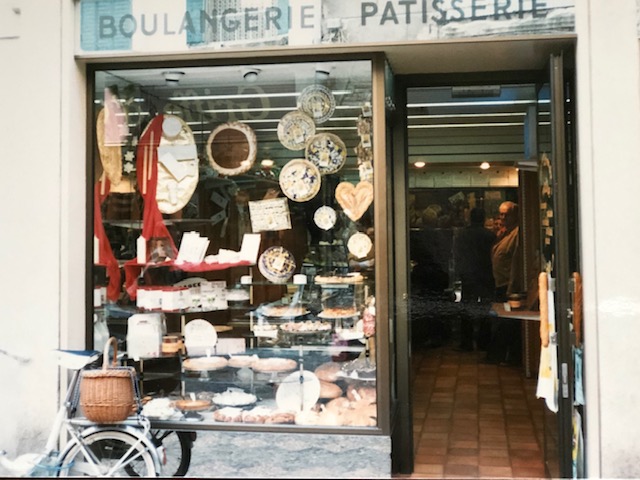
My apartment was above this adorable bakery.
Sablés Bretons
(Slightly adapted from Mon Petit Four)
- 1/4 cup + 1 Tablespoon granulated sugar (63 grams)
- 1/4 cup + 3 Tablespoons salted butter (100 grams, cultured if you can find it)
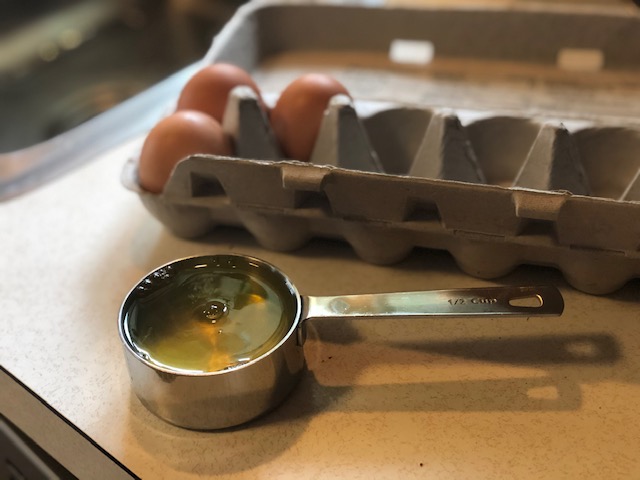
- 2 egg yolks (separated: 1 for the dough, 1 for the egg wash)
- 1/2 teaspoon vanilla
- 1 cup + 1 Tablespoon all- purpose flour (140 grams)
- 1/4 teaspoon Fleur de Sel salt or kosher salt
- Preheat the oven to 375°. Line a baking sheet with parchment paper.
- In a medium sized bowl, beat the butter and sugar together on medium speed until light and fluffy – about 1 minute. I like to use my hand mixer for this, since it is such a small amount.
- Add 1 egg yolk and the vanilla extract, and mix on medium speed until they’re incorporated. Stop to scrape the bowl with a rubber spatula before resuming the mixing. Add the flour in and mix on low speed just until the dough starts to clump together. You should have lots of little clumps.
- Sprinkle the salt evenly over the clumps of dough and mix again just for a second or two. You want the salt to be evenly distributed, but not blended in.
- Lightly flour a pastry board or counter. Form the clumps of dough into a ball and place it on the floured work space. Then sprinkle some flour on top of the dough before using a rolling pin to roll the dough out. As soon as the dough starts sticking to your pin, sprinkle a pinch of flour on the dough, then resume rolling. Roll your dough out until it’s approximately 1/4″ thick. I like these cookies to have some heft to them, so you can even have it just a tad thicker than 1/4″, but NOT thinner than 1/4″.
- Use medium round cookie cutters (I use a biscuit cutter – 2 1/2″) to cut out round cookies from the dough. Use a sharp-edged spatula to transfer the cookie rounds onto the baking sheet. Re-roll scraps and cut out cookies (lightly re-flouring the work space) until you have used all the dough. If the dough gets too soft to work with, put it in your fridge for a few minutes before continuing. Place 16 cookies on parchment lined cookie sheet, spaced at least one inch apart from each other. Beat the remaining yolk in a small bowl with 1/8 teaspoon water. Brush the tops of the cookies with egg yolk wash. Use a fork to make a cross-hatch pattern on the cookies (drag the fork down vertically on the cookie, then drag the fork across horizontally, cleaning tips of fork tines between each cookie).
- Bake the cookies on center rack in oven for 12 to 15 minutes, until they’re a deep golden color. Transfer the cookies to a wire cooling rack to cool completely. Makes approximately 16 cookies. Bon apétit!
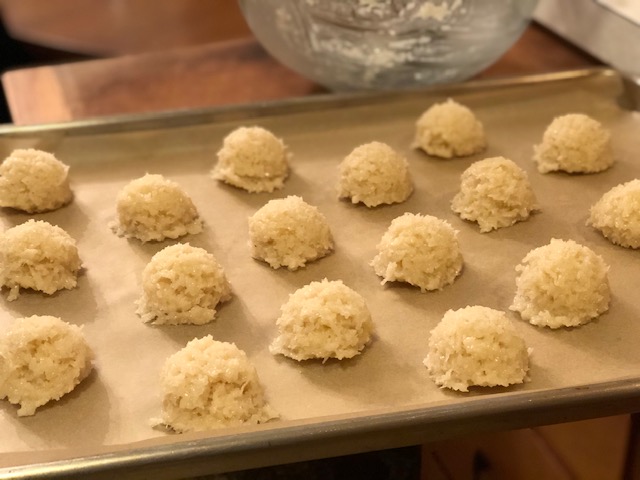
Photos of the process:

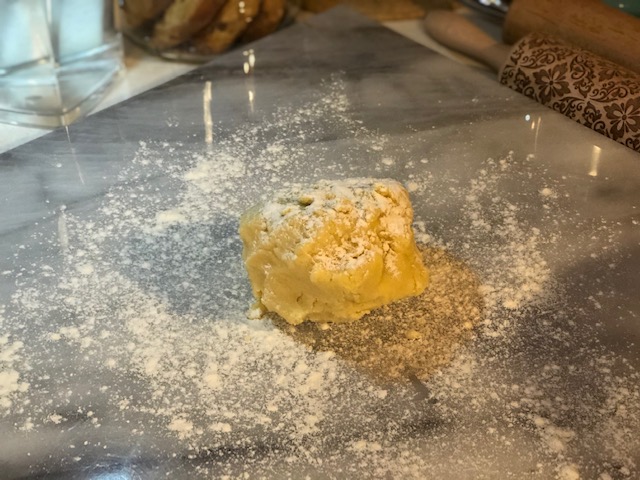
This is what the clumps look like before adding the salt.
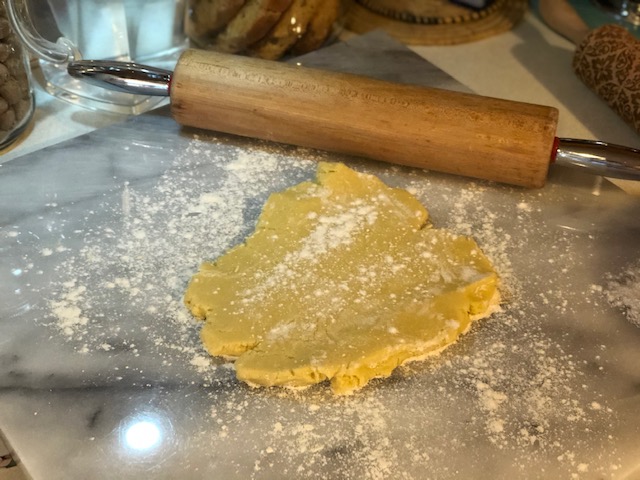
Getting ready to roll.
Make sure the dough doesn’t stick to the rolling pin!
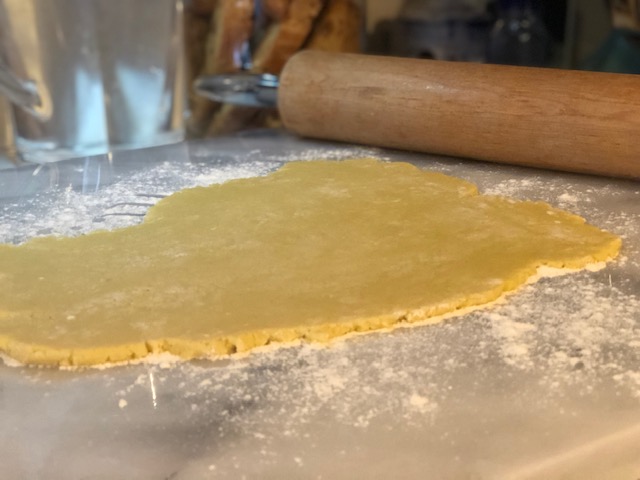
Ready to go. This is probably a bit thicker than 1/4″.
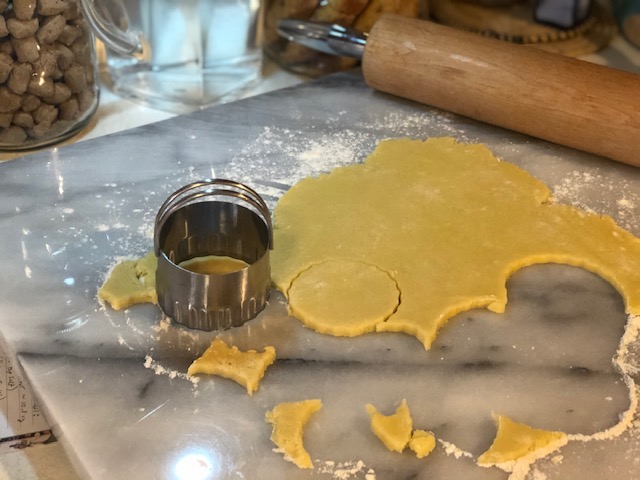
I love this cookie/biscuit cutter.
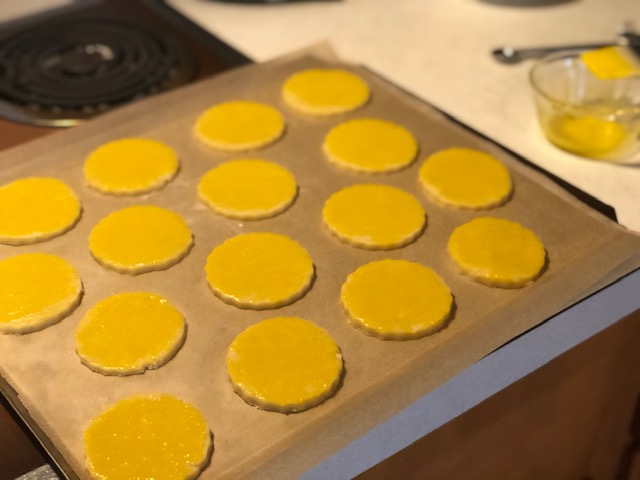
Brushed with egg wash.

Then the hash marks.
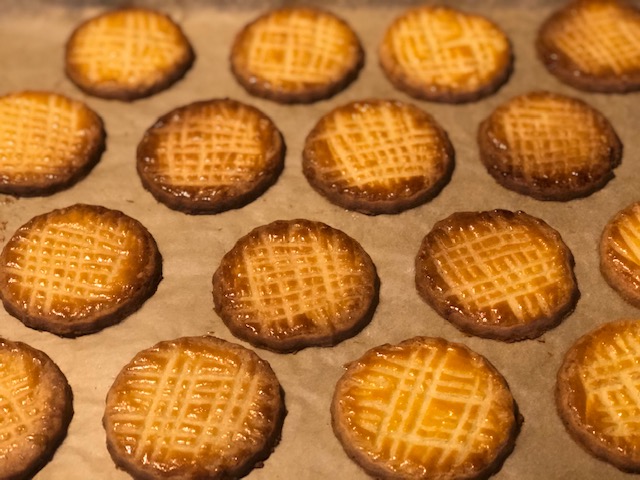
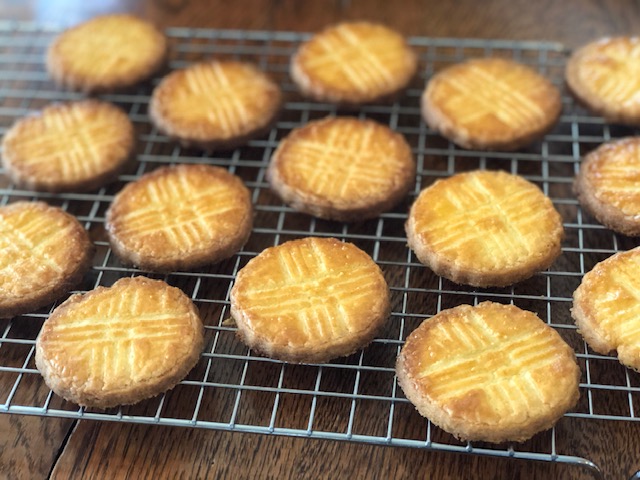
Golden and Beautiful.
This batch I did fewer hash marks. I like it both ways.
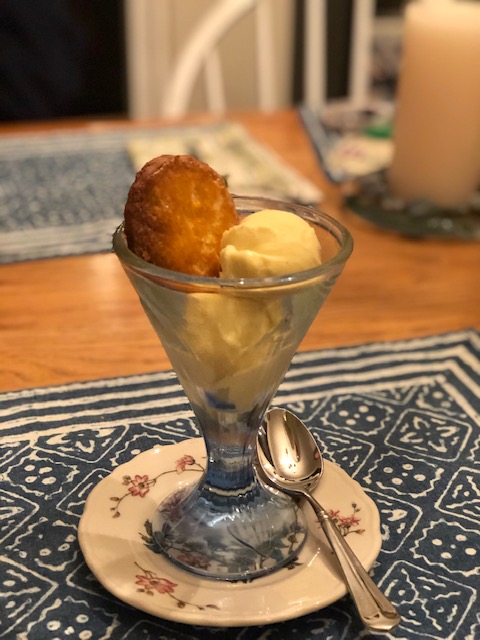
They go nicely with vanilla ice cream!