
I have been working on perfecting my technique for a while now, and am very excited to share this recipe and technique with you!
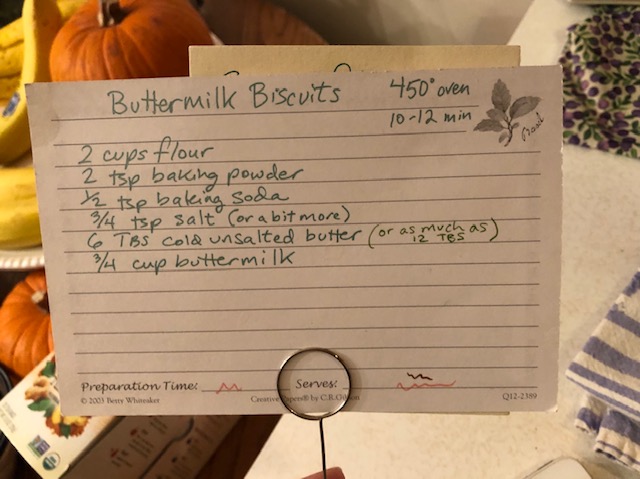
Well, there are the ingredients, but what I’ve found is that it’s really the technique that makes the big difference. Notice in my recipe above that it says 6 Tablespoons of unsalted butter (or as many as 12 Tbsp, which is what I use!). This recipe is very forgiving, but I’ve come to believe that more butter is definitely better. So, technique, and butter. Don’t skimp on the butter.
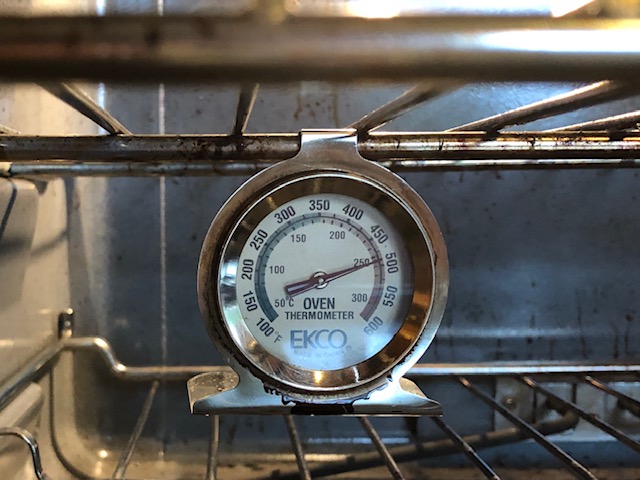
Having a good oven thermometer is a good idea, for starters. You want to know that your oven is good and hot. Also, I like to preheat my oven for at least ten minutes, if not longer. I don’t want the temperature waffling around.
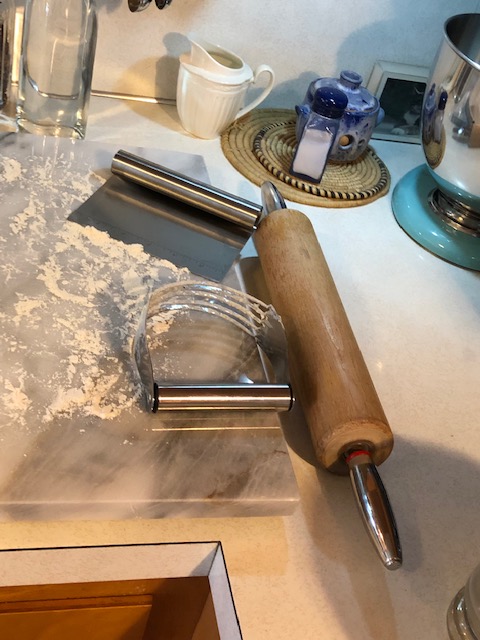
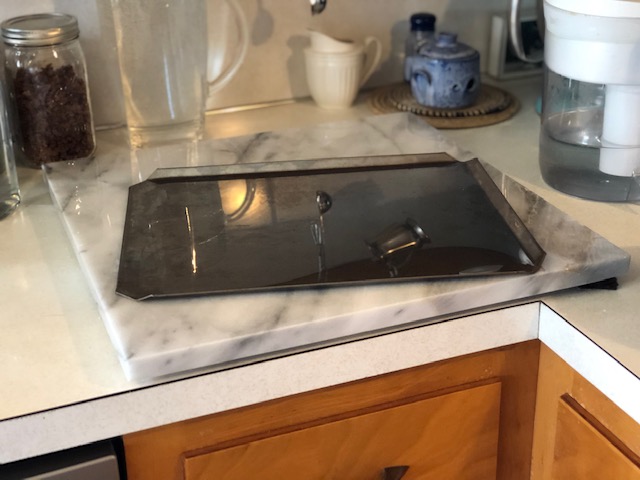
There are few other things that will come in handy (ignore the clutter in the background). A pastry cutter, a nice heavy rolling pin, and a bench scraper all are great, and I am lucky enough to have a marble pastry board, thanks to my dear husband Matthew :). But you can definitely still make these biscuits successfully without, so let’s continue.
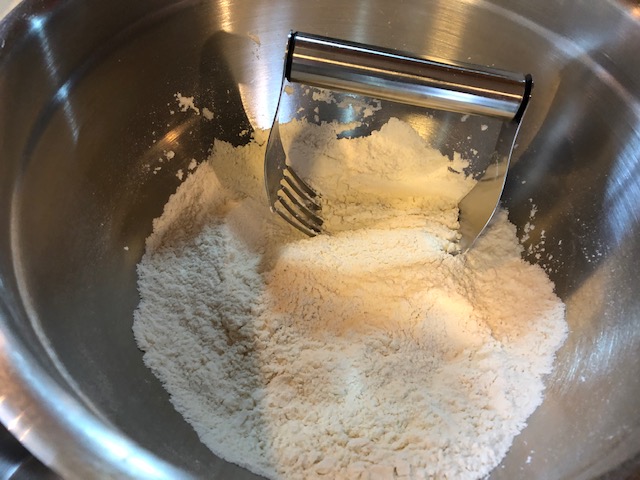
Whisk together the flour, baking powder, baking soda, and salt in a large bowl. (I use my pastry cutter to do this… one less thing to clean up!)
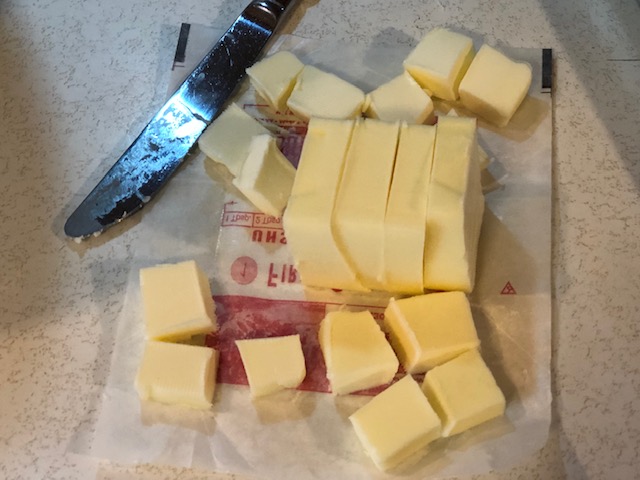
Cube the unsalted butter (it needs to be nice and cold), throw it into the bowl, and toss it around a bit. You don’t want the butter cubes to be bunched up.
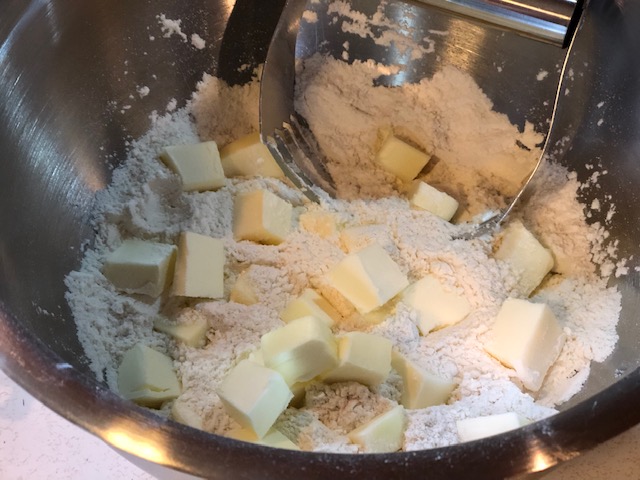
Using the pastry cutter, or two knives, cut the butter into the flour mixture… don’t mash the butter! Just cut it up. If you are using a pastry cutter, use a knife to remove the bits of butter that clump around the edges of the cutter.
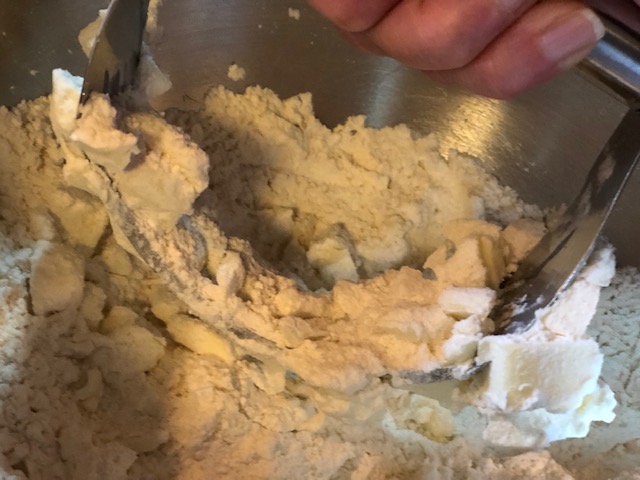
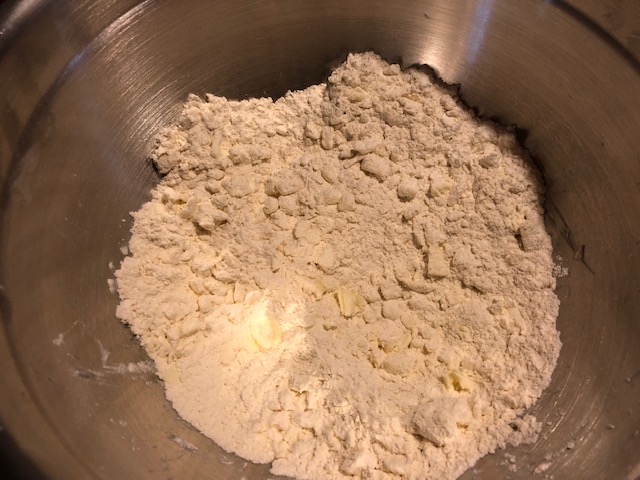
Here’s the thing: do this quickly, like you don’t really care about it. Don’t be fussy about it. It should end up looking pretty lumpy and floury, with lots of still pretty large pieces of butter in there. They always say to the size of peas, but I think that there should be some pieces larger than that.
If you see a few pieces of butter that look too big, just stick a knife in there and cut those pieces in half, but don’t keep using the pastry cutter, because you don’t want to overdo the cutting in of the butter. Scraggly = delicious.
Now make a well in the center of the scraggly mess, and pour in the cold buttermilk. Using a rubber spatula, stir the flour into the buttermilk starting from the outside of the bowl. Do this quickly, just until dough starts to form.
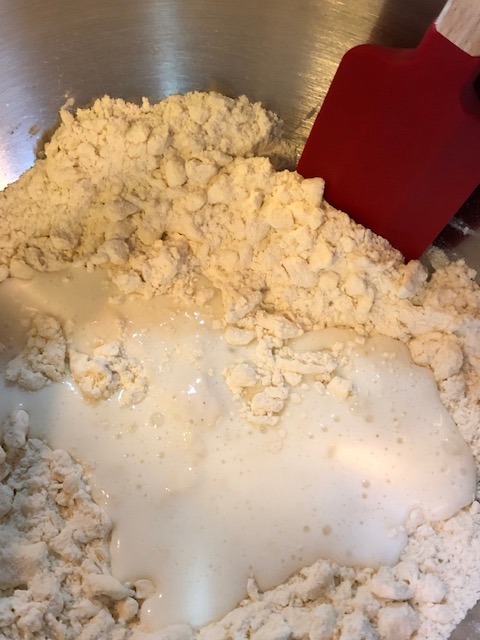
It will end up looking something like this:

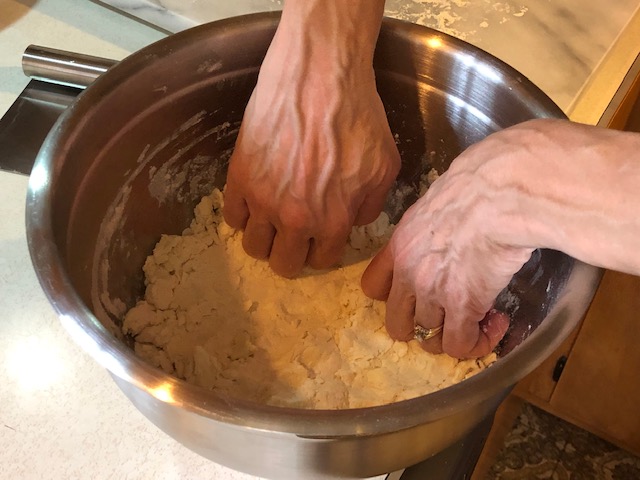
Notice how it’s not perfect looking, and it’s still powdery looking. That is good! Now get your hands into the bowl, and with the knuckles of your fingers, press down to flatten the dough, and then flip it over. Do this a couple of times.
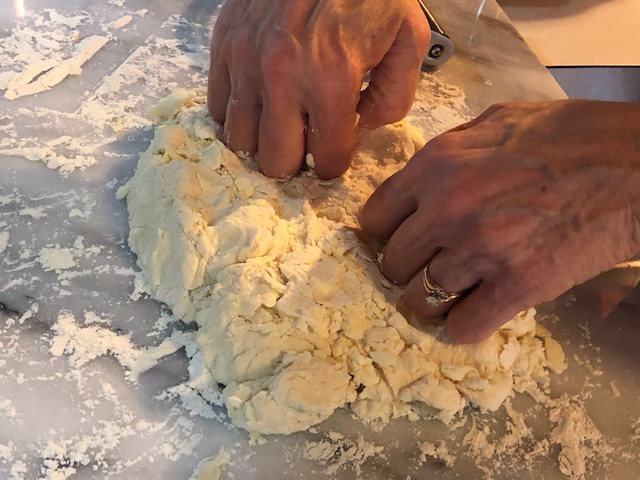
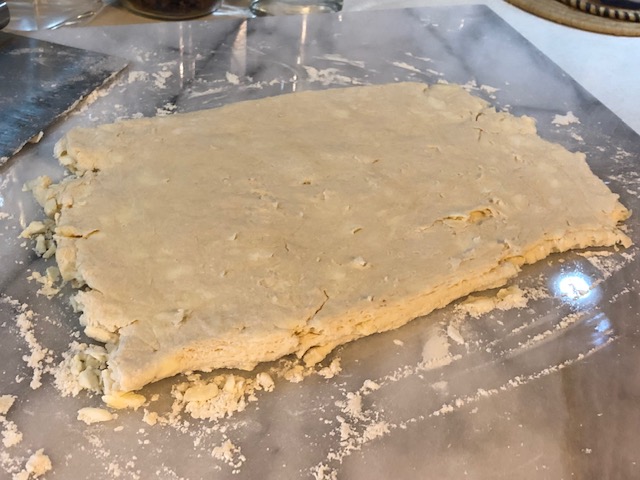
Now take the whole mess and put it onto a lightly floured surface. That surface might be your countertop, or pastry board if you have one. Whatever surface you use, it should be cool to the touch so that the pieces of butter don’t start to melt. (Sometimes I take a bag of frozen veggies out of the freezer and smear the bag around on my counter or pastry board, just to be sure. If you do that, make sure to dry it well before dusting with flour.) Using your knuckles again, flatten the dough lightly and shape it into a rectangle. You might want to dip your knuckles into the flour so they don’t stick.
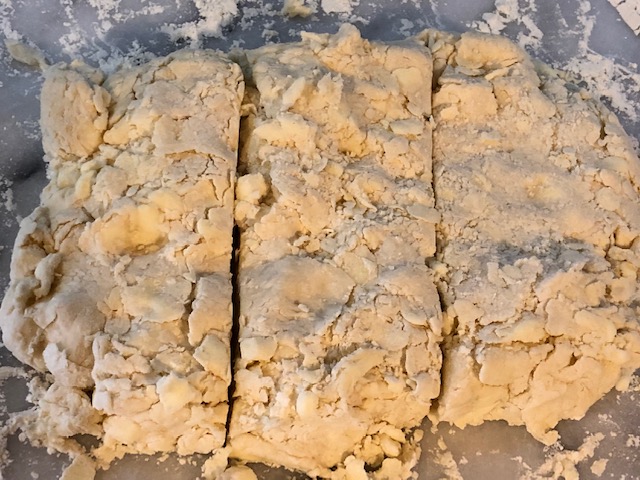
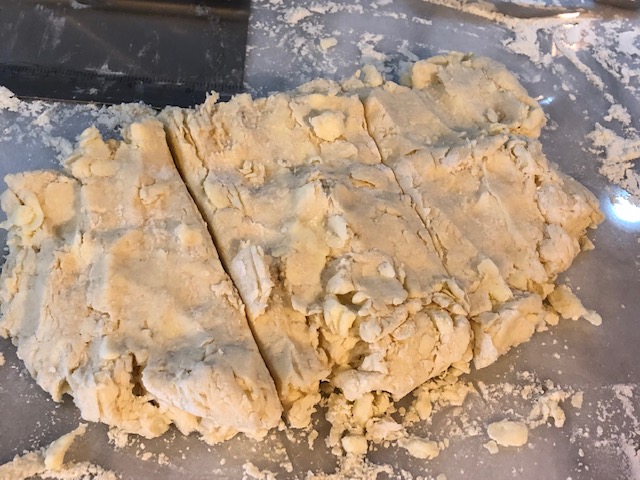
Now get your bench scraper or a sharp knife, and cut the triangle into three sections. The whole thing should be messy and powdery. I just love the way this looks.
Now stack the three sections, using the bench scraper to lift up the pieces.
Give the whole thing a quarter turn, and flatten it with your knuckles again, shaping it into a rectangle. Don’t go nuts about the shape being perfect, because you don’t want your hot fingers messing with it too much. I’m just showing a different angle so you can see how messy this is. Messy and beautiful.

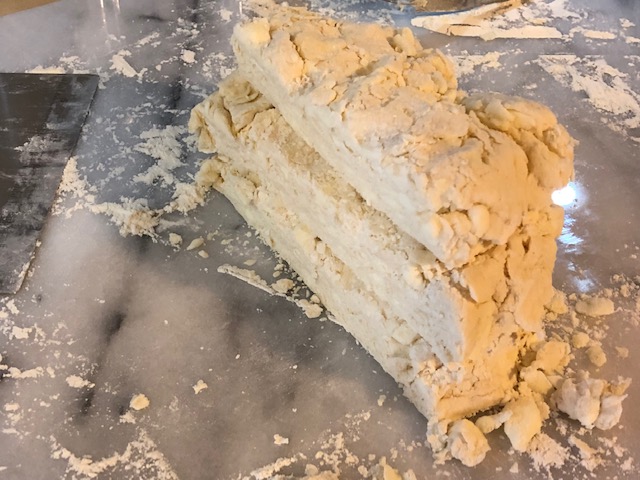
So once you’ve flattened it into a triangle again, cut into three sections again.
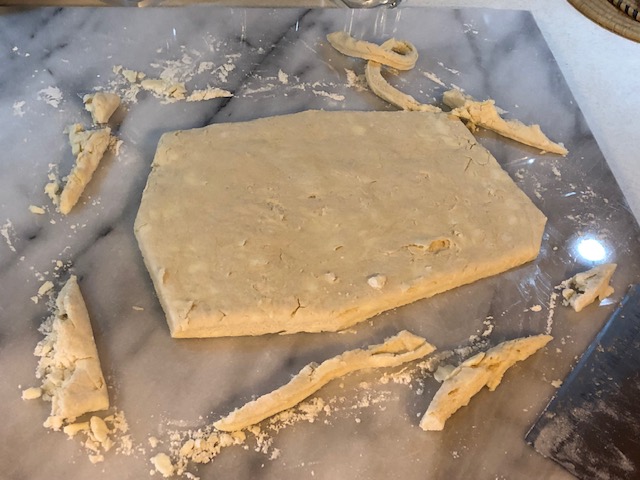
Repeat the whole thing one more time… stacking and turning a quarter turn and flattening… do this quickly, like it doesn’t matter. Don’t let the butter know you’re worried about flakiness. You should end up with something that looks like this.
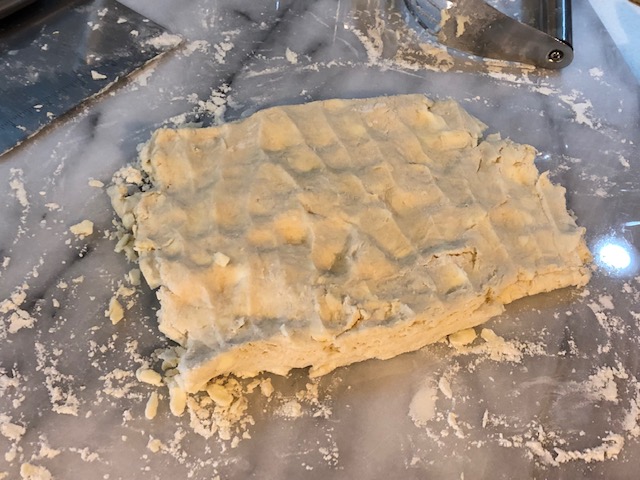
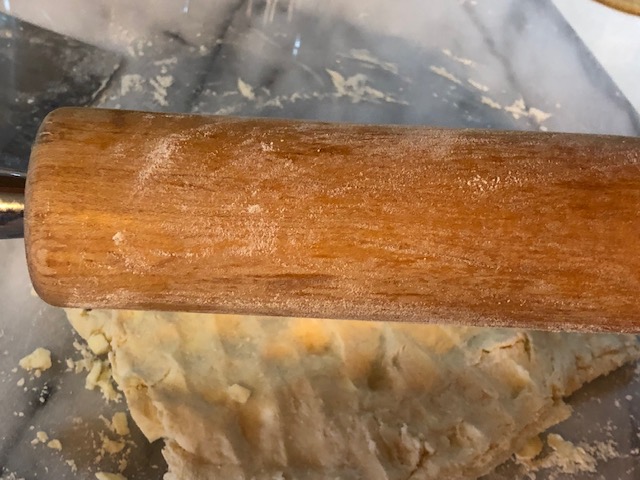
Now, lightly flour your rolling pin and roll the dough out just a bit flatter. Mine ends up being about 3/4 inch thick.
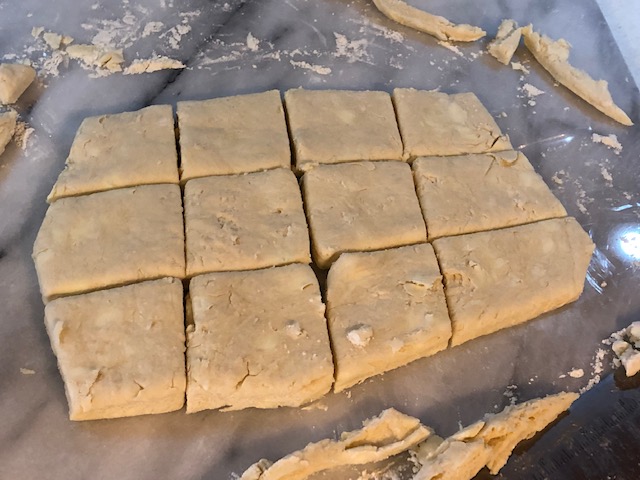
Now take the bench scraper or a sharp knife, and cut the edges off the dough. This is so it will rise evenly.
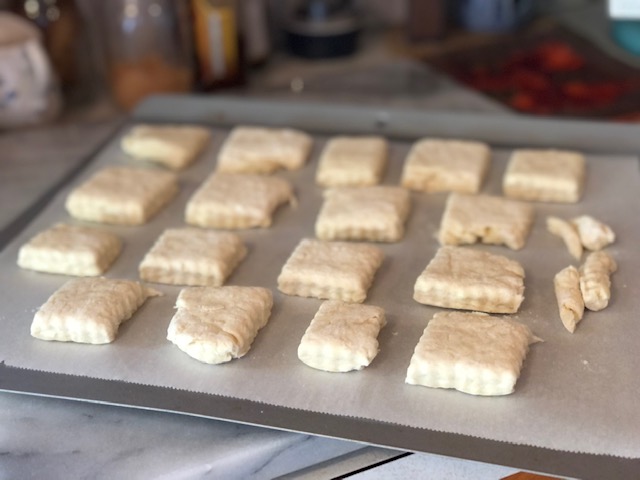
And now cut into about 12 squares. You could use a fancy biscuit cutter, but I don’t think it’s necessary, and you end up with lots of scraps.
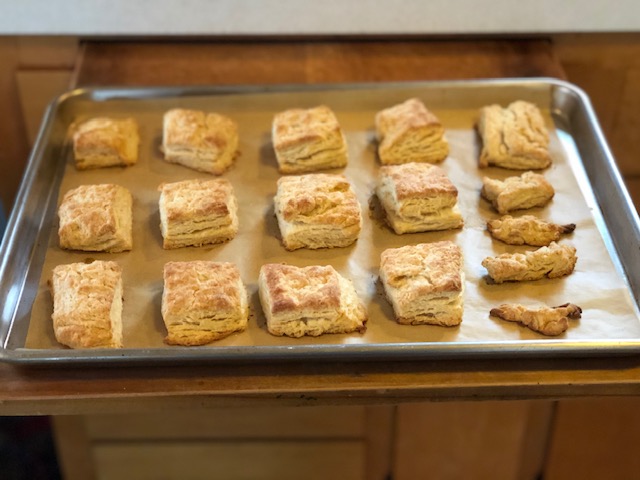
Lifting them with the bench scraper (or thin spatula), place them on a cookie sheet lined with parchment paper. Darn. I forgot to mention you would need parchment paper. Parchment paper helps things to bake evenly, and the bottoms come out nice and crispy.
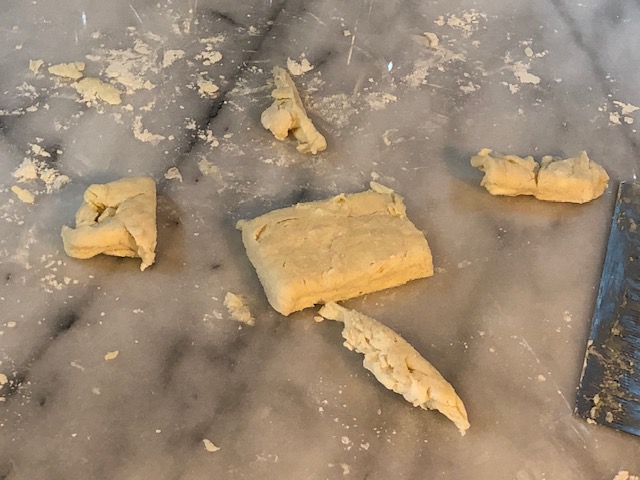
You’ll end up with the scraps. Stack them, flatten them, and cut one last biscuit by cutting off the edges. Everyone says this last one isn’t as flaky, but I disagree. Somehow, this one is super delicious and flaky. It’s just misshapen and doesn’t rise evenly. I’ll eat that one.
Now put that last biscuit on the cookie sheet, along with the scraps, which we call “crunchies” at our house. I like the biscuits to have crispy edges, so I don’t let them touch.

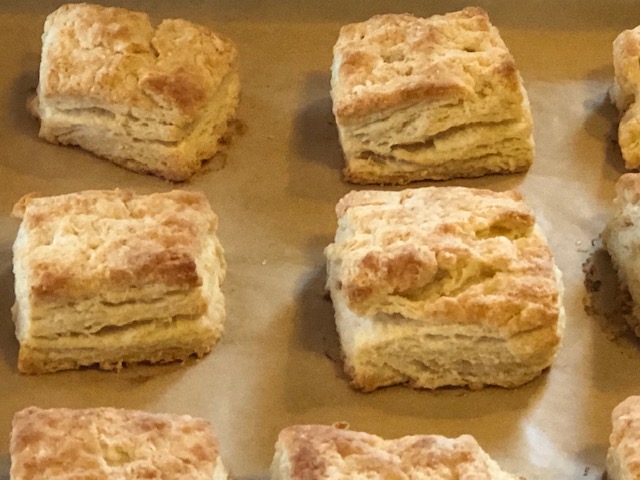
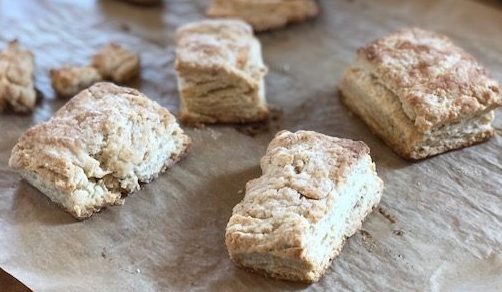
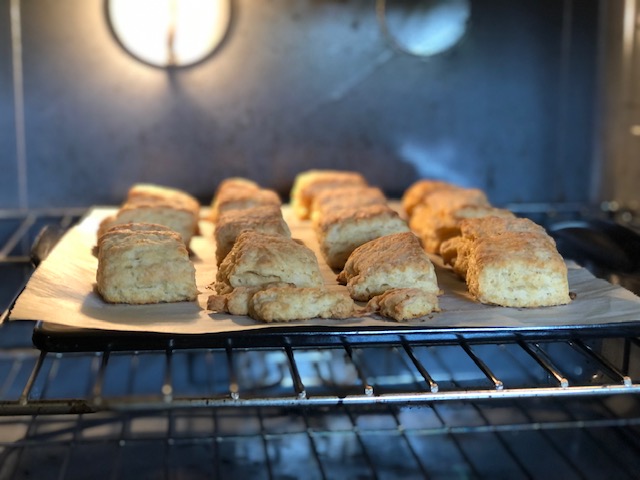
Pop those babies into the oven on the center rack and let bake for about ten minutes, but do keep an eye on them. You want them to be golden on top, but not too dark, because they will dry out and won’t be tender. Here they are.
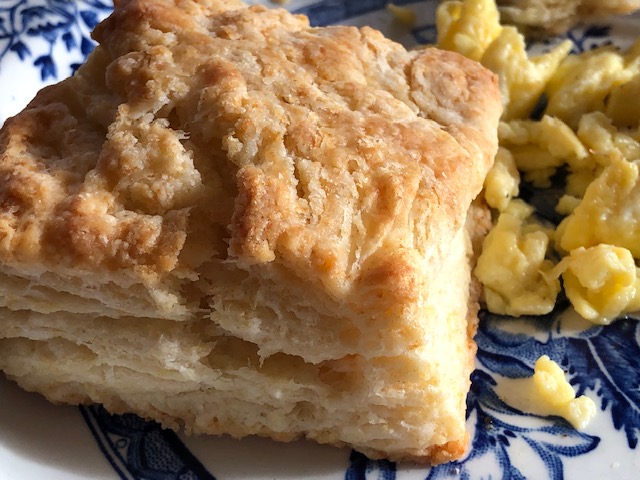
Look at those flakes of buttery deliciousness.
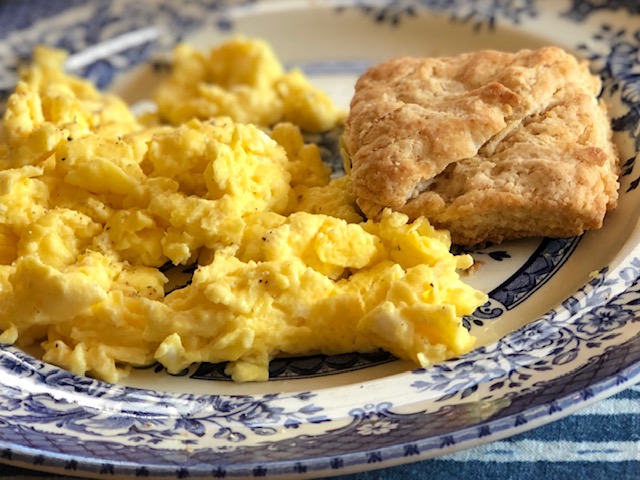
We never put butter on them, because they are so buttery and perfectly delicious as they are. We have them every Saturday with scrambled eggs. It’s our Saturday tradition.
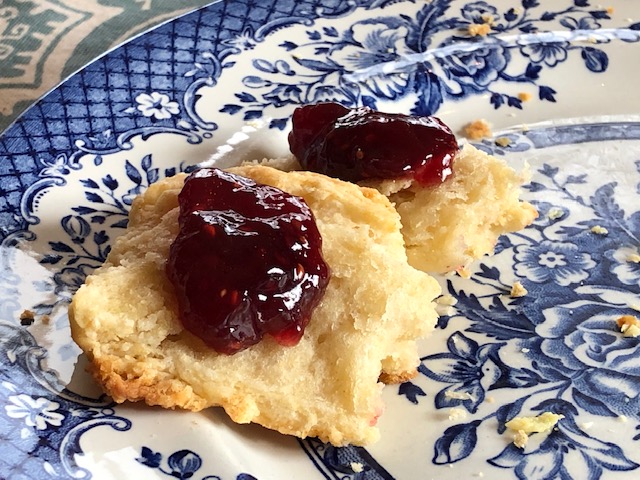
Wow. That is a serious close up. And they are SO good with raspberry jam.
By the way, the basic recipe that I use is from the Joy of Cooking, but I add a LOT more butter. And a bit more salt. Enjoy!
Update! Today I made these biscuits with 1 1/2 cups all purpose flour, and 1/2 cup white whole wheat flour. I wanted to add a bit more texture to the biscuits, and pretend that they are healthy…. and they were so, so delicious!!!
Well, I did something else differently this time besides the addition of whole wheat flour. When I preheated the oven, I had a baking stone in there.
So I used a flat cookie sheet (you can see that there is one side that has no rim – this is important!).
Those reflections are weird!
I lined the cookie sheet with parchment paper and put the biscuits on there.
Once the oven was good and hot (I started preheating it and the baking stone before I started making the biscuits) I slid the parchment paper and biscuits carefully off of the rimless cookie sheet and onto the baking stone. I could hear the butter start to sizzle immediately.
Can you tell there is a baking stone under there?
When they were golden brown, after almost twelve minutes in my oven, I carefully again slid the parchment paper (it is not hot to handle) and biscuits carefully back onto the flat cookie sheet, and let the biscuits sit on a cooling rack for a few minutes. When I bit into that biscuit, I couldn’t believe it! Tender, but with a bit more body to it. A hint of graininess, and a delicious flavor added by the whole wheat. And a crispy bottom that melts in your mouth. Did I mention that I used 12 Tablespoons of butter instead of 6?
That’s the one made from scraps – my favorite.

Why unsalted butter? Also have tried a mix of fats? I have used salted butter and bacon grease. I do not add much salt to the mix. I have used Alton Browns Southern biscuit recipe. His is butter and shortening.
Hi Dan! Thank you for reading my post :). I checked out Alton Brown’s recipe, and I am guessing that he uses unsalted butter as well, even though he doesn’t specify in his recipe. I use unsalted butter because I then have more control over how much salt is actually going into the recipe. Also, I have read that salted butter has a longer shelf life due to the salty flavor, so you risk using butter that is not as fresh if you use salted. I have tried it both ways, and I find that I enjoy the flavor better when I get little bursts of salt flavor from individual grains, as opposed to an overall saltiness that happens when you use salted butter. This goes for all of my cooking and baking. I only use salted butter for buttering toast or bread. (Full disclosure: I just use whatever butter is handy for greasing pans or griddles.) And finally, all the chefs I admire most always use unsalted butter :). And about using a mix of fats, I have tried many combinations, but I find that the all-butter flavor is what I prefer. If I can achieve tender, flaky biscuits without the addition of shortening, that is my preference, BUT, I haven’t tried using a mix of butter and bacon grease for biscuits, so I might have to give that a try. Time for a biscuit bake-off!
I just ate several of the very biscuits shown in the photos above and I can vouch that they are absurdly delicious. Full disclosure: I am the husband and, as such, one of the primary beneficiaries of this baking venture and the culinary acumen behind it. Angela, I can hardly wait to get my teeth into — er, I mean read about — your next recipe.
I’m so glad that you are my biggest fan! You know that baking is one of my love languages :). xoxo
Oh my gosh, I love biscuits! And those flaky layers on yours look fabulous! I’ve had to make gluten free biscuits for years and sadly they just aren’t as good. I’ve found one recipe that is pretty good and great for being gluten free. It requires a mixmaster and mine broke a year ago, but I got a new one for Christmas and I just happen to be making them tonight!
Hey Susan! When you say mixmaster, do you mean a stand mixer? I just recently got a Kitchenaid stand mixer, and I LOVE LOVE LOVE it!!! It has changed my life. ;). I have a pie crust recipe that is so easy, and I use the stand mixer for it, but it is not as flaky as pie crust done by hand. Darn! I thought it would be my miracle-lazy-girl-pie-crust recipe, but it does just fine in a pinch. That will have to be for another blog post. I’d love to hear about your gluten-free biscuits. I feel like I am not a well rounded baker because I don’t know how to do gluten-free stuff. So little time, and so many things to do! Thanks for reading my post :).
Pingback: Velvety Vegan Split Pea Soup | and everything nice
Pingback: Oat Scones with Maple Glaze | and everything nice
Pingback: Flaky All-Butter Pie Crust | and everything nice
Pingback: Lemon Curd | and everything nice