I have been meaning to write about this challah recipe for a very long time! I wrote about another challah a while back, and it was the first one that I really loved, but this one is my very favorite, and since trying it, I have never looked for another. This recipe comes from Jeffrey Hamelman, master baker, and just all around really great guy. During the quarantine, he and Gesine Bullock-Prado did an amazing live-stream show through King Arthur Baking Company called the Isolation Baking Show. I learned so much from watching that show, and it was so comforting during those early days of lock-down. The challah episode I must have watched a million times, just to absorb as much of Jeffrey’s magic as possible.
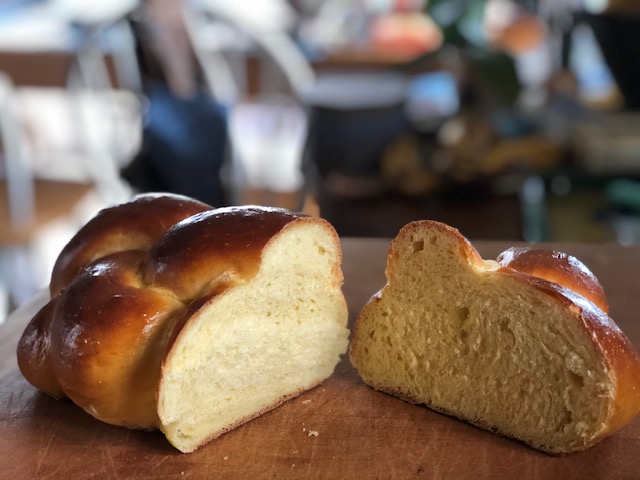
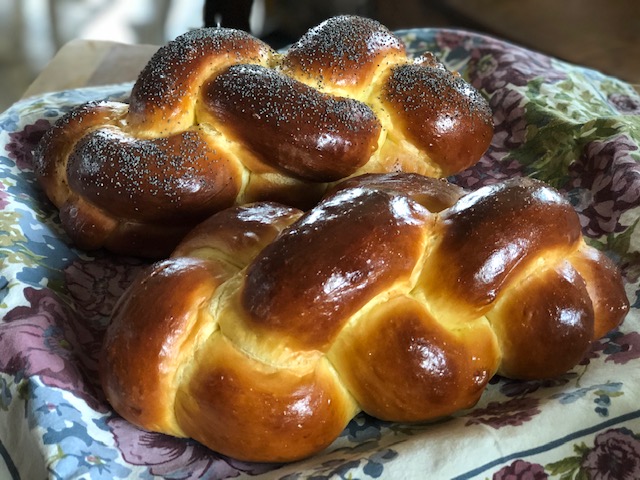
So of course I had to try Jeffrey’s challah. His recipe makes two large loaves, or three medium sized loaves, which seemed overwhelming to me, so I cut down the recipe to make two medium loaves, which works nicely. This challah is moist, fluffy, lightly sweet, feathery, and just melts in your mouth. I hope you give it a try. Since I reduced the recipe, I only mostly have weights for the ingredients, as opposed to volume, so you’ll have to break out your kitchen scale. It’s better and more precise that way anyway. Trust me. And another thing: if you want good results, please use King Arthur all-purpose flour. It is perfect for this recipe. And just for the fun of it, I tried using olive oil for this bread… not extra virgin olive oil, but just plain old olive oil, nice and mild, and I was very happy with how the bread turned out. I will include a picture tutorial at the bottom of the post with lots of details.
Favorite Challah
(from Jeffrey Hamelman’s recipe)
- 2 large eggs
- 2 egg yolks
- 44 grams vegetable oil
- 200 grams cold water
- 622 grams King Arthur Unbleached All-Purpose Flour
- 66 grams granulated sugar
- 2 tsp sea salt (12 grams)
- 1 Tablespoon + 1/2 teaspoon instant yeast
(You will need another egg for the egg wash)
- Put all ingredients in a large bowl in order listed above.
- Mix with a large wooden spoon or dough whisk until the dough starts to come together. It will seem stiff and dry at first.
- Once you’ve done all you can with the spoon or dough whisk, knead the dough in the bowl using one hand, rotating the bowl as you go, until the dough becomes more cohesive and starts to clean the sides of the bowl. Continue to knead until the dough is nice and firm, and becomes difficult to knead with one hand.
- Turn dough out onto a clean, dry work surface – NO FLOUR!!!! And continue to knead with two hands. The dough should be very firm. Knead until the dough becomes smooth and silky. The entire mixing and kneading process takes me maybe 15 minutes. Near the end of the kneading, grab the dough and slap it down on the work surface with some force, then fold it over onto itself. Repeat a couple of times, rotating the dough a quarter turn each time. This should tighten up the dough and really get it to that nice smooth texture. If this sounds confusing, just grab the dough and slap the work surface several times with it, and don’t be timid. Shape into a ball.
- Place dough back into the bowl and cover with plastic wrap or other bowl cover. Leave on counter for an hour, then place the dough in the refrigerator for another hour to hour and a half.
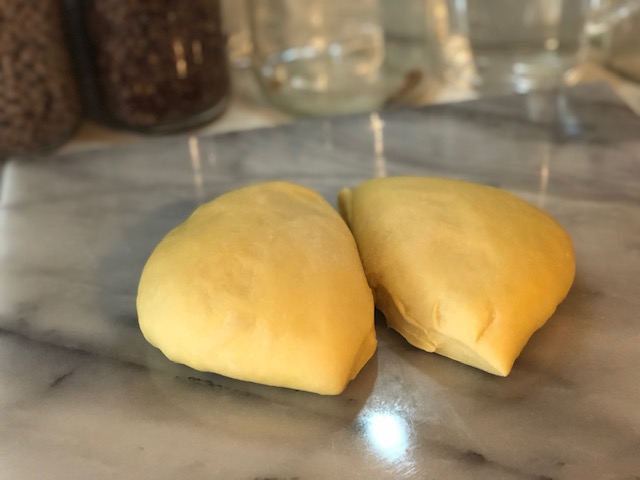
- Lightly oil your work surface. I just add about a half teaspoon of oil and spread it onto my work surface very thinly with a paper towel. Remove the dough from the refrigerator (it will perhaps have doubled in size) and divide the dough in half for two medium loaves. Starting with one half, divide into three or four pieces (depending on what kind of braid you will make) and shape the pieces into little logs. Cover with plastic wrap and do the same with the other half of the dough. Cover and let the dough rest for twenty minutes.
- Roll out the first set of logs into long strands (around 14″ to 16″). Move strands to an adjacent work area and lightly sprinkle with flour (so the strands don’t stick to each other) and braid. The light coating of flour will ensure that the strands maintain their definition while the loaves are rising. Transfer to a parchment lined baking sheet and cover with greased plastic wrap. Repeat with the second set of logs. Place a tea towel over the loaves and let rise on the counter for 60 minutes.
- After the 60 minutes, preheat your oven to 375° and put an oven rack in the lower third of your oven. Let the loaves continue to rise on the counter for another 30 minutes while your oven is preheating. Loaves should look puffy and almost jiggly.
- When loaves are ready (when they are quite puffy), mix one egg with 1 teaspoon water and brush the loaves with the egg wash, covering every nook and cranny. You can start with one loaf, then to the other, then go back to the first and egg wash again, and back to the second and egg wash again. If you wish to add sesame or poppy seeds, sprinkle them on now.
- Place the baking sheet with the loaves on it on an upside down baking sheet (I actually do this part much sooner so I don’t forget), which will ensure that the bottoms of the loaves don’t burn. Place the whole thing in your preheated oven on the lower rack. Bake for twenty minutes. At the twenty minute mark, if the loaves look like they are already dark enough, tent with aluminum foil and bake for 5 minutes longer. The loaves are ready when they sound hollow when tapped on the bottom, and an instant-read thermometer registers 190°. Let loaves cool on wire cooling rack. Let cool completely before storing at room temperature in a bread bag. Stored properly, the bread will stay fresh for a couple of days, if it lasts that long…
Okay, so here is the picture tutorial. I hope you find it helpful.
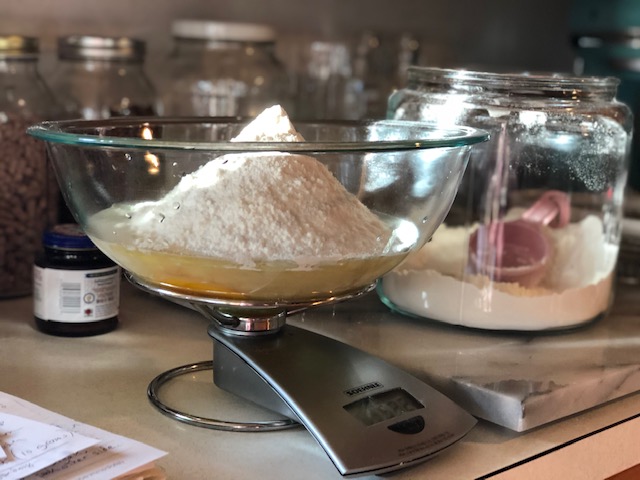
Add ingredients to large bowl, zeroing out your scale after each addition.

Mix with a wooden spoon or dough whisk. Dough will seem dry.
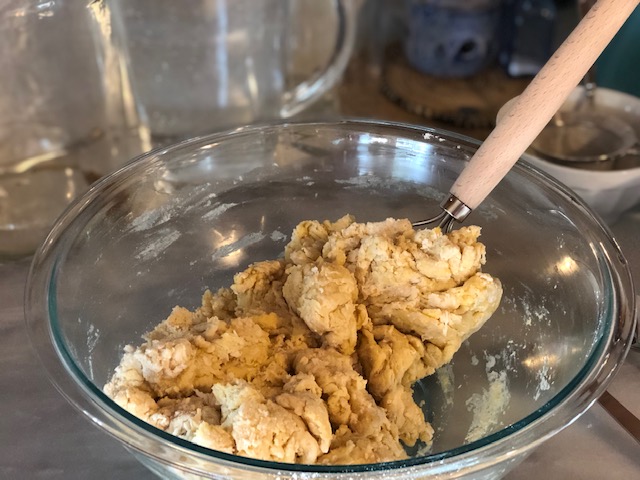
Keep going until just about all the flour has been absorbed. Dough will still seem stiff and dry.
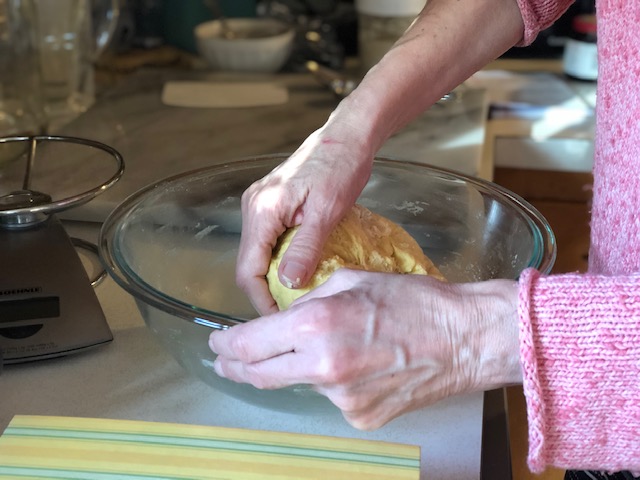
Now get your hand in the bowl and start kneading.
Keep rotating the bowl as you go, grabbing the dough and folding it over onto itself.
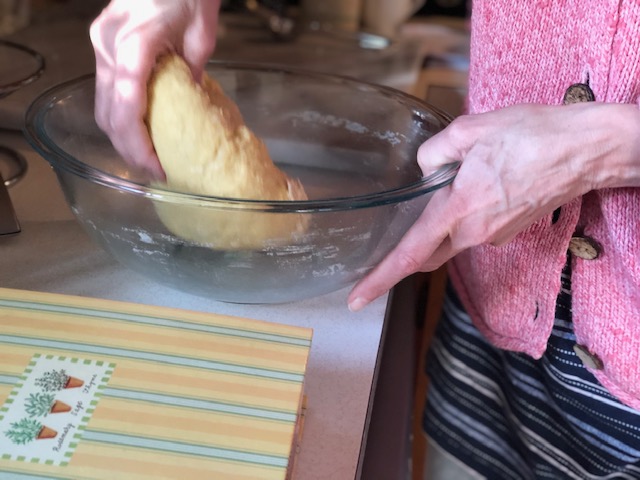
Dough will start to feel moist as you continue to work with it.

At this point, the dough still needs a lot more kneading.
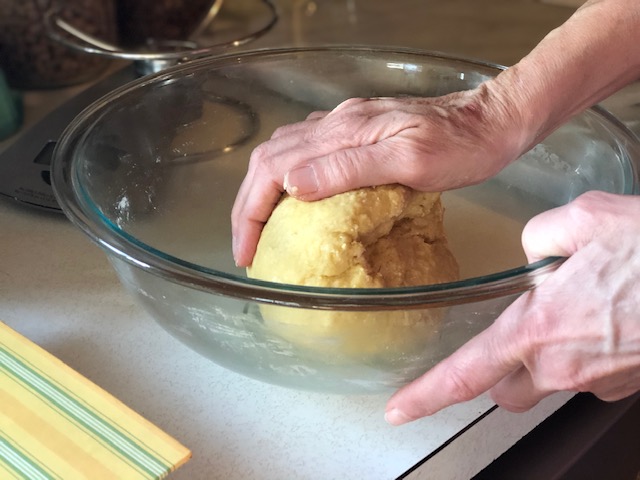
When the dough becomes too difficult to knead in the bowl, transfer to clean, dry work surface and knead with two hands. Do NOT add flour.

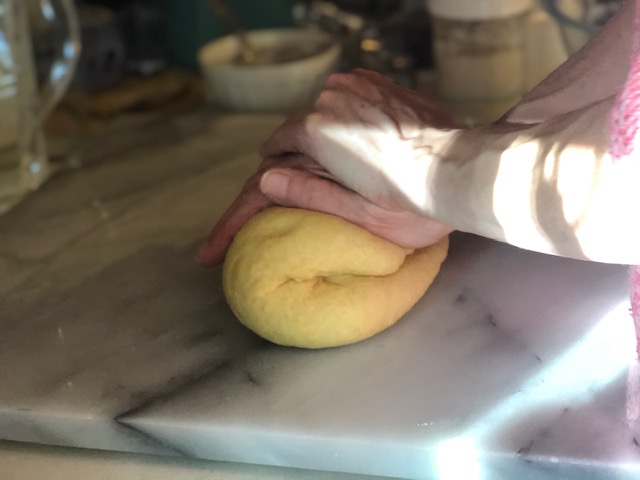
Knead until dough is smooth and silky. Be patient! Shape into a ball by smooshing sides under with cupped hands.
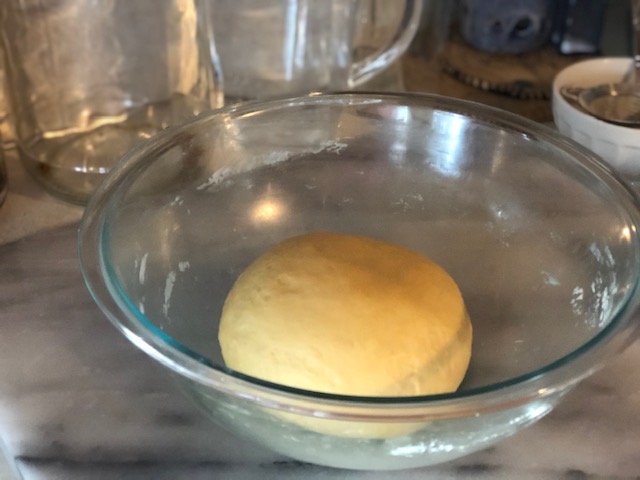
Place dough back in the bowl.
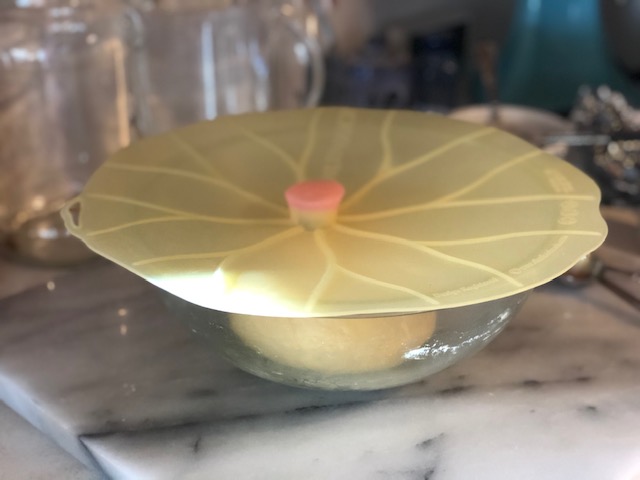
Cover and leave on counter for an hour.
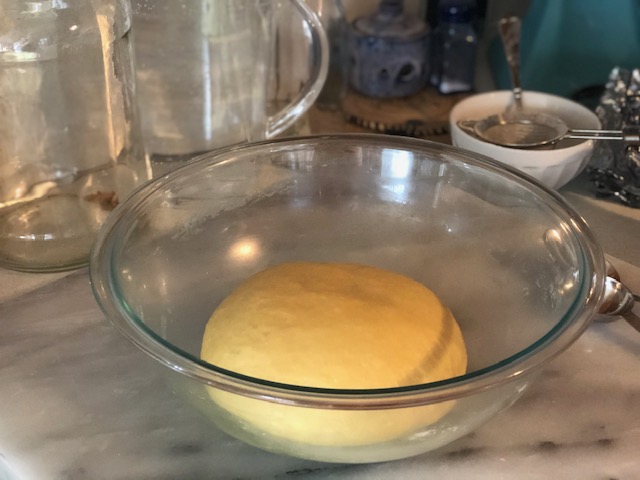
Okay, so the dough got a little bigger. Cover and put it in the refrigerator for an hour to an hour and a half.
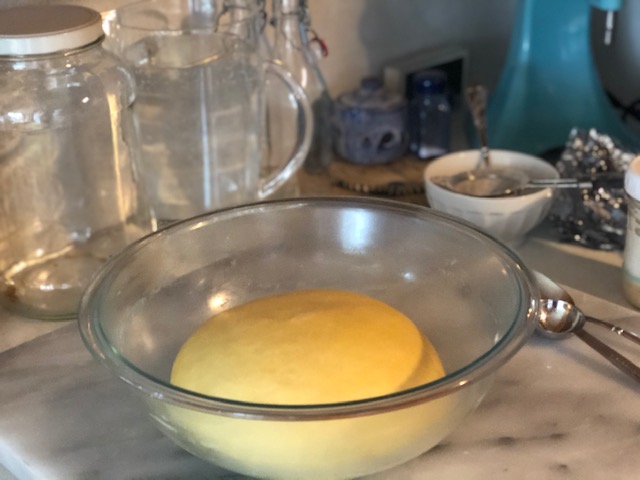
After the rest in the fridge, the dough is even bigger.
Lightly oil your work surface. Cut dough in half for two loaves. Each loaf is around 543 grams.
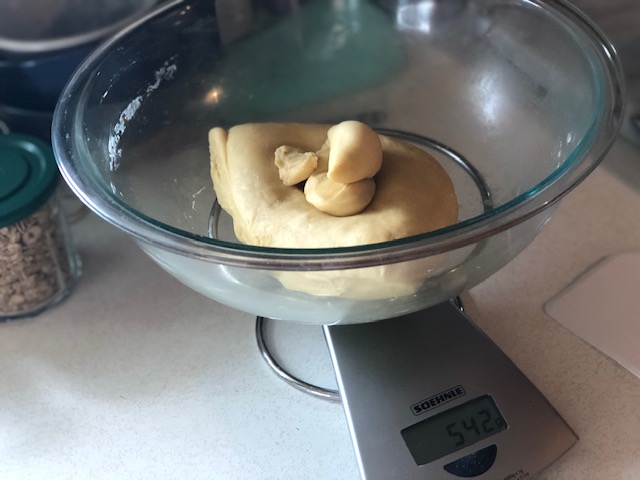
I like to weigh the dough so I know the loaves will be the same size. I add little chunks of dough until I get to the right weight.
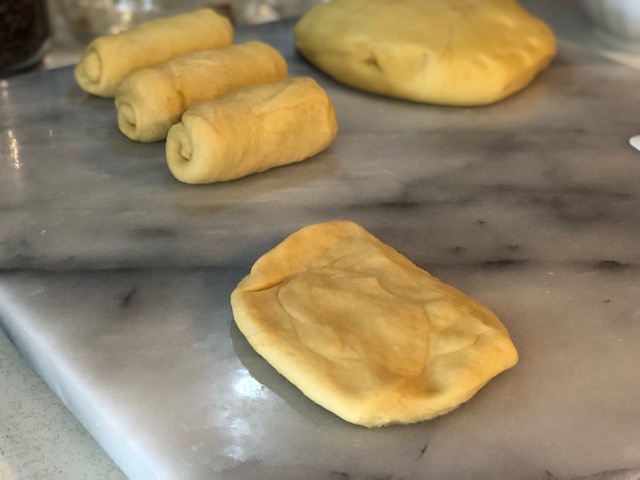
Divide the first chunk of dough into 3 or 4 pieces. I’m doing a four strand braid, but you can do a three strand braid if you like. Flatten each piece lightly into a rectangle and roll into a tight log.
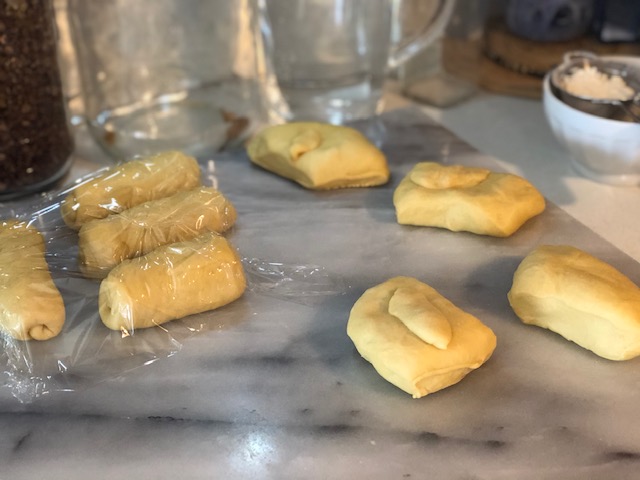
Cover first set of logs and do the same with the second half of the dough. I measure the smaller pieces as well – inconsistencies get rolled up and hidden.
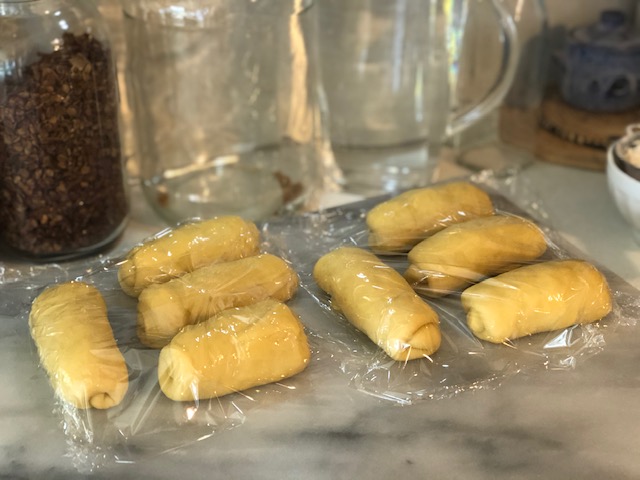
Cover both sets of logs and let rest for twenty minutes.
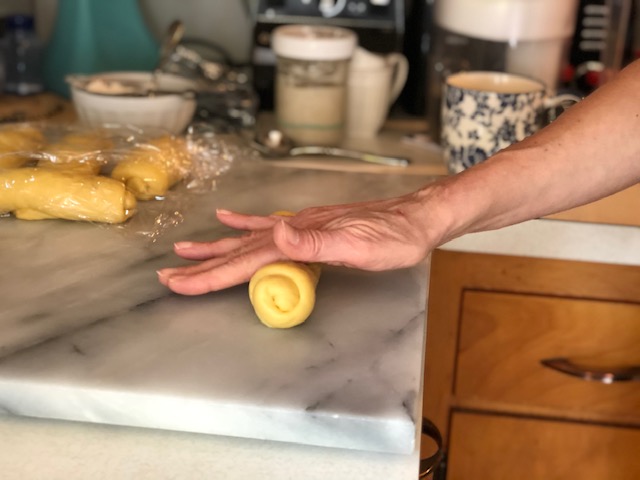
Starting with the first set, roll the log with one hand at first to get it started.
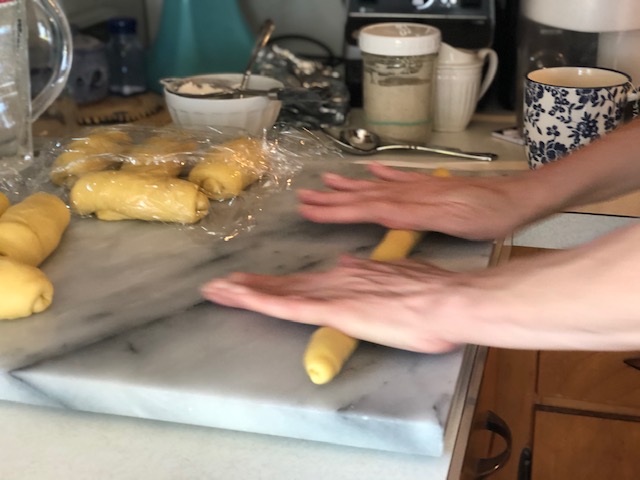
Next use two hands, and stretch the strand outward as you roll.
Try to get the strands as even (same length) as possible, rolling them a bit more as needed.
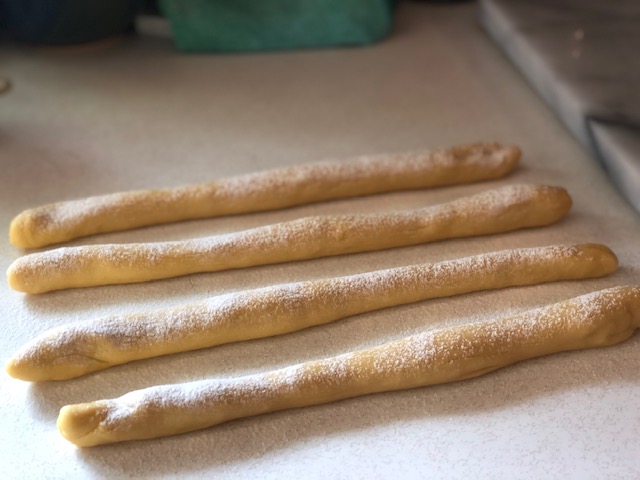
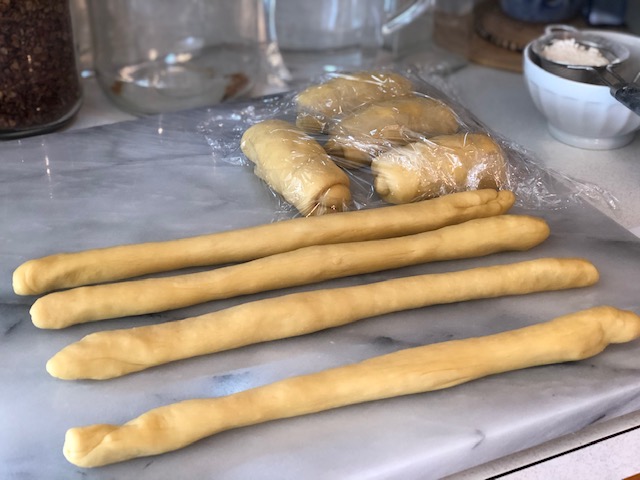
Transfer strands to a different or adjacent work space, and sprinkle lightly with flour. Roll the strands so they are lightly coated in flour.
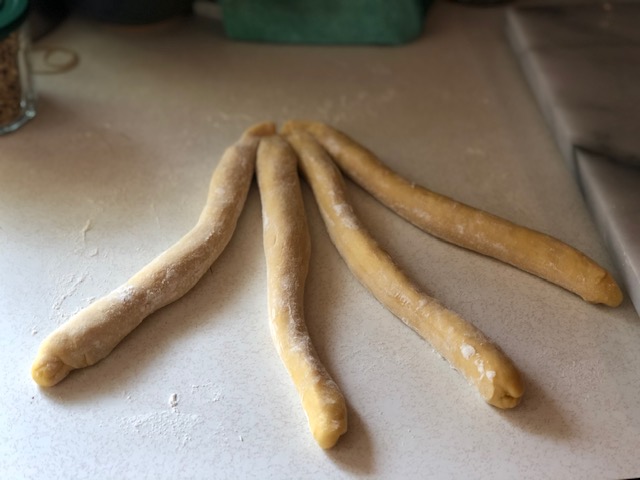
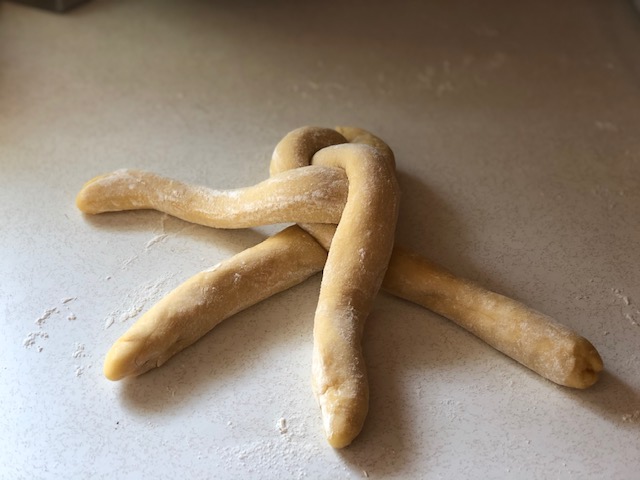
Rotate a quarter turn and pinch the ends together at the top. Now you are ready to braid.
If you would like to see a video of me making this four strand braid, you can see it here. My videographer (she is ten) kept zooming in and out, so if you get motion sickness from watching the video, take a break and have a cup of tea.
Step one. I know, this means nothing, so watch the video.
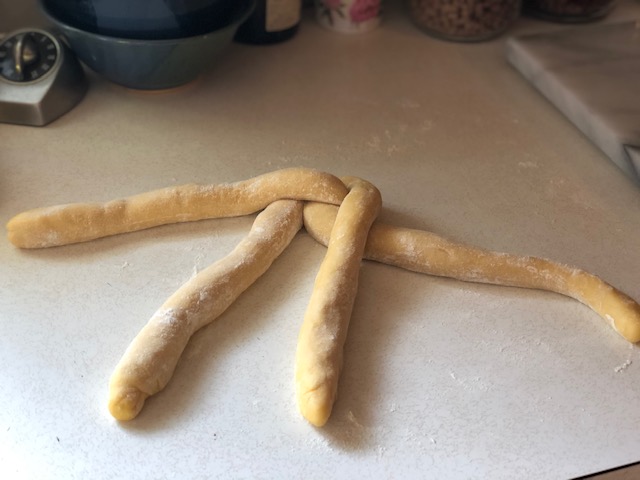
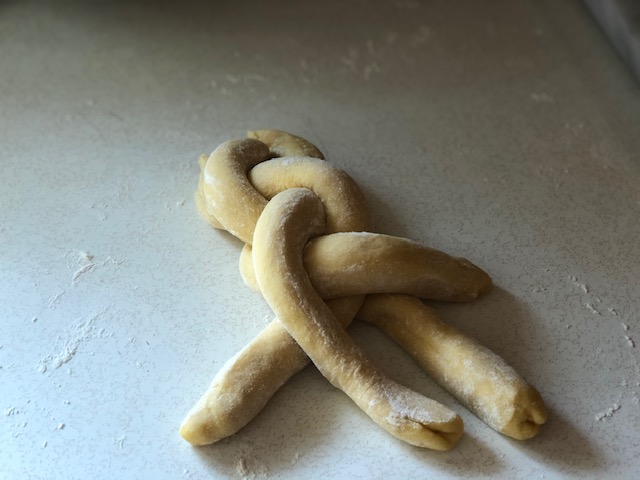
And so on….
I know it looks confusing, so watch the video.
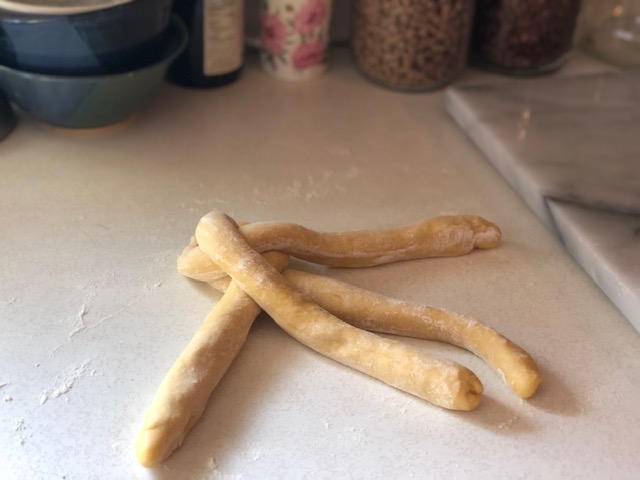
The nice thing is, this is pretty easy once you get the hang of it.
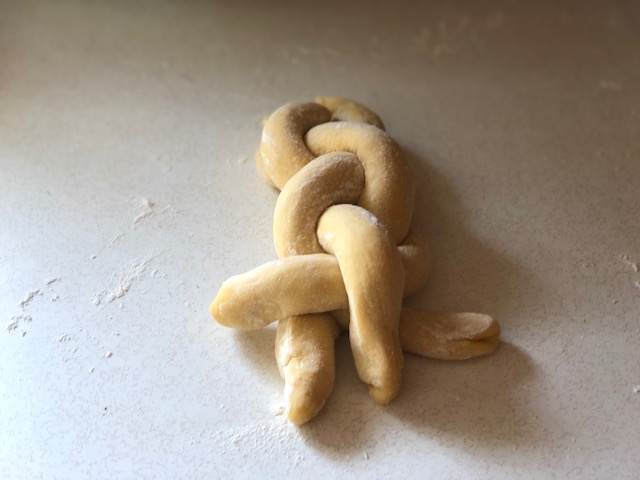
And the four strand braid stands nice and tall. Super pretty.
The braid is nice and loose. The strands have to have room to expand.
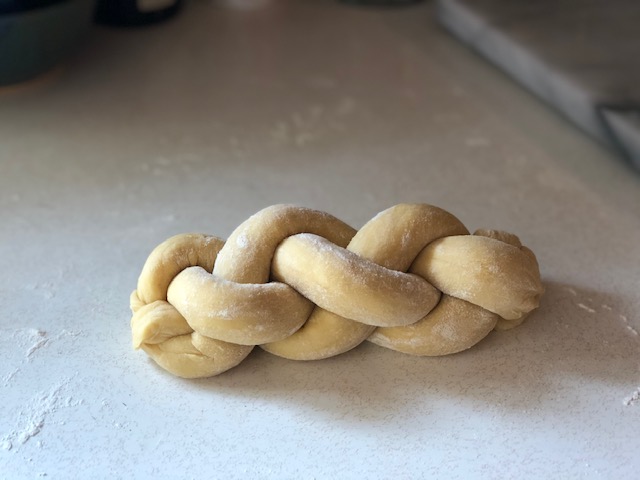
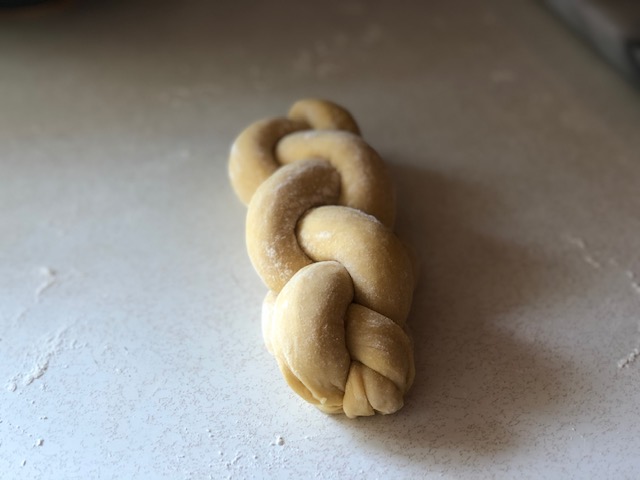
Pinch and tuck the ends under. This braid makes me feel all dreamy. Transfer to parchment lined baking sheet, cover with greased wrap, and repeat with second set of logs.
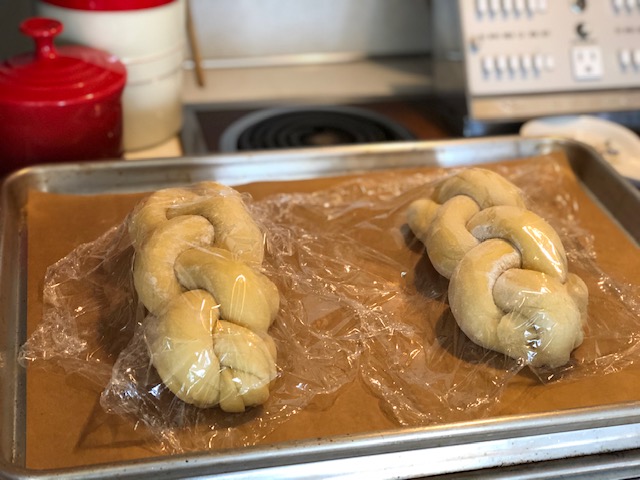
Make sure there is plenty of space between the loaves.
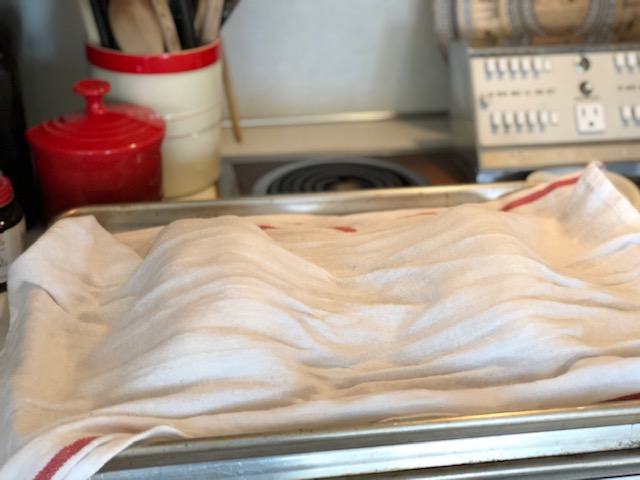
Cover with tea towel and let rise for 90 minutes (at the 60 minute mark preheat your oven to 375° and put an oven rack in the lower third of oven.
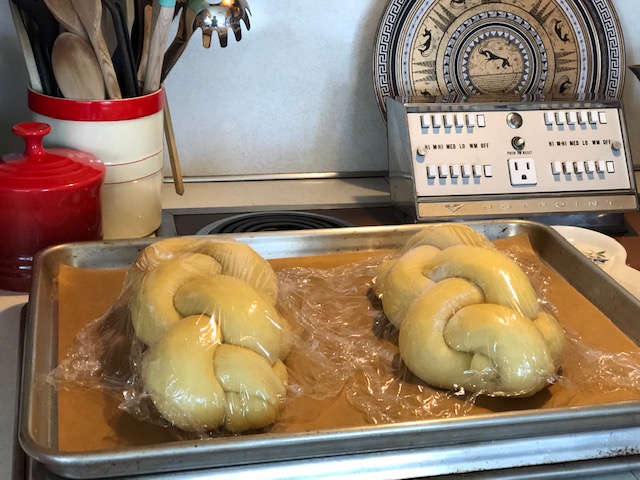
After 90 minutes they are good and puffy!
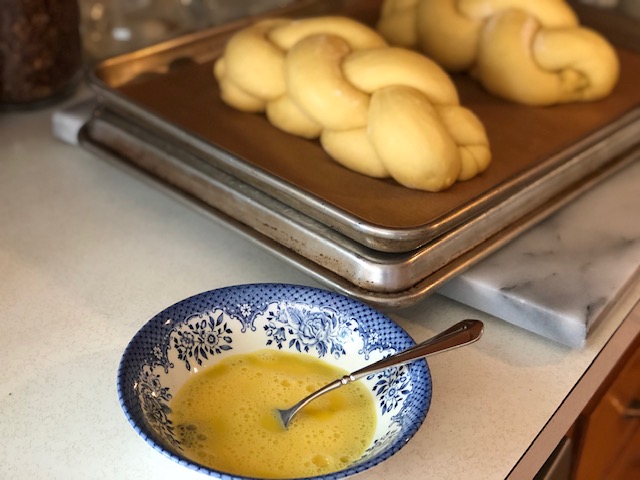
Prepare egg wash.
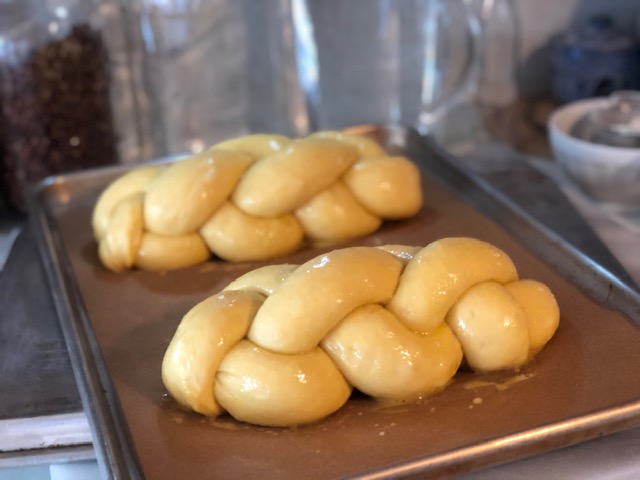
Brush loaves with egg wash… you can do this twice if you like.

Sprinkle with poppy seeds or sesame seeds.
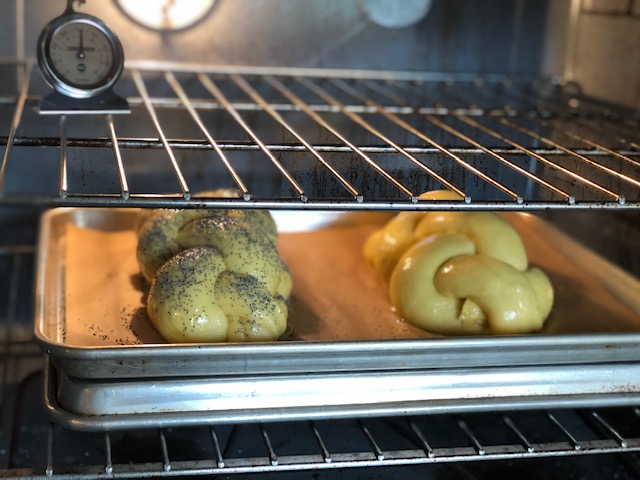
In the oven they go! Notice the baking sheet is set on top of an upside down baking sheet to protect bottom from burning.
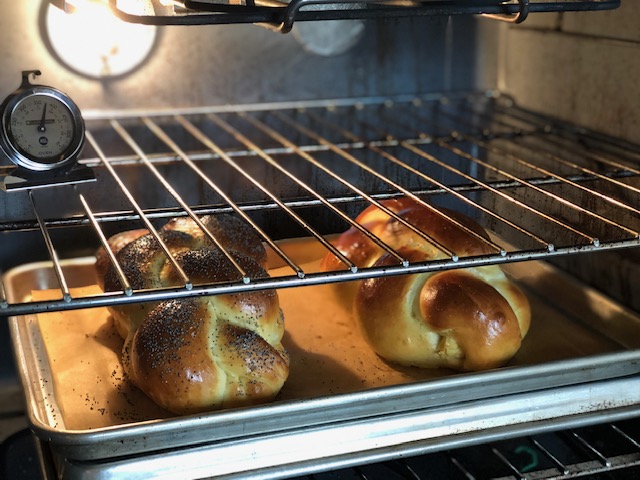
These are looking dark at the twenty minute mark…
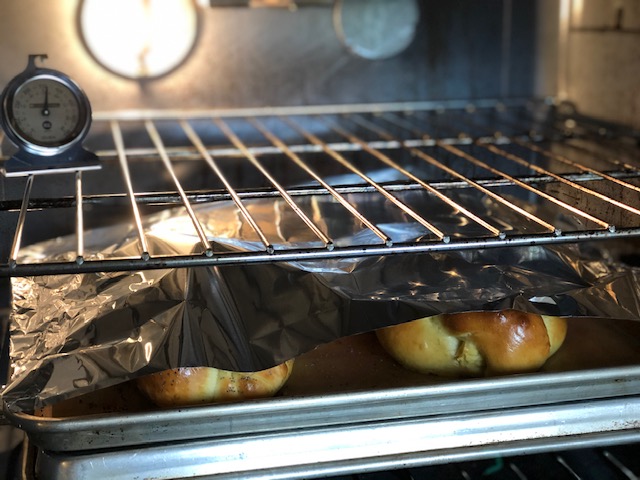
So I tent with foil and bake for 5 more minutes.

You can check the temp to see if the loaves are done. They should reach 190° in the center of the loaf.
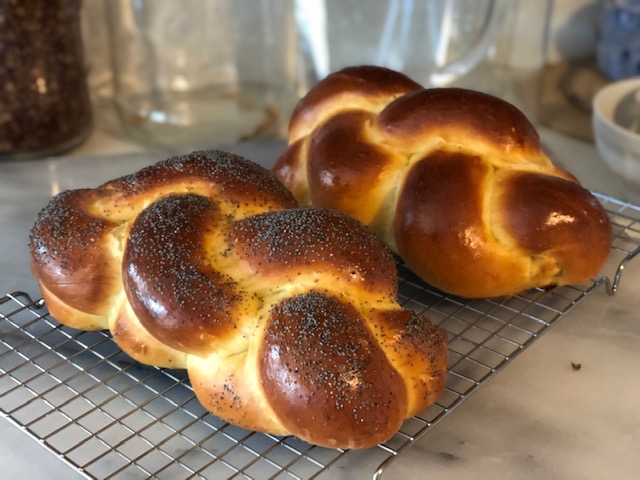
You can also tap the bottoms of the loaves and if they sound hollow, they are done!
Enjoy!

Love this, Angela! Your braiding is beautiful. And doesn’t Jeffrey make it look easy? I saw the episode of him making the challah and he rolled those “ropes” out so fast it make my head spin. Muscle memory and lots of practice, I would imagine. 🙂
Thanks Jill G! The braiding is the best part. I want to make challah all the time just so that I can experiment with different braids! Jeffrey is so inspiring. Love him.
Pingback: Challah | and everything nice
This is going on my to-bake list too! I don’t know if I’ve ever seen such a beautiful braid and color on a challah. Brava!
Thank you Sonja!! If you make this, let me know how it turns out!