I know I make a lot of apple/crusty types of desserts, but I must say that this is my dream pie. I’m a sucker for anything with a crumb topping, and I love a buttery flaky crust, and caramelized apples?? Oh my. I made this pie maybe a year ago, and I thought it was pretty good, but maybe not swoon-worthy; I only made it once. That’s an indicator. I did remember that I loved the crumb topping though. Then just a few days ago, I had to make a pie since it was Pi Day. I didn’t have a lot of time, and I already had a single crust in the freezer just waiting to be used, so I decided an apple crumb pie was in order.
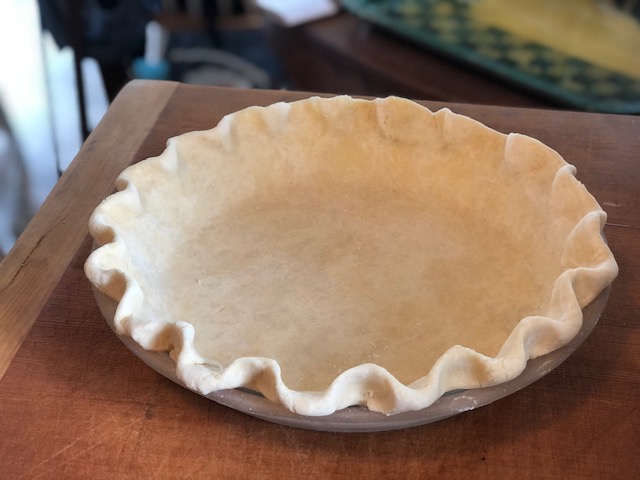
Nice to have a homemade crust waiting in the freezer for pie emergencies.
I followed the Betty Crocker recipe, the same that I used last year, but I used my own pie crust recipe. There were some problems. The top of the pie got a little burned, but the apples were a tad crunchy; no thank you. And the flavor was missing something. Don’t get me wrong – the pie was good, but it just wasn’t great. But I still posted a picture of it on FaceBook…

Burned crumb, but still good.
So after posting the photo, I got a request for the recipe! I couldn’t in good conscience hand over a recipe that I didn’t love, so I decided to make the pie again with all the necessary changes. How to get better flavor? A different mix of apples, an addition of nutmeg for warmth, a bit of salt to bring out the flavor more… it doesn’t take a lot. And I don’t like pies that have too much going on. I like it simple. And how to have it so the pie doesn’t burn but the apples get cooked properly? Two things – slicing the apples much thinner, and also tenting the pie for the first part of the bake. And I also baked the pie for a longer amount of time so that I was sure to get that wonderful caramelized edge that is so dreamy.

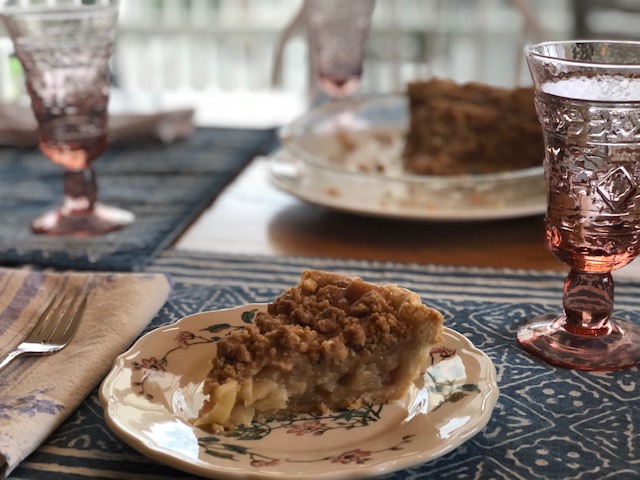
Look at all the wonderful gooey caramelized juices at the edge of the pie!
I was worried that maybe the apples would get mushy from being baked too long and being sliced so thin, but that did not happen! I chose gala and pink lady apples, which both hold their shape quite nicely in pies. The result? The apple crumb pie of my dreams. And get this: I made it yesterday in the early evening, so it was too warm to eat. Also too warm to cover or wrap! so I put the pie in my pie basket carrier and put it in our cool temp garage overnight. The pie basket is so great – it protects the pie, but lets it breath. I love my pie basket.
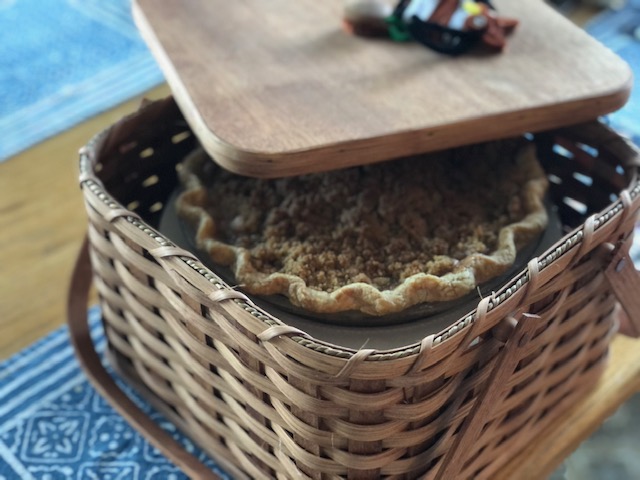
A gift from my sweet husband.
Everyone always says pies are best the same day they are made, but I must tell you, this one was fantastic on day #2, even cold!!! Everything about it was right. Flaky crust, flavorful apples with just the right amount of tenderness, caramelized edges, and a tender-crisp crumb topping. I am going to cry now. Tears of joy.
Apple Crumb Pie
(Adapted from Betty Crocker’s recipe)
- 1 disc pie dough for a single pie crust or one frozen pie crust*
Filling:
- 5 medium to large apples (I used 3 pink lady and 2 gala), peeled, cored, and thinly sliced (1/8″)
- 1 to 2 Tablespoons freshly squeezed lemon juice (1/2 lemon)
- 1/2 cup granulated sugar
- 1/4 cup all-purpose flour (go lightly… 30 grams)
- 1/2 teaspoon cinnamon
- 1/8 teaspoon nutmeg
- 1/8 teaspoon kosher salt
Crumb Topping:
- 1/2 cup (1 stick, 113 grams) unsalted butter, softened
- 1 cup all-purpose flour (don’t go lightly! 140 grams)
- 2/3 cup packed light brown sugar
- 1/4 teaspoon cinnamon
- 1/8 teaspoon kosher salt
*If you choose to make my favorite pie crust recipe, make the full recipe (it will come out better that way) and wrap and freeze one of the discs for another use. It’s fine if you want to use a store bought frozen pie shell as well.
**For directions on how to roll out and shape your pie dough, follow the directions from this post.
- On a lightly floured surface, roll pie dough into a 13″ circle.** Drape dough into a cold 9″ pie pan (I like to chill my pie pan in the freezer before I roll out my dough). Ease the sides of the dough into the pan, pressing along the sides and bottom gently (don’t stretch the dough!!!). Trim the dough to have a 1″ overhang from edge of pan. Tuck the dough under and crimp, making a fluted edge. This adds height to the crust and helps keep all the filling and juices in the pie! Put the crust in the freezer while you prepare the filling.
- Preheat your oven to 400° and make sure there is a rack in the lower third (bottom) of the oven.
- Peel and core the apples, then slice the apples thinly (1/8″). Place the apple slices in a large bowl, tossing the slices in a bit of lemon juice as you go along. Add the rest of the lemon juice, the sugar, flour, cinnamon, nutmeg and salt and toss everything together.
- Remove your pie crust from the freezer. Pour the apples into the crust and mound slightly toward the center. Set aside.
- To make the topping, put softened butter, flour, brown sugar, cinnamon and salt in a medium bowl. Using a fork, mix the ingredients together until you have a crumb consistency. If you want larger crumbs, you can get your hands in there and make some larger crumbs by squeezing some of the smaller crumbs together.
- Place the pie on a cookie sheet lined with aluminum foil to catch any overflowing juices. Sprinkle all of the crumb topping on the apples as evenly as possible. Don’t worry if it looks like a big mound; it will bake down. Take another sheet of aluminum foil and lay it gently on top of the pie, making a “tent”.
- Place tented pie on the cookie sheet on the bottom rack of oven. Bake for 45 minutes. After 45 minutes, remove the foil tent and turn the temperature down to 375°. Bake for another 30 minutes, or until you see thick juices bubbling up in several places. You can rotate your pan at any point for even baking. Don’t worry if the juices are pooling at the edges (that’s what you want!). Some might even drip over the edge of the pie crust. That’s okay. If the top starts to get too brown, put the foil tent back on.
- When the juices are thick and bubbling, remove the pie from the oven. Let cool completely (this can take up to 4 hours… sorry) before serving. This pie is delicious warm, at room temp, or even cold. Store at room temperature for up to two days out on your counter with just a loose covering. Enjoy!
Picture Tutorial:
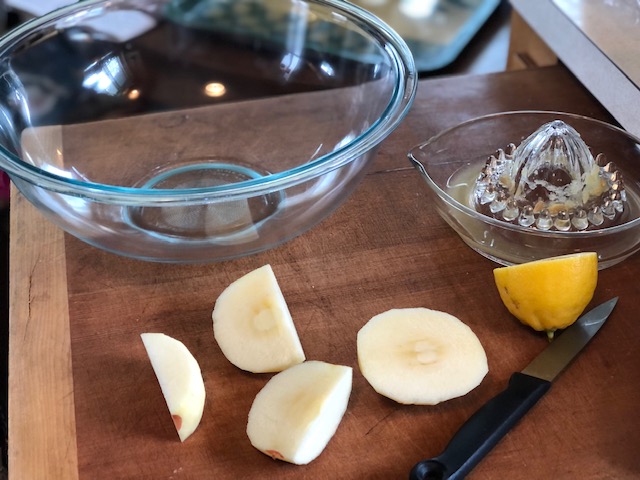
I like to slice my apples first this way.

Then slice 1/8″ slices lengthwise, then in three. Toss in lemon juice.

Tossing with the rest of the ingredients.
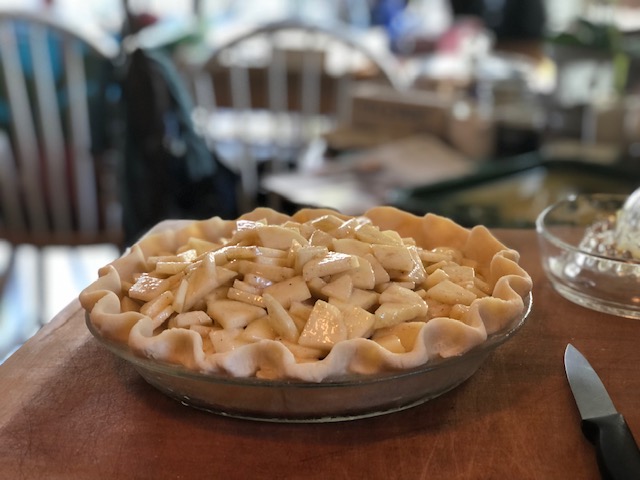
Place apples in frozen crust, mounding toward the center.

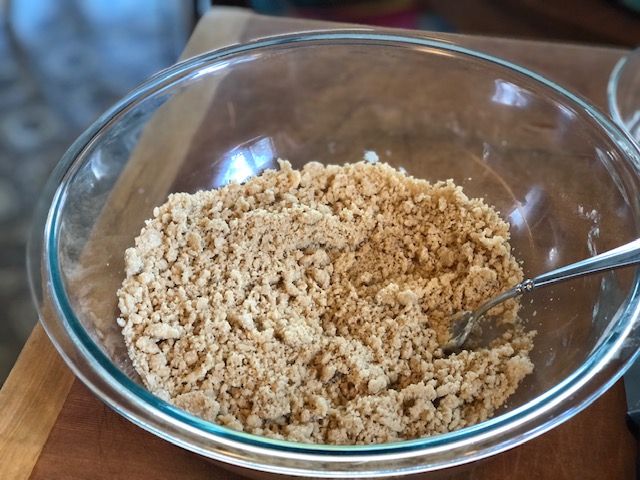
Put all crumb topping ingredients in a medium bowl.
Mix together with a fork until a cohesive crumb forms.
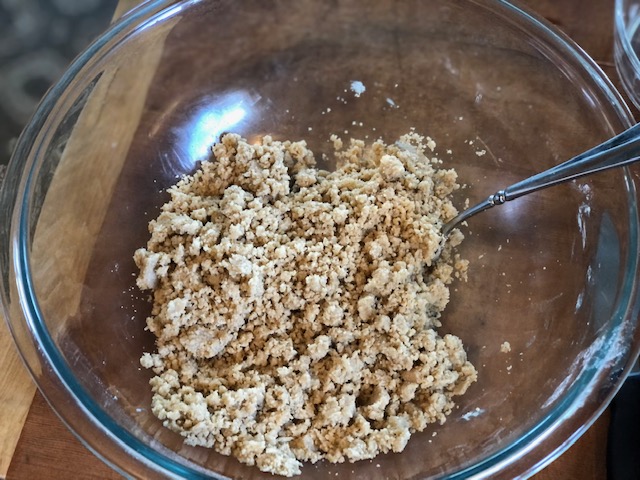
Make some bigger crumbs by squeezing some of the smaller crumbs together (optional).
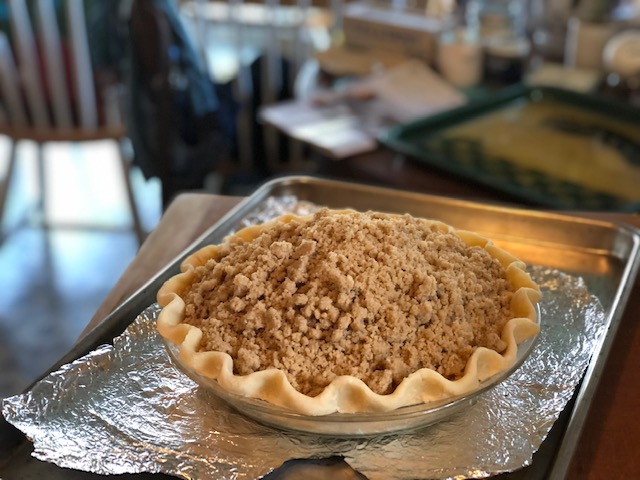
Place pie on foil lined cookie sheet and cover apples evenly with crumb topping.
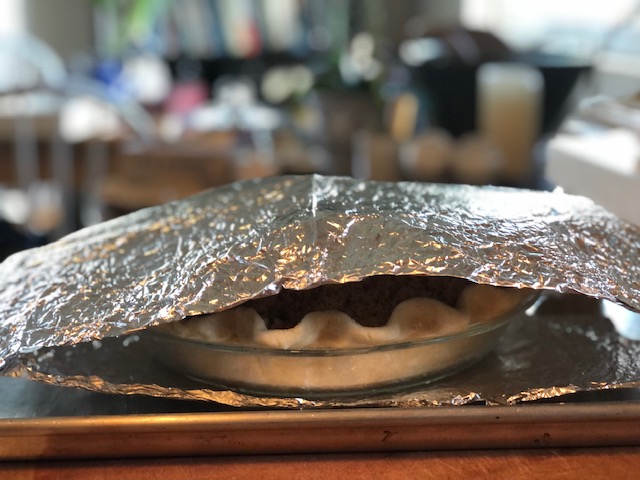
Add foil tent, and bake on lowest rack in 400° oven for 45 minutes. Remove tent, reduce heat to 375°, and bake for another 30 minutes.
Let cool completely. Enjoy!

This looks beautiful!
Thank you Dorothy!