
The first bite is like heaven.
The other day, my friend Kristen texted me from Utah, saying that she had lost the recipe I gave her for my Maple Oat Scones, and she was having a craving. I don’t know about you, but when I have a craving and can’t find the recipe, it is very serious. I texted dear husband and told him exactly where the recipe was, and asked him if he could take a picture and text it to me (I was out browsing at a kitchen store just minutes before the beginning of the Great Seattle Snowpocalypse of 2019, and it was making dear husband very nervous, but I’m from the Midwest, and these things don’t bother me much).
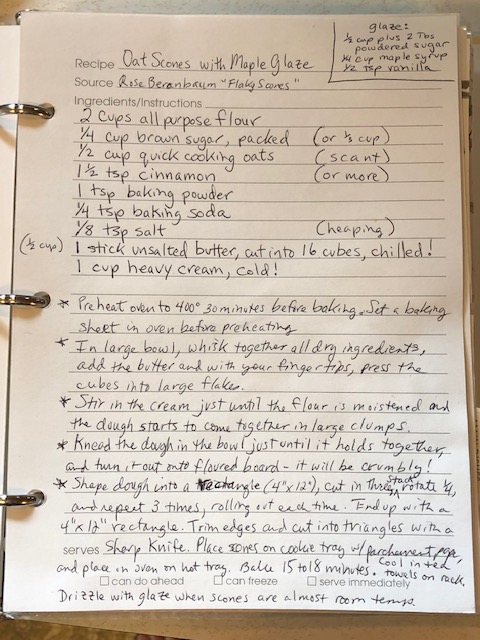
Can you read my writing?
I texted the recipe to Kristen, and all was well in the world once more.
Kristen and I made these scones together at my house not long before she moved away, so this is a very special recipe to me. It was a recipe that I suffered over, searching high and low to try to achieve a certain texture; a dense, crumbly, melt-in-your-mouth scone. Not light and cakey. If you are looking for a light and cakey scone, this is not for you. If there is anything I hate, loathe, despise and abominate, it is a cakey scone.

Dense, but still flaky and melt-in-your mouth perfection.
When I came across Rose Beranbaum’s recipe for Flaky Scones, I was thrilled. It was exactly what I was looking for… almost. The texture was wonderful, but they were plain scones, and I was obsessed with the idea of a Maple Oat scone, something brown-sugary cinnamony maply oh my goodnessy. So I tweaked a thing here and there, and this is what I ended up with, adapted from Rose (or Rosy, as I like to refer to her, since I love her scones so much) Beranbaum’s Flaky Scone recipe:
Preheat your oven to 400° 30 minutes before baking. Set a baking sheet in the oven before preheating.
Have ready and waiting for you in your fridge:
- 1/2 cup (1 stick) very cold unsalted butter, cut into 12 to 16 cubes.
- 1 cup heavy cream, very cold.
In a large bowl, whisk together 2 cups (9 ounces) all purpose flour, 1/4 cup light brown sugar, packed, 1/3 cup old fashioned rolled oats (or quick cooking), 1 1/2 teaspoons cinnamon, 1 teaspoon baking powder, 1/4 teaspoon baking soda, and 1/8 teaspoon salt.

This is the easy part. Whisk it all together.
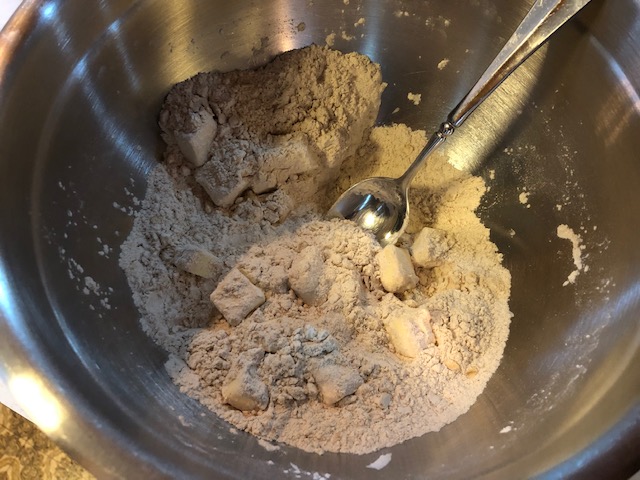
Now get that cold cubed butter out of the fridge or freezer,

and dip your fingers into the flour mixture, then press the cubes of butter into large flakes. Do this quickly so that the butter doesn’t melt. Sometimes I hold the cold plate with my fingers first, to make sure my fingers aren’t too warm.

Okay, it’s a weird picture, but I wanted you to see the flattened butter cube!
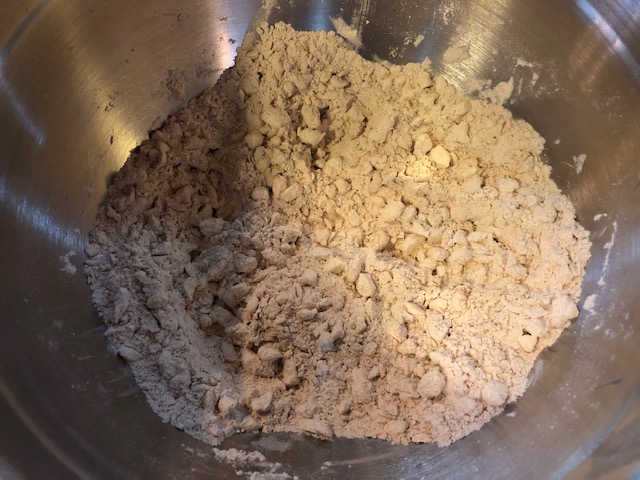
Do this with all the butter, adding them to the flour mixture as you go.

Stir in the cream just until the flour is moistened and the dough starts to come together in large clumps.

Knead the dough in the bowl just a little bit, until it starts to hold together, then dump it out onto a floured board or countertop.

There will be lots of crumbly bits, and that’s okay. It will all get slowly incorporated as you go along. Shape dough into a 4″ x 12″ rectangle.

Don’t worry if it looks sloppy.
If you have read my post about making biscuits, this is the same process. Cut the rectangle into three sections with a sharp knife or bench scraper. I love my bench scraper.

I love the crumbly bits.
Stack the three pieces and rotate one quarter turn.

Dense and beautiful.
Flatten the stack into a rectangle with your knuckles or bench scraper and do the whole process (cut, stack, and rotate) two more times. Do this quickly so the butter doesn’t melt. It’s messy and lumpy, and that’s the way it’s supposed to be. Imagine you are Daisy on Downton Abbey. No, wait, I am Daisy, and you can be Mrs. Patmore. Your third rectangle might look something like this, with most of the crumbly bits incorporated.

Still looks rustic.
Now take a lightly floured rolling pin and roll it out a little more, until it’s about 3/4″ thick.

Don’t roll it too much!
You should end up with a 4″ x 12″ rectangle. Mine this time was more like 6″ x 12″, which is why my scones look so long and narrow… Trim the edges and cut into triangles with a sharp knife or bench scraper.

Mash the edge scraps together to make a small rectangle, and cut into two triangles. These ones will be misshapen, but they are always my favorites. Nobody can have those but me.

What’s not to love?
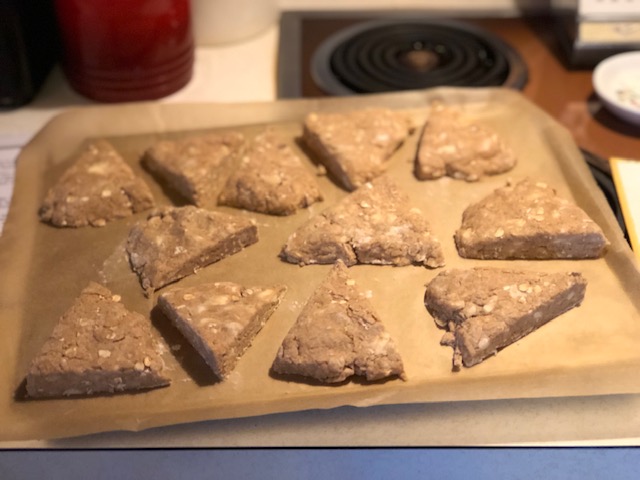
Transfer all of the cut scones to a cookie sheet lined with parchment paper. Make sure there is about an inch (more or less) of space between the scones.

Place tray in the hot oven on top (nested) of the cookie tray that is already in there. Bake for about 15 minutes, until the edges start to brown. Place a tea towel on a cooling rack.

Take the scones out of the oven and carefully transfer them to the tea towel that is on the cooling rack.

The misshapen ones look weird, but they are so good!
Now cover them lightly with a second tea towel and let cool until scones are almost to room temperature.

When I first saw this technique for cooling scones (and I have seen it several times), I couldn’t believe it. I thought for sure they would end up soggy, but somehow, magically, they are still crispy and flaky on the outside, and oh-so-melt-in-your-mouth perfect on the inside. Believe it.
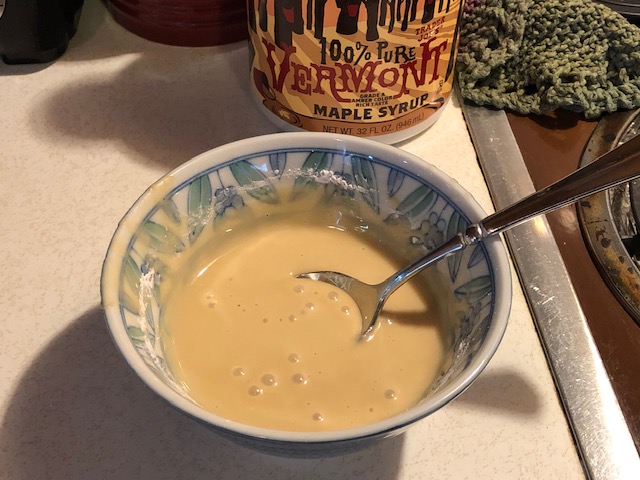
Now make your maple glaze – stir together 1/2 cup plus 2 Tablespoons powdered sugar, 1/4 cup pure maple syrup, and 1/2 teaspoon vanilla. Stir until smooth.
Drizzle over the scones once they are at room temperature, or close to it. You can drizzle a little or a lot. The recipe makes a lot of glaze, just in case you like to drench your scones. That has never happened at our house.

This one makes me want to cry.
Yes, that is the misshapen one. I’m not obsessed over it or anything. What I really want to try sometime is to make these scones, but skip the whole stacking and turning thing. Just knead a teeny bit and make a large round of the dough and bring it together as best as I can, and then cut the round into pie shaped wedges. But the way I do it now works so well that I’m not willing to mess with it. I may just try it tomorrow. In the meantime, if you are still following along, grab your scone and cup of tea and relax. As Millie once said to me when she was less than 2 years old and I was hustling and bustling around the kitchen, “Wewax Mommy, wewax and dwink woh tea.”

Do you like my sincere fox mug?
By the way, these keep nicely for a couple of days, wrapped airtight and kept at room temperature. Reheat in a 250° oven for about 5 minutes.
Oat Scones
- 2 cups (9 ounces) all purpose flour
- 1/4 cup brown sugar, packed
- 1/3 cup old fashioned or quick cooking rolled oats
- 1 1/2 teaspoon cinnamon
- 1 teaspoon baking powder
- 1/4 teaspoon baking soda
- 1/8 teaspoon salt
- 1 stick (1/2 cup) unsalted butter, cut into 16 cubes, chilled
- 1 cup heavy cream, chilled
Maple Glaze
- 1/2 cup plus 2 Tablespoons powdered sugar
- 1/4 cup maple syrup
- 1/2 teaspoon vanilla extract
Directions:
- Preheat oven to 400° 30 minutes before baking. Set a baking sheet in oven before preheating.
- In a large bowl, whisk together all the dry ingredients.
- Add the butter, and with your fingertips, press the cubes into large flakes.
- Stir in the cream just until the flour is moistened and the dough starts to come together in large clumps.
- Knead the dough in the bowl just a bit, until it holds together, and turn it out onto a floured board or countertop – it will be crumbly.
- Shape dough into a rectangle (4″ x 12″), and cut into three sections, stack, rotate, flatten and repeat two more times. End up with a 4″ x 12″ rectangle (roll with rolling pin if necessary).
- Trim edges and cut into triangles with a sharp knife. Transfer scones to cookie tray lined with parchment paper.
- Mash the edge scraps together to form a small rectangle. Cut into two triangles and transfer to cookie tray.
- Place cookie tray in the oven, nesting it in the hot cookie tray that is already in the oven. Bake 15 to 18 minutes, or until the edges start to brown.
- Cool in tea towels on cooling rack.
- Drizzle with glaze when scones are almost at room temperature.
- Enjoy warm or at room temperature.
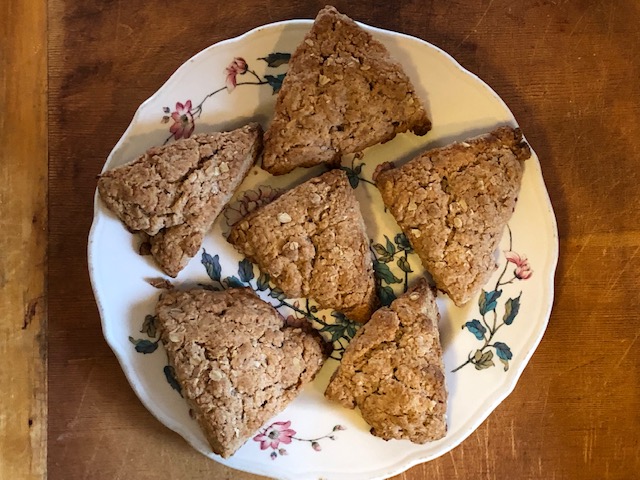
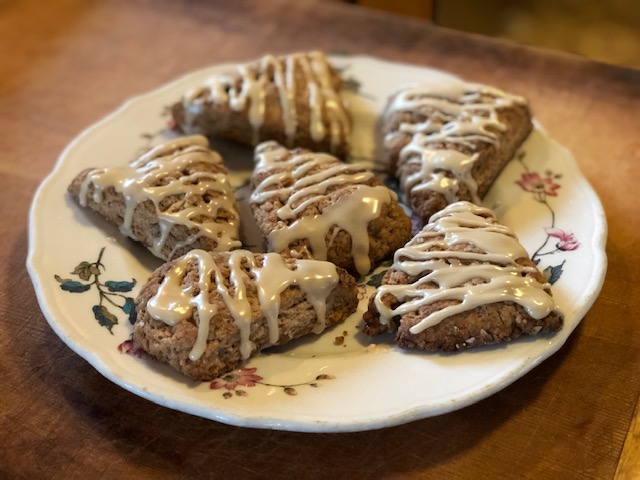
These were done with the second, more traditional method.
Yes, well, tomorrow has come, and is now today. I had to try doing this the other way, without all the stacking and turning, without flattening the butter into large flakes… in other words, a much less fussy way. My conclusion? Both are fabulous! The first method, stacking and rotating, etc, makes scones that rise evenly and are smooth on top, and have a very smooth texture. The second method, that I will go over, the scones (shown above) are craggy and nubbly, less fussy to make, and still have a wonderful crispness on the outside and a dense but melt-in-your-mouth texture inside. So if you like a more rustic scone, keep reading.
Have ready and waiting for you in your fridge:
- 1/2 cup (1 stick) very cold unsalted butter, cut into 12 to 16 cubes.
- 1 cup heavy cream, very cold.
Mix the dry ingredients: 2 cups all purpose flour, 1/3 cup old fashioned rolled oats (or quick cooking), 1 1/2 teaspoons cinnamon, 1 teaspoon baking powder, 1/4 teaspoon baking soda, and 1/8 teaspoon salt, (but not the brown sugar). Once everything is well combined, toss in the cubed cold butter (1/2 cups worth).
Now cut the butter in with a pastry cutter or two sharp knives. Should look like this.
Now stir in 1/4 brown sugar. And then stir in 1 cup cold heavy cream just until the flour is moistened and the dough starts to come together in large clumps.
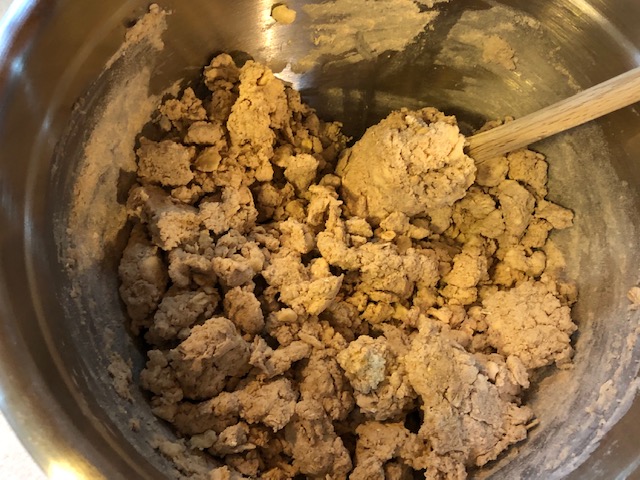
Now knead the dough a bit to bring it all together in the bowl.

Cut the dough in half.
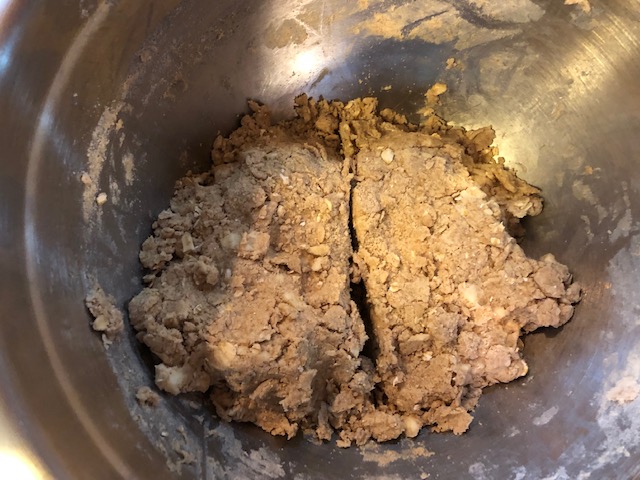
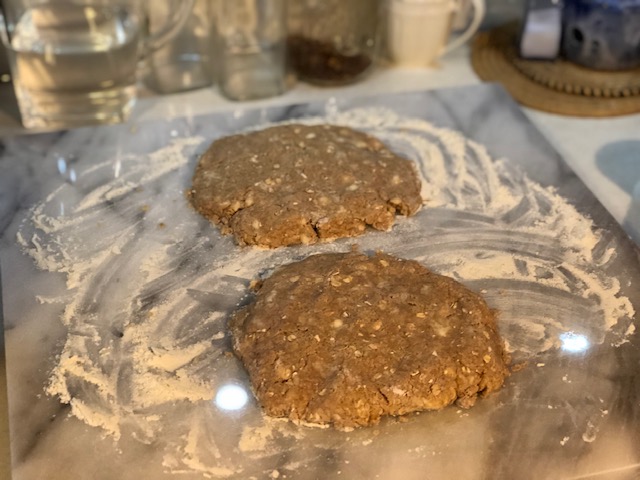
Turn both halves out onto a floured board or countertop and shape into rounds.
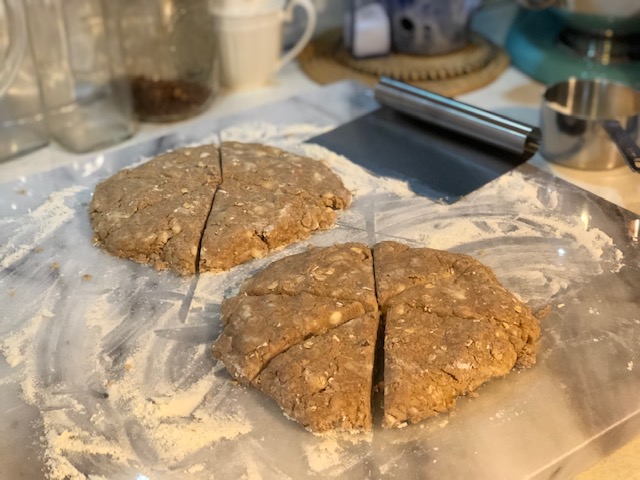
Grab a sharp knife or your bench scraper and cut each round into 6 wedges.
Transfer all of the cut scones to a cookie sheet lined with parchment paper. Make sure there is about an inch (more or less) of space between the scones.
Place tray in the hot oven on top (nested) of the cookie tray that is already in there. Bake for about 15 minutes, until the edges start to brown. Place a tea towel on a cooling rack. Take the scones out of the oven and carefully transfer them to the tea towel that is on the cooling rack. Now cover them lightly with a second tea towel and let cool until scones are almost to room temperature.
Now make your maple glaze – stir together 1/2 cup plus 2 Tablespoons powdered sugar, 1/4 cup pure maple syrup, and 1/2 teaspoon vanilla. Stir until smooth.
Drizzle over the scones once they are at room temperature, or close to it. You can drizzle a little or a lot. With these craggy, nubbly scones, the glaze will seep a bit into the crags which makes them extra delicious.
Oat Scones
- 2 cups all purpose flour
- 1/4 cup brown sugar, packed
- 1/3 cup old fashioned or quick cooking rolled oats
- 1 1/2 teaspoon cinnamon
- 1 teaspoon baking powder
- 1/4 teaspoon baking soda
- 1/8 teaspoon salt
- 1 stick (1/2 cup) unsalted butter, cut into 16 cubes, chilled
- 1 cup heavy cream, chilled
Maple Glaze
- 1/2 cup plus 2 Tablespoons powdered sugar
- 1/4 cup maple syrup
- 1/2 teaspoon vanilla extract
Directions (method #2):
- Preheat oven to 400° 30 minutes before baking. Set a baking sheet in oven before preheating.
- In a large bowl, whisk together all the dry ingredients except the brown sugar.
- Add the butter, and cut into the flour mixture with a pastry cutter until butter is size of small peas.
- Stir in the brown sugar.
- Stir in the cream just until the flour is moistened and the dough starts to come together in large clumps.
- Knead the dough in the bowl just a bit, until it holds together, cut in half, and turn out both halves onto a floured board or countertop.
- Shape each half into a round that is about 3/4″ thick.
- Cut each round into 6 wedges. Transfer scones to cookie tray lined with parchment paper.
- Place cookie tray in the oven, nesting it in the hot cookie tray that is already in the oven. Bake 15 to 18 minutes, or until the edges start to brown.
- Cool in tea towels on cooling rack.
- Drizzle with glaze when scones are almost at room temperature.
- Enjoy warm or at room temperature.

Pingback: Cinnamon Oat Pecan Scones | and everything nice