 I know I keep talking about pie crust. The thing is, once you can make a flaky tender pie crust (if you are like me), then you become rather obsessed over it. So yeah, I’m a little obsessed. As my daughters would say, I really am a nerd for baking, and it seems that has always been the case.
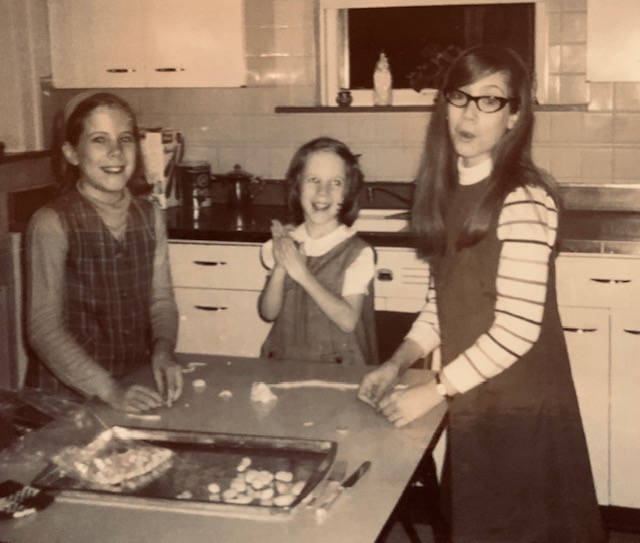
That’s me in the middle, with my sisters Jane (left) and Linda (right) making “crunchies”.
I examine every detail of every pie crust I make, and then try to retrace my steps to figure out cause and effect.
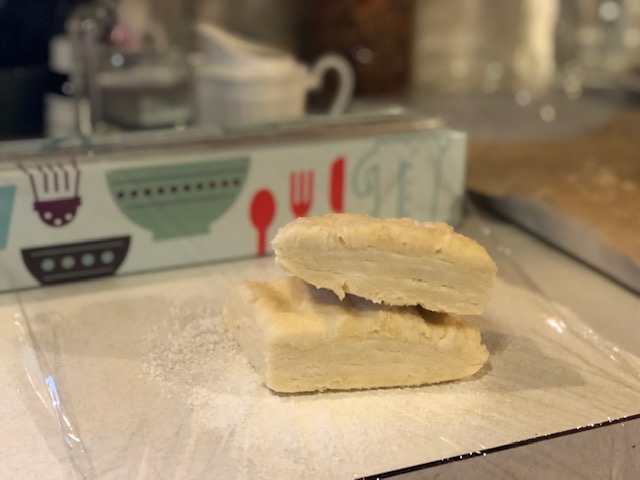
So many layers of flakiness!
So here is something I have noticed for years. When I roll out pie dough, I always save the scraps. I usually stack or roll them and wrap them in plastic wrap, then shape into a mini disc. That mini disc goes into the fridge, and often times one of my kids gets to roll it out and make a mini pie. I am always surprised when their crusts come out flaky and tender, and often flakier than the mother dough! I usually chalk it up to some sort of weird kid magic: because they are not worried about flakiness, their crusts come out perfectly!

Does she look worried to you? (Millie, Thanksgiving 2015)
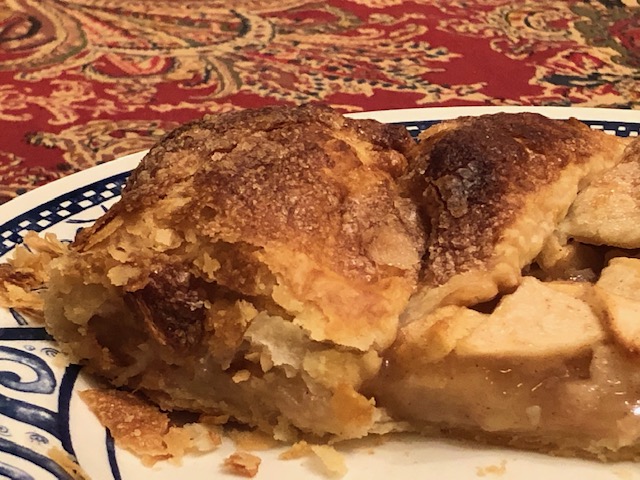
Just last week, there was a disc of dough scraps sitting in the fridge starting to look ancient, so I figured I better do something with it. I wasn’t hopeful, just didn’t want to waste it. So I threw together an apple galette, and it was SO GOOD!! The crust was extra flaky and tender. How could that be? What with all the rolling out and cutting and smooshing and rolling out again?

This dough rolls out like a dream!!!
So now I’m on a mission. My goal? I would like to achieve that level of flakiness the first time around. Don’t get me wrong; I really really really do love my current favorite pie dough recipe. But if I want to add some more layers of flakiness, I can just take that dough, and add one more step to the process. So here is what I am doing. I make the dough as usual, and then, before shaping it into a disc and wrapping it, I place it on a large piece of parchment paper. I shape the dough into a rectangle, using the parchment paper so that I am not touching it with my warm hands. (I actually use my knuckles to press the dough down… knuckles aren’t as warm as the palms of your hands.) I then cut the rectangle in half with my bench scraper, stack the two pieces of dough, and then once again flatten and shape into a rectangle using the parchment paper. I repeat that as many times as I want, maybe three or four times. All of this happens quickly, so the butter doesn’t melt.

You can already see several layers in each half.
When I’m ready, I divide the dough in two, cut and stack each half one last time, and place the dough onto plastic wrap. (I usually make a full recipe, so I will be making two discs.)
Then moosh it down using the sides of the plastic wrap folded over the top so as to not touch the dough with my hands.
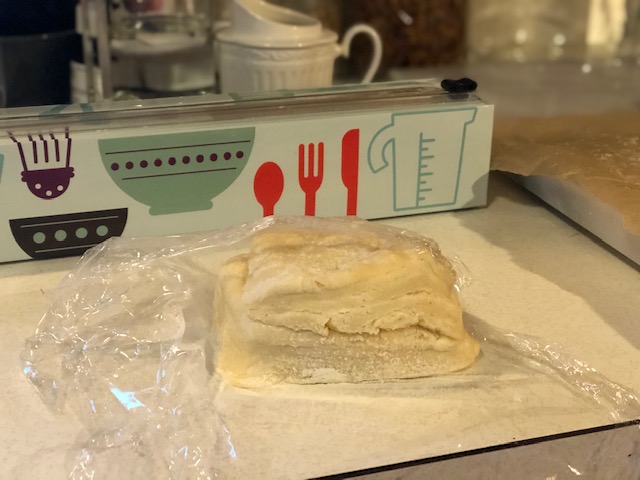
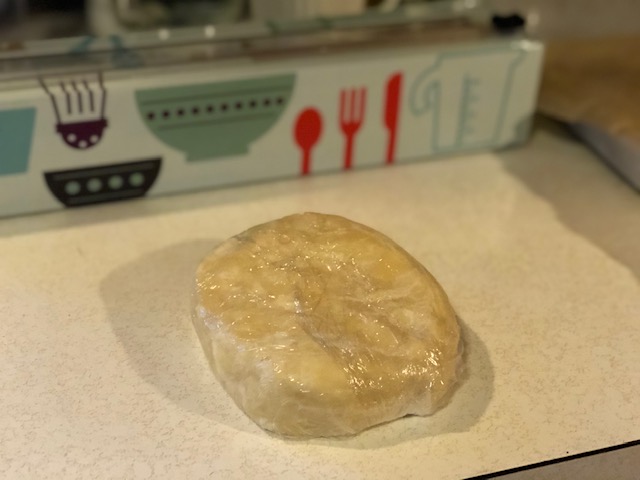
Then wrap and shape!
Marbled butter for thin layers.
I can still see the butter swirls throughout the dough, so I am not worried about having over-worked the dough. If you think this is a whole lotta fuss, don’t worry. This extra step only takes an additional minute or five, and your returns will be tenfold. Speaking of folds, you could also roll out and fold your dough a couple of times to the same effect. This cutting and stacking technique is just a different way. You are basically making a puff pastry. I say it’s worth it. Now you try and let me know what you think.

Simply reading your description and ooing over the photos is mostly enough for me 🙂
I feel as if I’ve filled my fork and I know exactly how it will feel, and taste, in my mouth.
Lisa, I will make an apple galette just for you on your next visit!