This post is long overdue. I have tried to avoid prebaking and parbaking pie crusts for a long time. I have tried the short cuts, more than I care to mention, and I have come to the conclusion that it really is worth the trouble to prebake a pie crust for things like pumpkin pie or quiche. No soggy bottoms here.
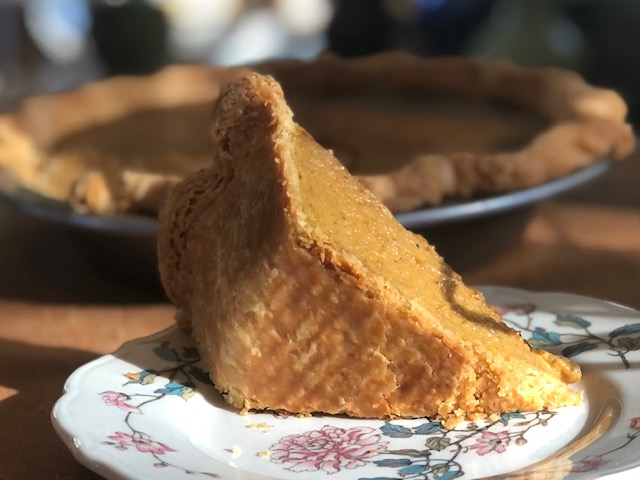
This piece of pie is turned on its side for a better view.
By the way, every step of the way, your pie pan should be on a cookie sheet. It makes it easier to take the crust in and out of the oven without crushing the edges, and it also helps with even baking. In the photos, the cookie sheet made a glare, so I took photos without. But for best results, use a cookie sheet under your pie pan the entire time!
What you will need to properly prebake your pie crust:
- One homemade*, unbaked, rolled out, shaped, and crimped pie crust in pan, frozen.
- Parchment paper or aluminum foil (I use parchment paper)
- Cookie sheet
- Pie weights, either dried beans or ceramic pie weights
- Heatproof bowl
- 1 egg yolk and pinch of salt
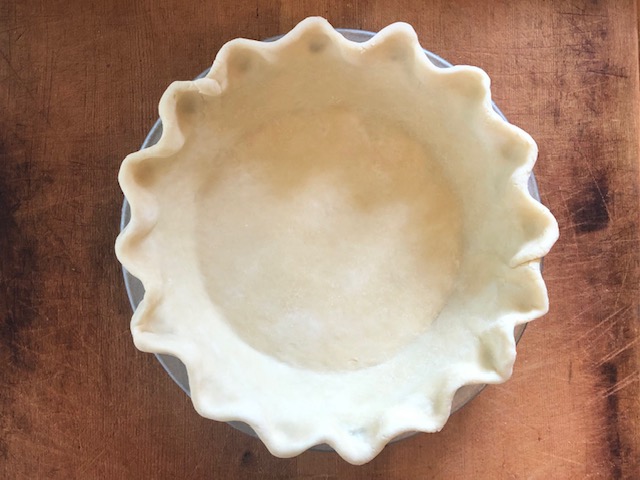
The unbaked pie crust is a work of art. If you want your pie crust to hold its shape, you will need to make it with shortening. An all-butter crust (which is what I prefer) will shrink a tiny bit, no matter how much you chill it. But chill it anyway, unless you want a disaster on your hands. And if you freeze it before baking it, you will have the most success for keeping the shape.
Note: *This method is only meant for homemade pie crusts. The frozen crusts you buy at the supermarket are not meant to be prebaked.
Pie crust is dreamy.
To blind-bake your crust, first make sure you have chilled your shaped crust in the freezer for at least 30 minutes, but a couple of hours is even better. Preheat your oven to 400°. Then you’ll want to line the frozen unbaked crust with parchment paper – I like to crumple it up first so that it fits better inside the pie shell. Make sure to cover the edges of the crust with the paper. Then fill with dried beans or pie weights. Lately I have been using ceramic pie weights and I really love them, but warning: you will need several packages of them just to barely fill a pie crust. I had them on my Christmas list last year.
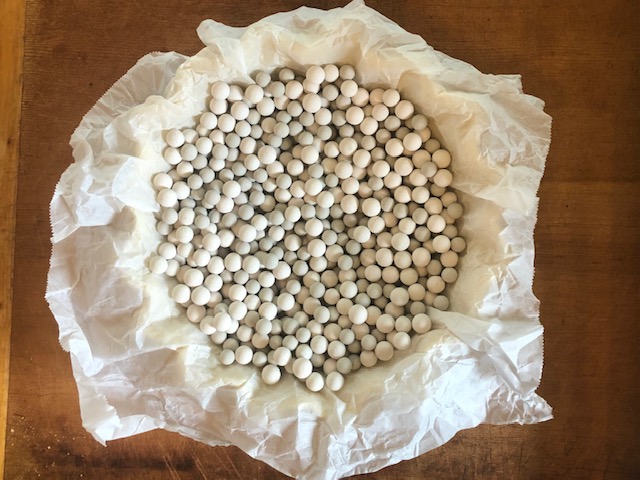
Bank the pie weights up along the edges to prevent slouching.
Place your prepared pie crust on a cookie sheet and bake on the bottom rack of your 400° oven for 40 minutes, rotating the crust halfway through the bake time.
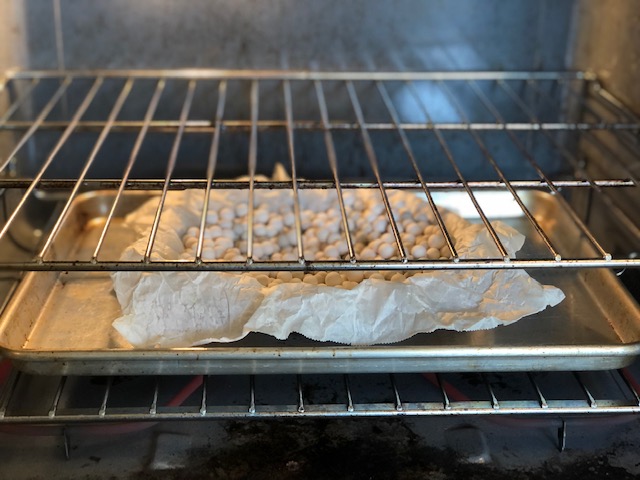
When 40 minutes is up, take pie crust out of the oven and carefully remove the parchment paper and pie weights by grabbing all four corners of the paper and lifting. Place paper and weights in a heatproof bowl.
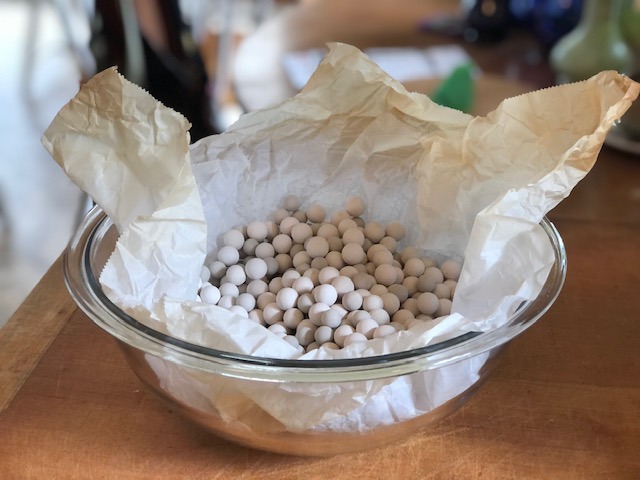
When done prebaking, carefully put the paper and pie weights into a heatproof bowl.
Here’s how it looks so far, but we’re not done yet!
Almost done!
At this point, you will want to have ready an egg yolk mixed with a pinch of salt. The egg yolk will act as a barrier, protecting the crust from the wet filling. Brush the inside of the hot pie crust with the egg yolk, put a pie crust shield or foil around the edges, and put everything back in the oven for 1 minute, until the egg yolk is dry to the touch.
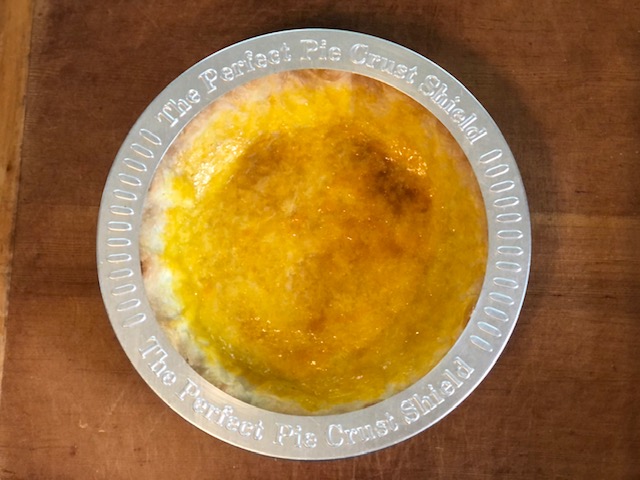
Egg yolk is brushed on before putting back in the oven.

After one minute in the oven, the egg yolk is now dry to the touch. This pie crust is ready to go!
Don’t worry if you think the bottom or edges are already perfectly baked and you don’t want them to bake more. When you pour the wet pumpkin pie filling or quiche filling into your crust and pop it back into the oven, the crust will not really bake any more at all. And you’ll just want to protect the edges of the pie crust with foil or a pie shield so you don’t end up with burnt edges.
This is ready to go into the oven!
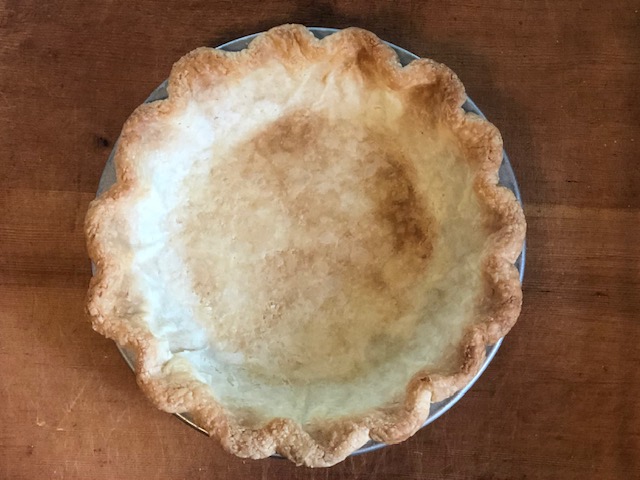
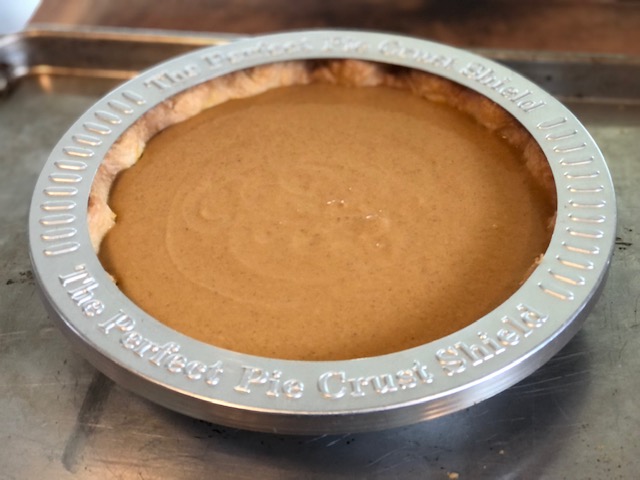
The crust on this pumpkin pie is perfectly baked, not burnt at all! And I even over baked the pie by a few minutes (notice the crack). By the way, I have updated my pumpkin pie recipe, and really love it now, just in case you are looking for a good recipe.

A perfectly baked crust!
While we are here, can we talk for a minute about a well baked crust? Think about it. When you go to a bakery and order a croissant, do you want it to be soft and pale, or do you want it to be dark golden brown, with crispy flakes that explode when you bite into it? Well, this is what I want for my pie crusts too. You can make an absolutely perfect all-butter pie dough, but if you don’t properly bake the crust, it won’t be flaky. To quote the Joy of Cooking:
“We now believe that all prebaked pastry crusts must be fully baked before filling. Defying logic, the baked shells do not burn when baked a second time with their filling, though the edge does sometimes darken – a small price to pay for a deliciously crisp and flaky crust.”

I’ll have to try the egg yolk trick!
Sometimes I feel like I want to skip that step, because I don’t want to use an extra egg (being thrifty!). But it really does make a difference. Today I had a piece of pumpkin pie that I baked yesterday (doing research, of course), and the bottom crust was still as crisp and tender as if it had been baked today!
Ah, Angela, that research is so important!
Haha yes it is!!!