
It has been a while since I have written here; I have been in deep mourning for the loss of my beloved oldest sister, Linda.

With Linda (on the right), from her visit to Seattle. We were on our way to see the Space Needle.
Amidst the pain and shock, I found the last birthday card she sent to me. She said it reminded her of all the wonderful things that I bake in my kitchen, and she wished me a year full of all the “sweet” things.
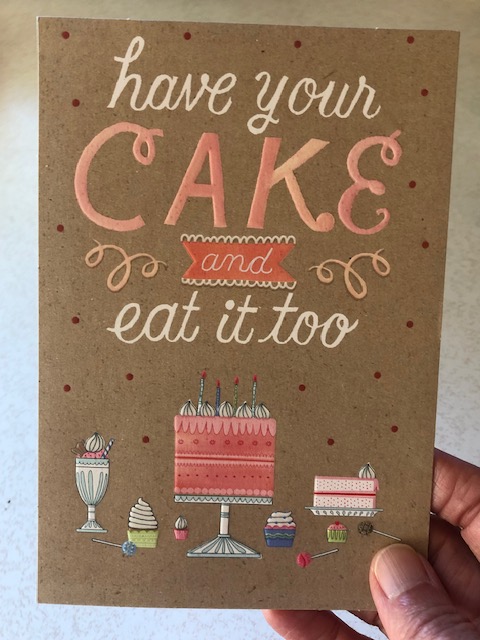
Linda was a big fan of my culinary endeavors; in fact, she cheered me on and encouraged me in all of my pursuits and in every aspect of my life. And she would often tell me about how she remembered the day I was born, and how excited she and my sister Jane were. I came a month early, and she said that made it that much more exciting!

I love the look of joy on my sisters’ faces (Linda in the middle, Jane on the right).
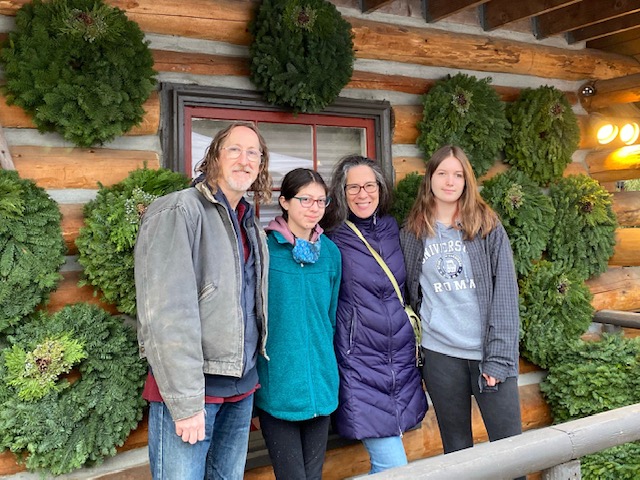
I know that Linda is encouraging me still, as I try to navigate this world without her physical presence. We have had some big events in our lives since her passing. Our daughter Mara graduated from high school.
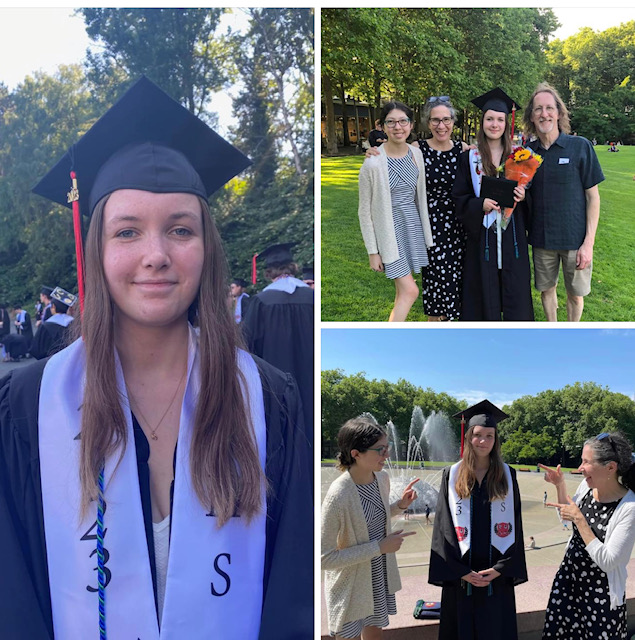
We are so proud of her!
And our daughter Millie turned 13.
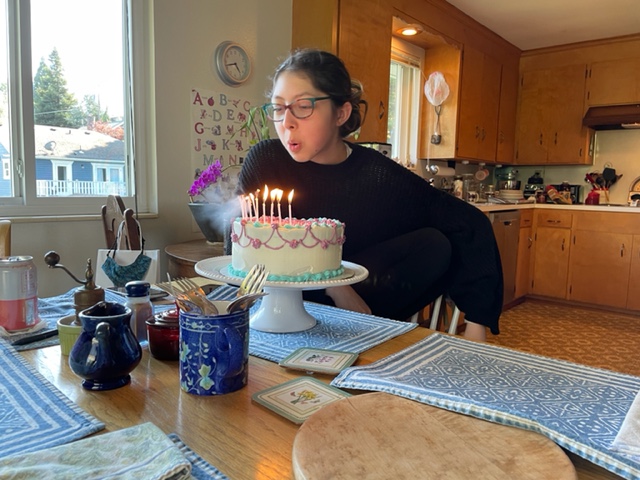
She’s a teenager now!
Millie requested a carrot cake this year. I had a new recipe to try out, and it behaved really well. The cake came out perfectly even, which made it easy to frost, decorate, and slice.

A well-behaved cake.
Everyone liked it, but I found myself missing the carrot cake I knew from my college days and beyond: a messy, chock-full-of-stuff, luscious, melt-in-your-mouth cake, topped with copious amounts of billowy cream cheese frosting. And yes, the cake had crushed pineapple in it.
This is more like it.
So I felt the need to nail down the perfect carrot cake recipe once and for all. Millie suggested I make the carrot cake we normally make. I found that a little challenging, because we kind of make it differently every time, kind of winging it; it’s a tweaked Silver Palate recipe. This time I wrote down all of the changes, and even made a few more changes. When I took the first bite, I said out loud, “Oh yes, this is my carrot cake!”, to which Millie replied, “This is my carrot cake!”. It was, after all, her idea to go back to the Silver Palate recipe, and she has made it several times. So really, it is our carrot cake. I think I can rest easy now, and I think Linda would love it.
Carrot Cake
(Adapted from The Silver Palate cookbook)
For the cake:
- 1 1/2 cups (180 grams) all-purpose flour
- 1 1/2 cups (300 grams) granulated sugar
- 1/2 teaspoon table salt
- 1 1/2 teaspoons baking soda
- 2 teaspoons cinnamon
- 1/2 teaspoon ground cloves
- 1/2 teaspoon nutmeg
- 1/2 teaspoon allspice
- 1/4 cup apple sauce*
- 1/2 cup vegetable oil
- 2 eggs, lightly beaten
- 2 teaspoons vanilla
- 3/4 cup finely chopped walnuts
- 1 1/2 cups shredded carrots, packed
- 1/3 cup drained crushed pineapple (drain first, then measure)
For the frosting:
- 8 ounces cream cheese, straight from fridge
- 6 tablespoons unsalted butter at room temperature
- 3 cups powdered sugar
- 1 teaspoon vanilla
- Preheat oven to 350°
- Grease two 8″ round pans, place parchment round in bottom of each, then butter the parchment round. Lightly flour the pans.
- In a large bowl, stir together all the dry ingredients.
- Add apple sauce, oil, eggs, and vanilla. Beat well.
- Fold in walnuts, carrots, and pineapple.
- Divide batter between the two prepared cake pans (I like to weigh mine to make sure the cakes come out even) and spread to edges of pans.
- Bang pans once on counter by lifting and dropping (gets rid of any large air bubbles), then spin each pan on the counter… batter will climb up the edge of the pans. This helps avoid a domed cake.
- Bake on middle rack of preheated oven for 30 to 35 minutes. If your oven runs hot, you might want to do a toothpick check at 25 minutes, and then check every 5 minutes after that.
- When toothpick comes out clean (it’s okay if it has a crumb or two, just nothing wet), let cakes rest in pans on cooling rack for ten minutes, then run a sharp knife around the edge of the cakes and remove from pans. Remove parchment paper from cakes and let cakes cool upright on cooling rack.
- To make frosting, beat the cold cream cheese and room temperature butter together until well blended. Add the powdered sugar little by little – one cup at a time. Beat until smooth after each addition. Add the vanilla after all of the powdered sugar has been incorporated. Do not over mix! Over mixing will result in a grainy frosting. You are looking for smooth, billowy, and spreadable.
- Once cakes have completely cooled, fill and frost as desired. This cake tastes great on the first day, and every day after, and in my opinion, tastes best when chilled. Serves 12, depending on how you slice it***.
Notes:
*If you don’t have apple sauce, you can add 1/4 cup of additional oil in its place.
**Even though I reduced the oil of the original recipe by a small amount (I subbed a bit of apple sauce), the cake does appear a bit oily when removing from pans. Don’t worry about that! The cake does not taste oily, and is perfectly moist and delicious. But feel free to experiment and use more apple sauce/less oil.
***If you would like a larger cake, you can increase all ingredients by 50%, and use three 8″ round pans. This will make a taller, more impressive triple layer cake.
And just because…. one of my favorite pictures of me and my sisters.

Me on the left, Jane in the middle, holding our dog Tammy, and Linda on the right.