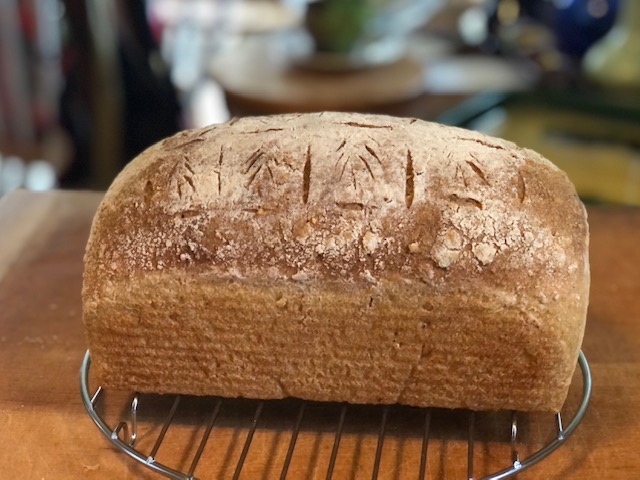
Okay, don’t panic about the pretty design on this bread; you don’t have to do that, but you can still make this very easy and delicious multigrain sourdough bread in twenty-four hours or less, from beginning to end!
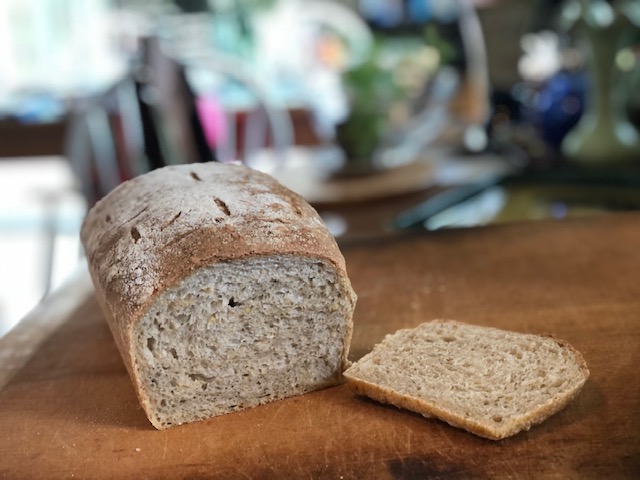
I am just a bit obsessed with this recipe. I have been playing around with quantities for a while now, as well as methods, and I’m super happy with this final result. This bread is soft and chewy and flavorful, and it stays fresh for several days. It makes the perfect PB&J, as well as amazing toast and grilled cheese sandwiches. I couldn’t be happier about it!

I originally started out with a recipe that called for soaking the grains and then pouring off the extra water. The problem with that was that it was not consistent depending on how long the grains had soaked, how well I was able to pour off the excess water, etc. And to make things more difficult, I had to then mix the soaked grains into the already prepared dough. This is a messy, sloppy business that I do not enjoy! So here is my solution: mix the grains into the starter and water mixture before adding the flour! And get this: soaking the grains is optional!! And if you do soak the grains, you only use the amount of water necessary; no pouring off! Whew. I don’t know if this is the correct method, but it works for me! The directions I am including below include pre-soaking the grains, because I think the bread is a little bit better that way.

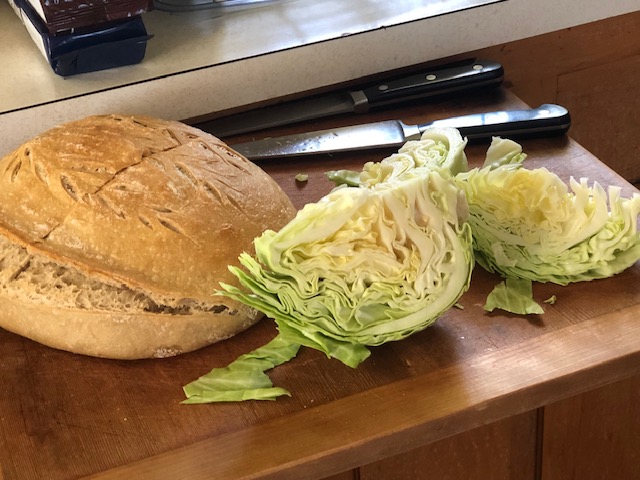
Without the pretty design: still delicious!
Multigrain Sourdough Sandwich Bread
- 270 grams filtered water, room temperature
- 65 grams active, bubbly sourdough starter
- 1 tablespoon (12 grams) sugar or honey
- 1 tablespoon (15 grams) olive oil
- 420 grams bread flour*
- 30 grams whole wheat flour or whole grain spelt flour*
- 1 1/2 teaspoon (9 grams) salt
- 70 grams Bob’s Red Mill 8 Grain Hot Cereal*
- 60 grams boiling water
- Sometime during the day, place the 8 Grain cereal into a small bowl, and mix in the 60 grams boiling water until well combined. Cover and set aside.
- In the evening (I do this around bedtime), in a medium sized mixing bowl, mix together the 270 grams water, 65 grams starter, tablespoon oil, and tablespoon sugar. Stir with a fork until milky and starter has been well mixed in.
- Add in the soaked grains and mix well.
- Add in the 420 grams bread flour, 30 grams whole wheat flour, and 9 grams salt, and stir until all the flour has been absorbed. Cover and let rest for 30 minutes.
- After the dough has rested, mix once more until dough is smooth and slightly springy. I do this by pulling the dough from the side of the bowl with a wet hand, and bringing it toward the center and pressing it in. Continue all the way around the bowl a couple of times. Flip the dough over so the smooth side is up. Cover and let rise overnight on your kitchen counter.
- In the morning, about 7 to 8 hours later for my kitchen, dough will have doubled and still be domed. (Depending on your kitchen temperature and the strength of your starter, your rise time may vary.) Scrape dough onto a floured surface. Spread it into a rectangle. Starting with a short side, bring the two corners together to make a point, then roll it up like a cinnamon roll, brushing off excess flour as you go. Tuck ends under and let rest a few minutes.
- While the dough is resting, butter or oil a 9″ x 5″ loaf pan (I love my USA pan loaf pan that I got from King Arthur Baking Company). It must be the 9″ x 5″ size! Place your loaf into the pan and cover (I like to use one of those food-safe shower cap type covers that I also got from King Arthur Baking Company). Let dough rise for one to two hours, until it has risen to just one inch above the rim of the pan. Don’t let it rise more than that!
- Preheat oven to 375°F. Uncover the dough. Optional: if you wish to make decorative cuts, sprinkle the top of the dough lightly with flour, then make very shallow cuts with a very sharp knife or razor blade in any design you like. Bake the bread on the center rack of your preheated 375° oven for approximately 45 minutes. Bread should be a golden brown color. Internal temperature should be around 205°F. Let cool in pan for ten minutes, then remove from pan and let cool completely on wire rack. This bread will slice up nicely on day #2. I hope you love it as much as I do!
Note: *I am currently using Cairnspring Mills Expresso bread flour, which is local here in the Pacific Northwest. If you are able to find a local flour, I highly recommend it! Otherwise, I have always had wonderful results using King Arthur brand flour. As far as the added grains, I love the Bob’s Red Mill brand, and they have a 7-grain, 8-grain, and 10-grain “hot cereal”. I prefer the 8-Grain cereal because it has some larger grains in it which makes for a nice texture, but this recipe is pretty flexible, so just use whatever works for you. I find that the 10-grain requires a bit more water to soak properly than the 8-grain.
Below are some photos of the process.

First mix.

Second mix – nice and smooth!

Next morning, this is just right.
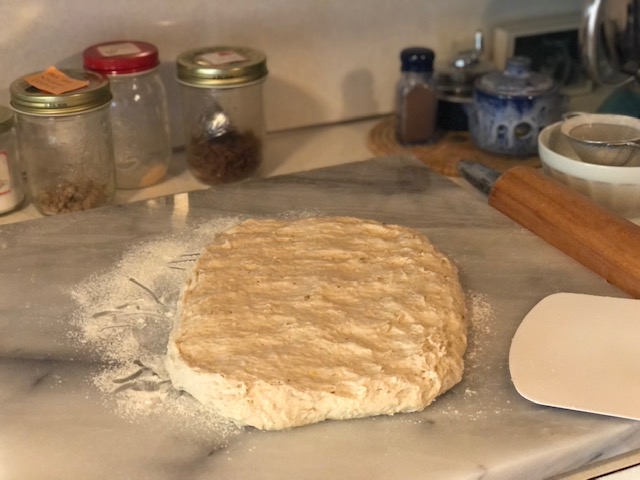
Spread it out into a rectangle.

Make a point by bringing corners together.

Start rolling it up.

Almost done.

A nice little loaf.
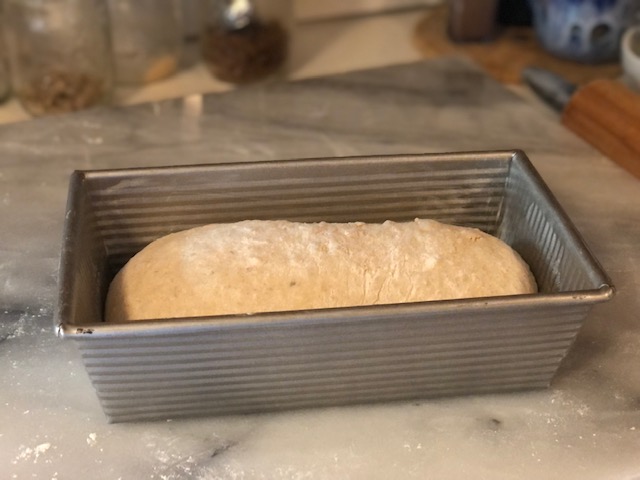
Plop into greased pan, seam side down.
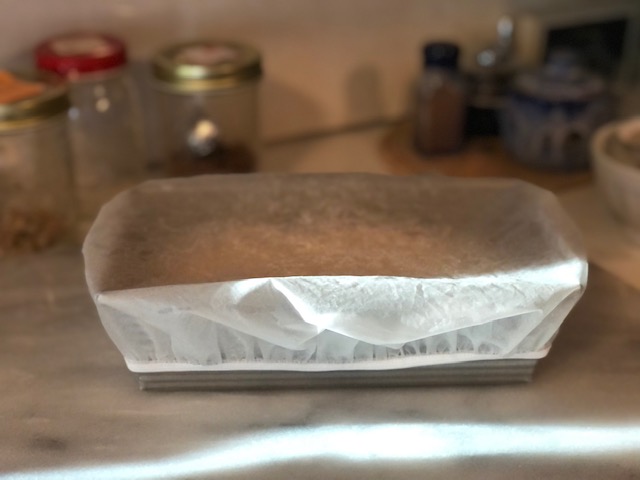
Cover. I love these reusable covers!
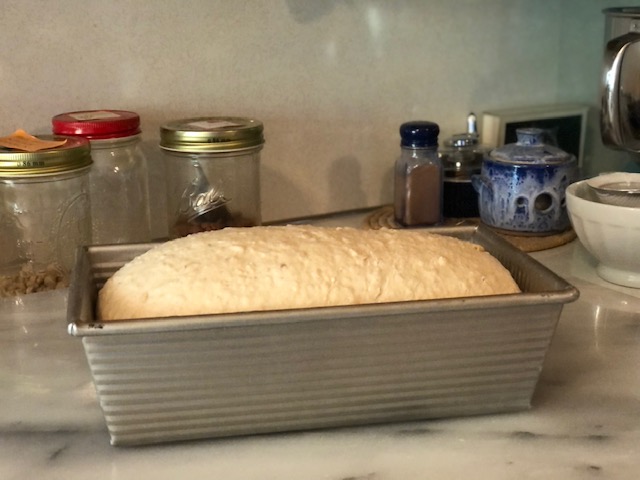
Ready to go! It’s not perfectly even, but that’s okay.